Last updated on February 9th, 2026.
Learning how to temper chocolate can be an intimidating and confusing idea for many, I get it. But I am here to reassure you that tempering chocolate is a simple, easy, and fun process, whether you use dark chocolate, white chocolate, or milk chocolate.
This post may contain affiliate links, to learn more please read our disclosure policy.
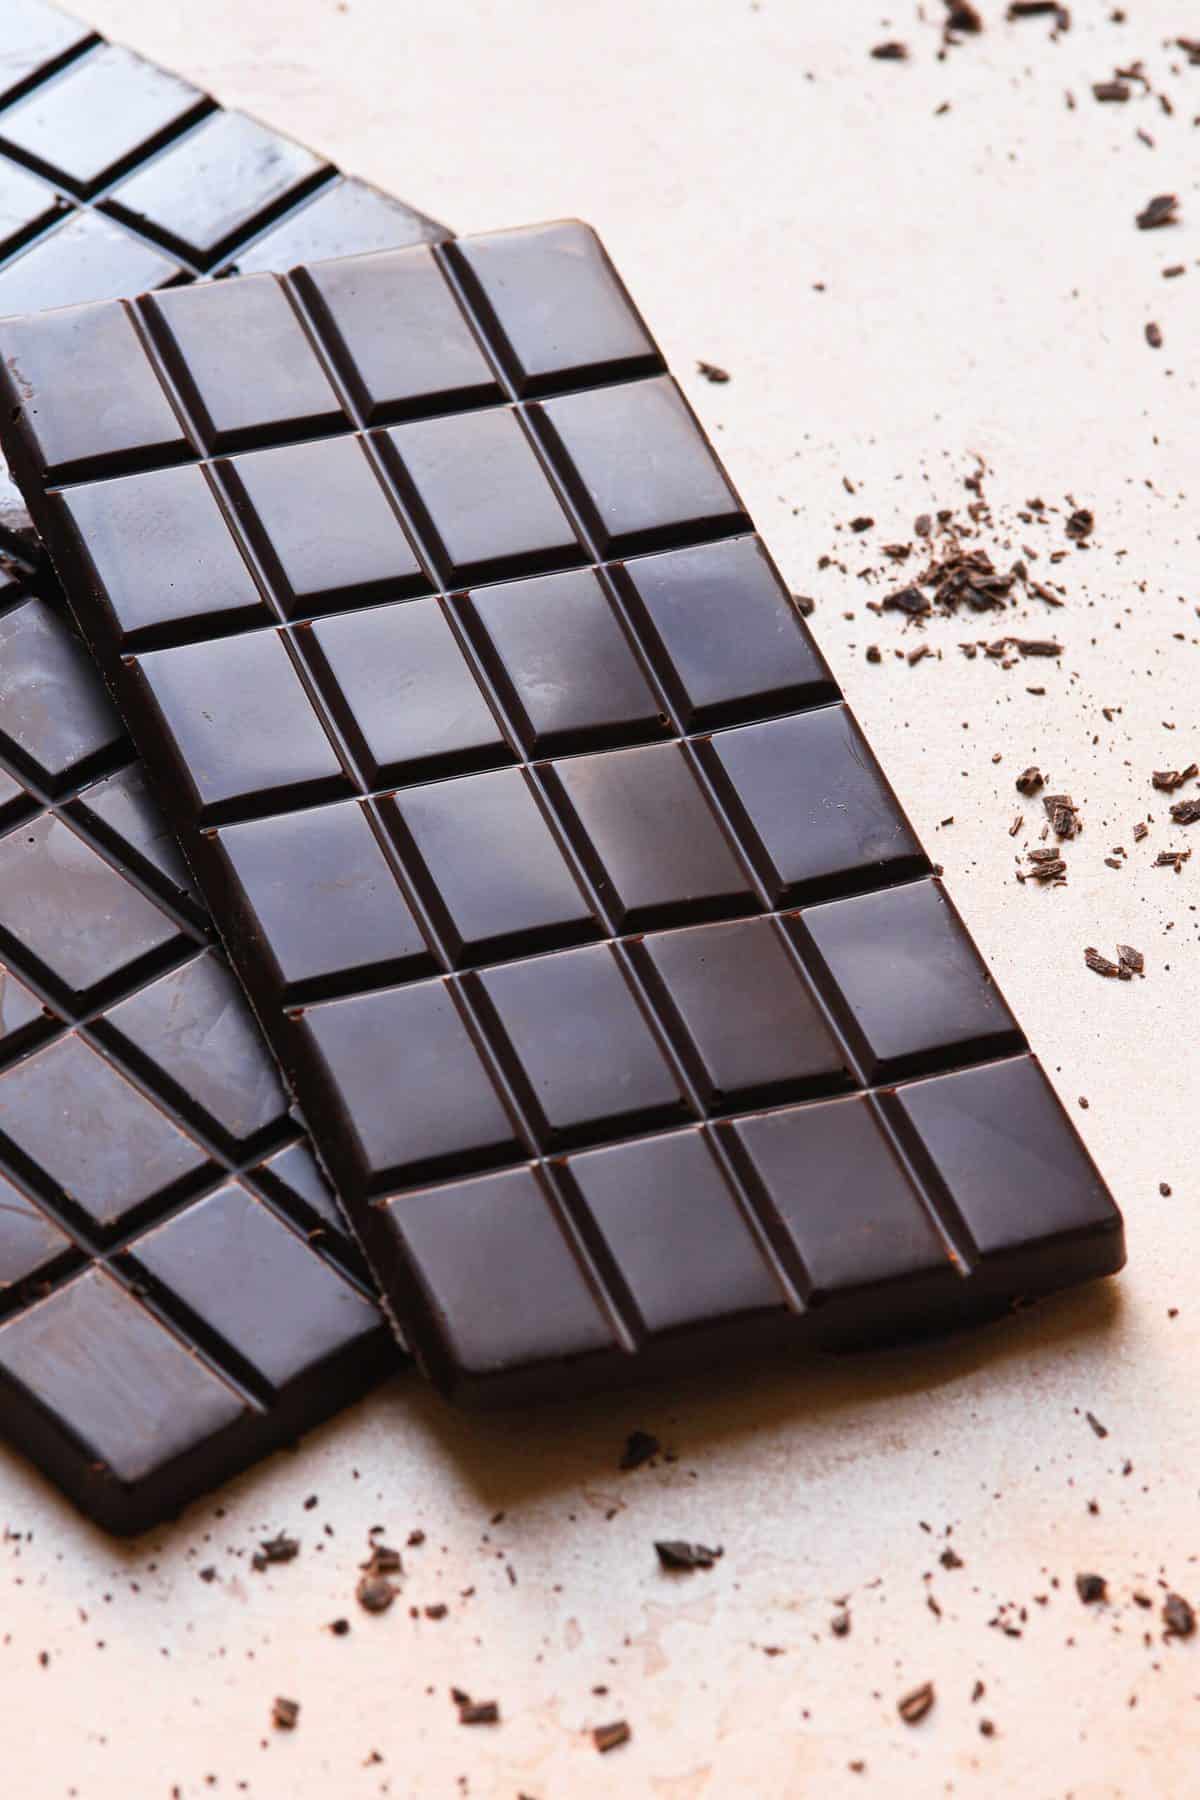
Tempered chocolate has a beautiful glossy appearance, it snaps easily and melts smoothly in your mouth. It is key for many desserts such as hot chocolate bombs, homemade candy bars, sweet treats, and chocolate coatings goods like this Chocolate covered graham crackers recipe, Chocolate Covered Cashews Recipe, and this Chocolate Covered Pecans Recipe.
For the Baking Science fans among us, I have a post explaining what is tempered chocolate, what is unsweetened chocolate, what is dark chocolate? and what is ganache?
What is tempered chocolate?
So what does tempering chocolate mean and why is tempering chocolate so hard for some of us?
Real products contain cocoa butter, an unstable fat that forms different crystal structures at different temperatures. Each structure has different qualities, stability, and texture. The most stable cocoa butter crystals are known as Beta crystals, and these are the ones that provide chocolate its glossy look and give it a crisp snap texture. The tempering process helps us bring it to a specific temperature when the desired crystals structure is formed.
Why should you temper chocolate?
There are many reasons to. Some are related to texture, and appearance and others will help you with technical issues you might have encountered in the past.
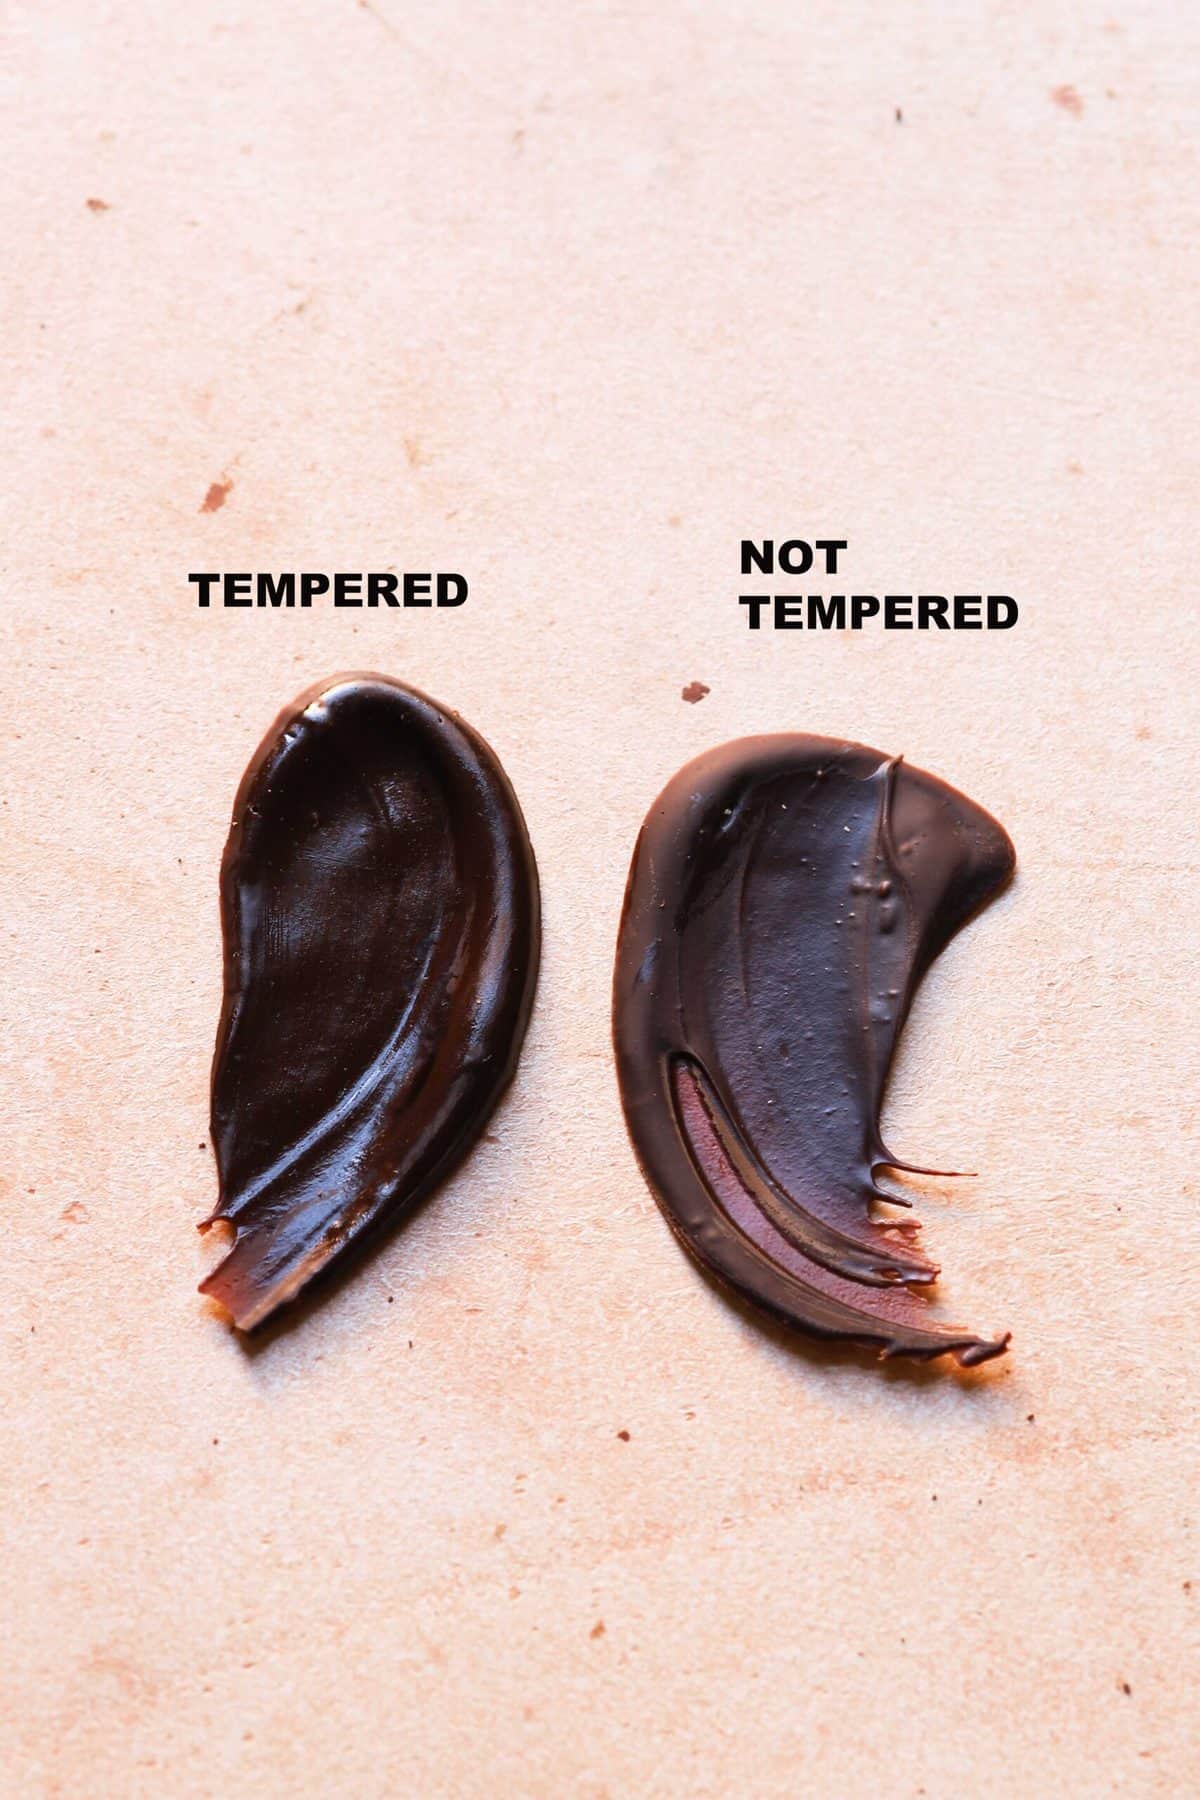
- Texture. Tempered chocolate has a snappy texture. You can hear a snap when you break a piece of it. Also, when you bite into it, it is smooth and melts easily. Untempered will bend when you try to break it and when eating it will have a grainy crumbly texture.
- Appearance. We all know and love that beautiful glossy shine we see when we open a fresh tempered chocolate bar. This glossy appearance can only be achieved at a specific temperature range.
- Easy to release. Properly tempered chocolate will release very easily from candy molds. Untempered will stick to the molds.
- Cools fast. Tempered chocolate cools fast, anywhere between 2-10 minutes depending on the size. Untempered will take a longer time to cool.
Best Chocolate for tempering
No matter what brand you are using, the key to the best result is the cocoa butter content. Look at the ingredients list, if cocoa butter is the first or second ingredient listed you are good to go. Here are a few more points and accommodations:
- Do not use chocolate chips, the added stabilizer prevents them from melt easily and smoothly.
- Trader Joes Pound + are a great economical option.
- Callebaut’s callets, (affiliate link) highly recommend and a great option if you need a large quantity.
- Valrhon and Guittard are both excellent options but more on the expensive side.
How do you temper chocolate?
See the full tempered chocolate recipe at the bottom of this post.
Now we are entering the fun, technical part of this process. Below are two easy methods (microwave method), and both methods also use the seeding method. Seeding meaning adding pieces of tempered chocolate into the melted one. These pieces are our seeds of beta crystals. Once incorporated into the melted chocolate, those crystals will attract the different types of fat crystals and shape them in the same crystal structure as the beta.
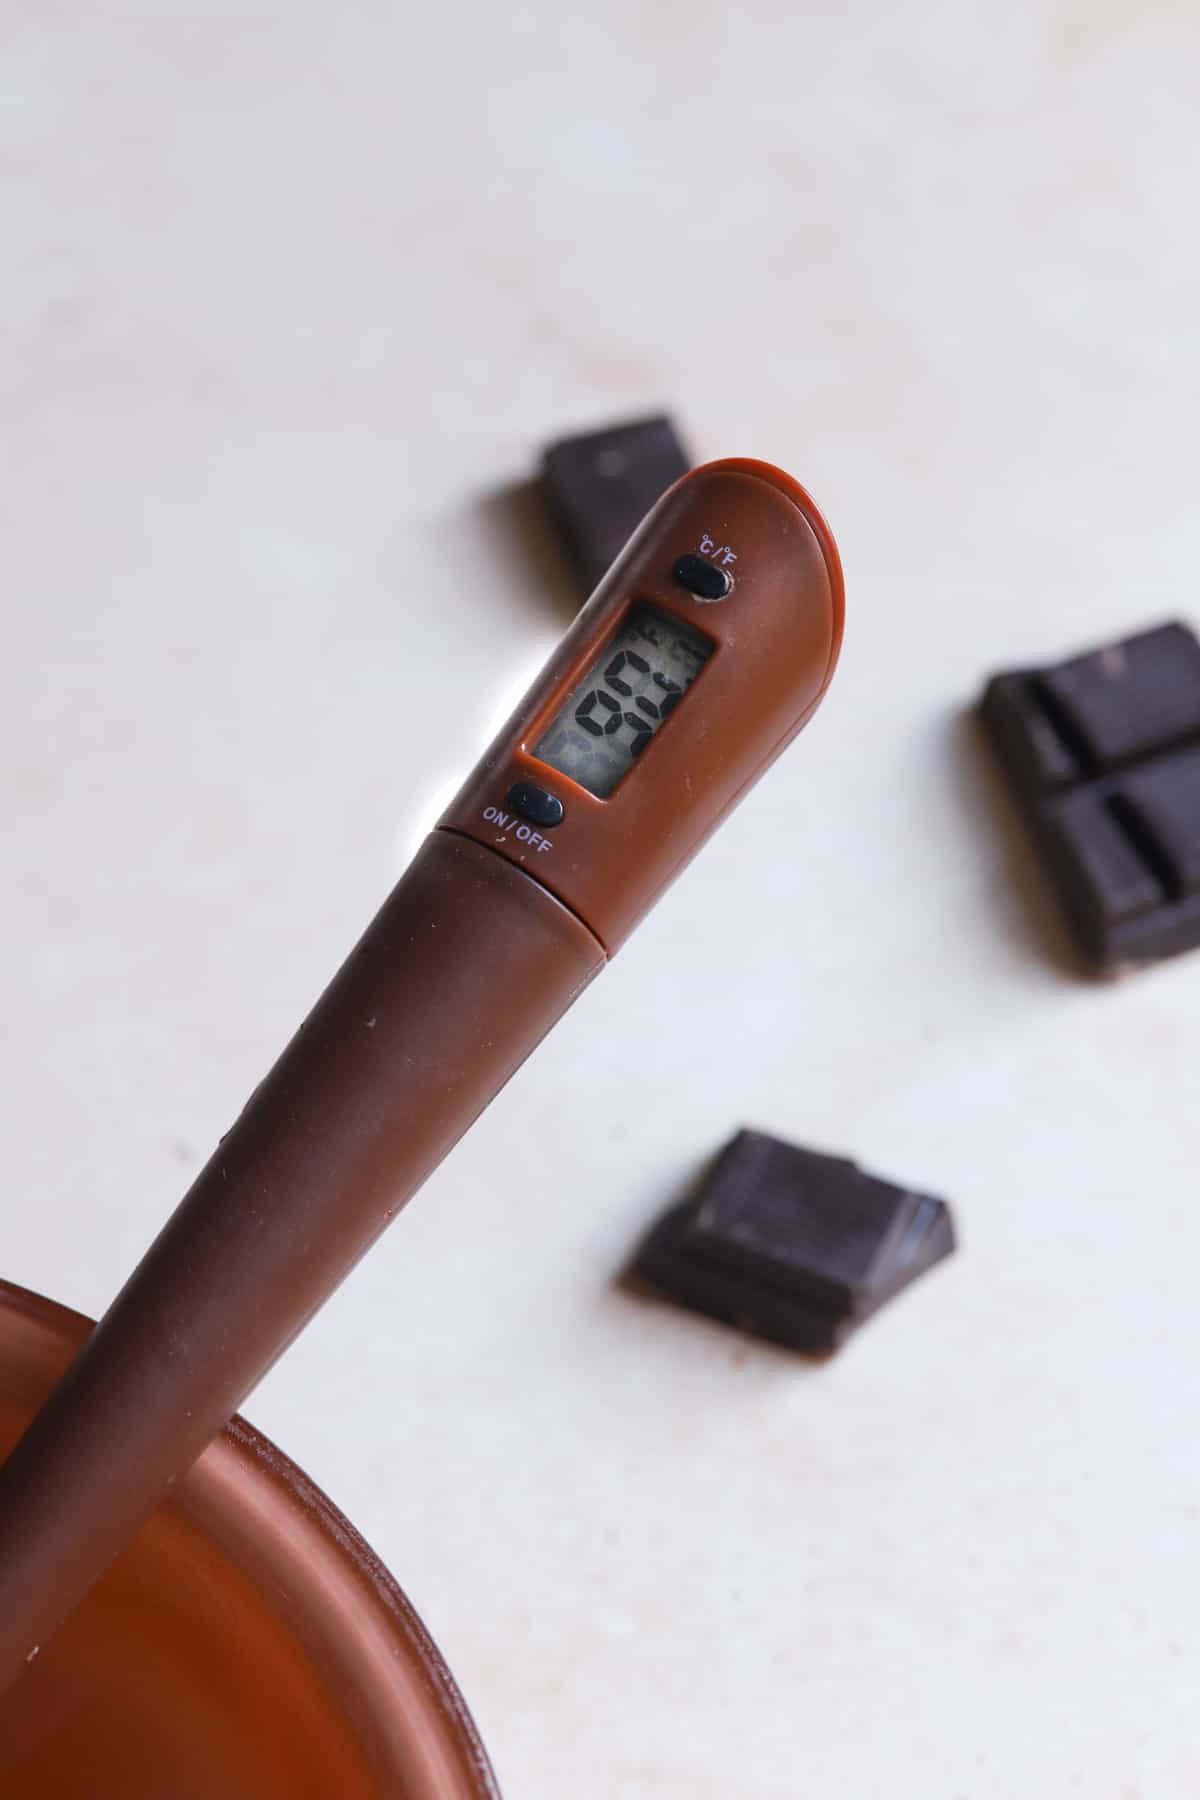
To properly temper, you will need to use a good thermometer, it is an essential part of foolproof chocolate tempering. Here are a few options I recommend (Affiliated links):
- digital thermometer. Make sure it reads the temperature at 1degree increments
- Chocolate thermometer
- Instant read thermometer. Make sure it has a surface temperature reading option.
- Candy Thermometer Spatula
Unfortunately, you can not use a candy thermometer since it does not read the low temperature we need.
Method 1
I learned this method from the one and only Jacque Torres, a world-renowned chocolatier and pastry chef. I love this method for when I need to temper over 2 Lb (32 oz / 1 Kg) of chocolate. Personally, I found this method faster and cleaner.

You will need:
- Chocolate bars,chopped into small pieces. (½ “) , wafers are also a good option.
- 2 large glass bowls, glass retains heat and will help keep the chocolate at the right temperature.
- Thermometer
- Rubber spatula
- Immersion blender
- Hair dryer
Time needed: 20 hours
Note that the temperatures listed below for both methods are for dark chocolate, see the temperature chart below for other types of chocolate.
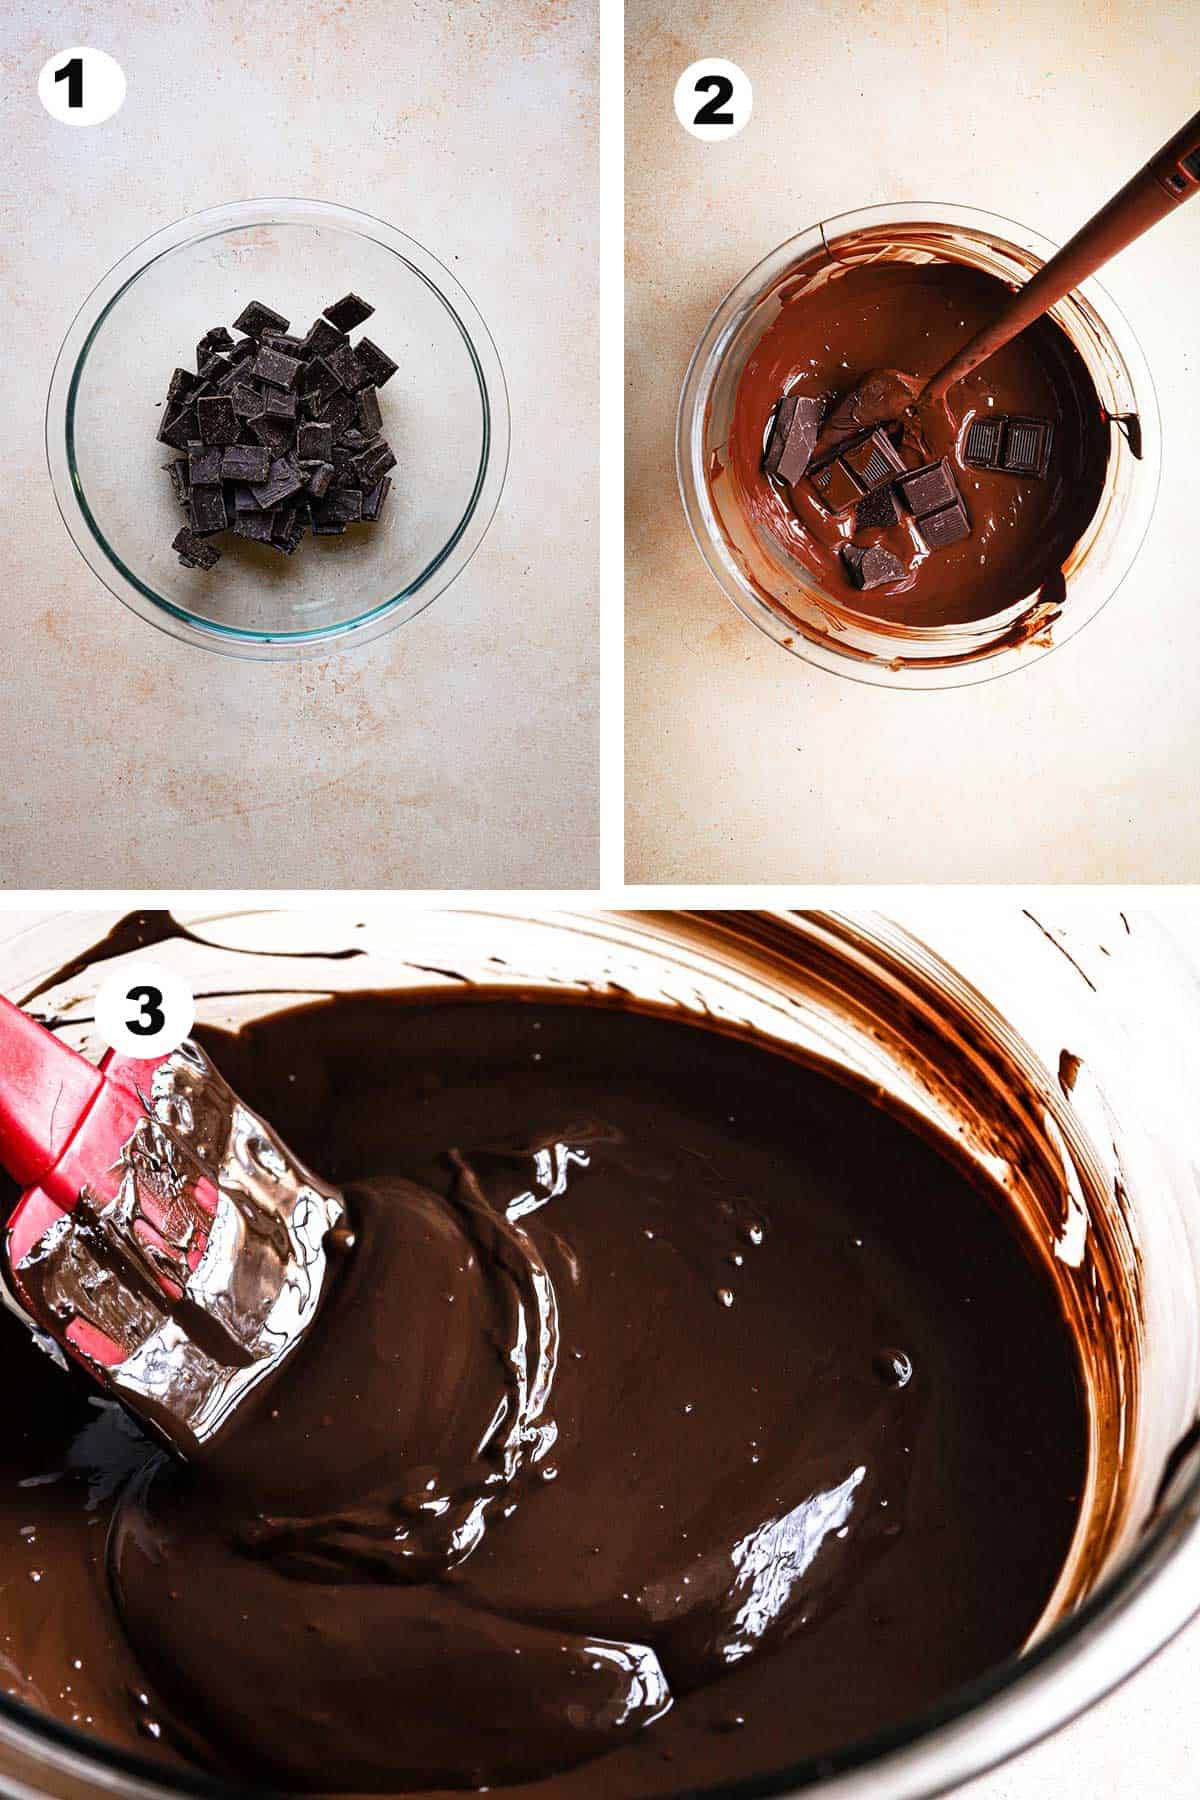
- Melt the chocolate
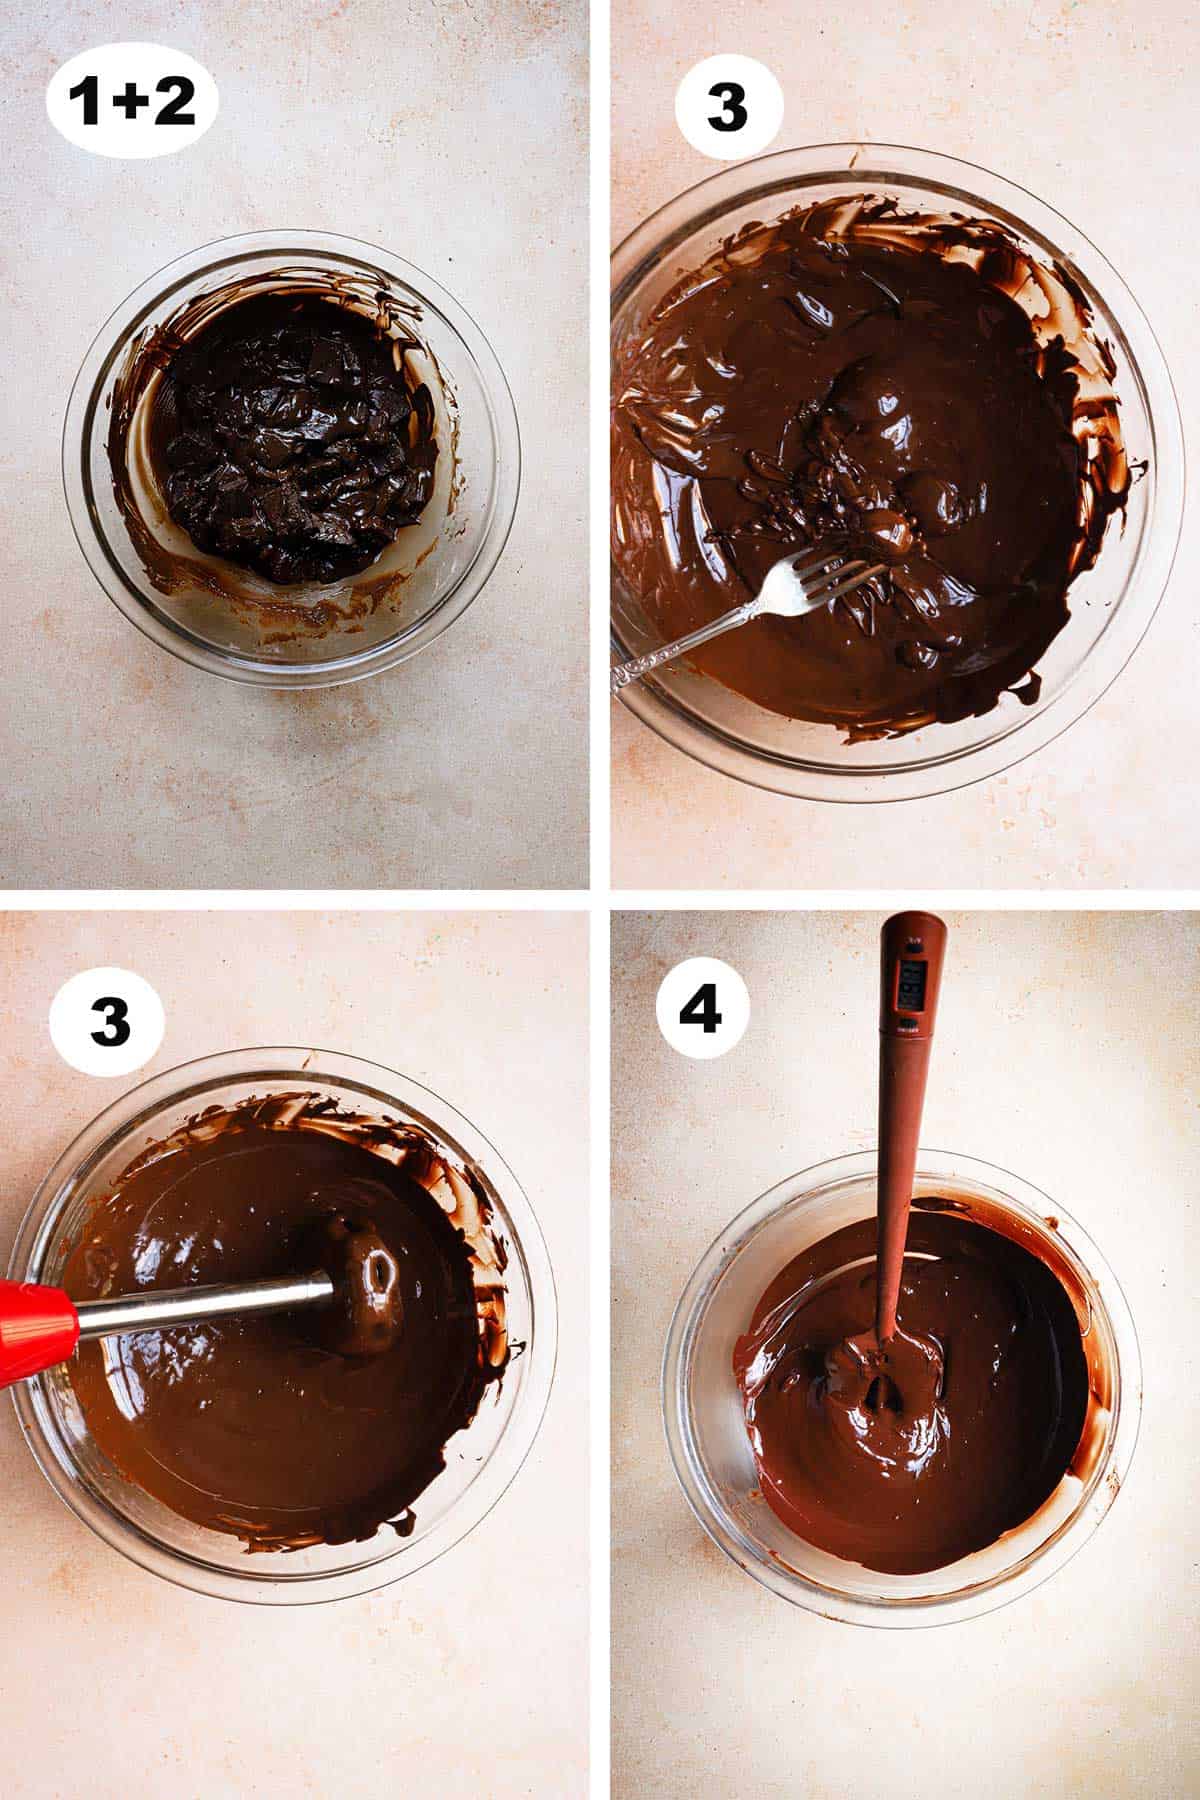
Place the chopped chocolate in a microwave-safe bowl and melt using a 30 seconds increment. After every 30 seconds, remove the bowl and toss the chocolate pieces.
- Pay attention.
Once you notice that the chocolate is starting to melt, use a rubber spatula to stir it from the bottom of the bowl up, and continue melting once or twice more.
- Use the immersion blender
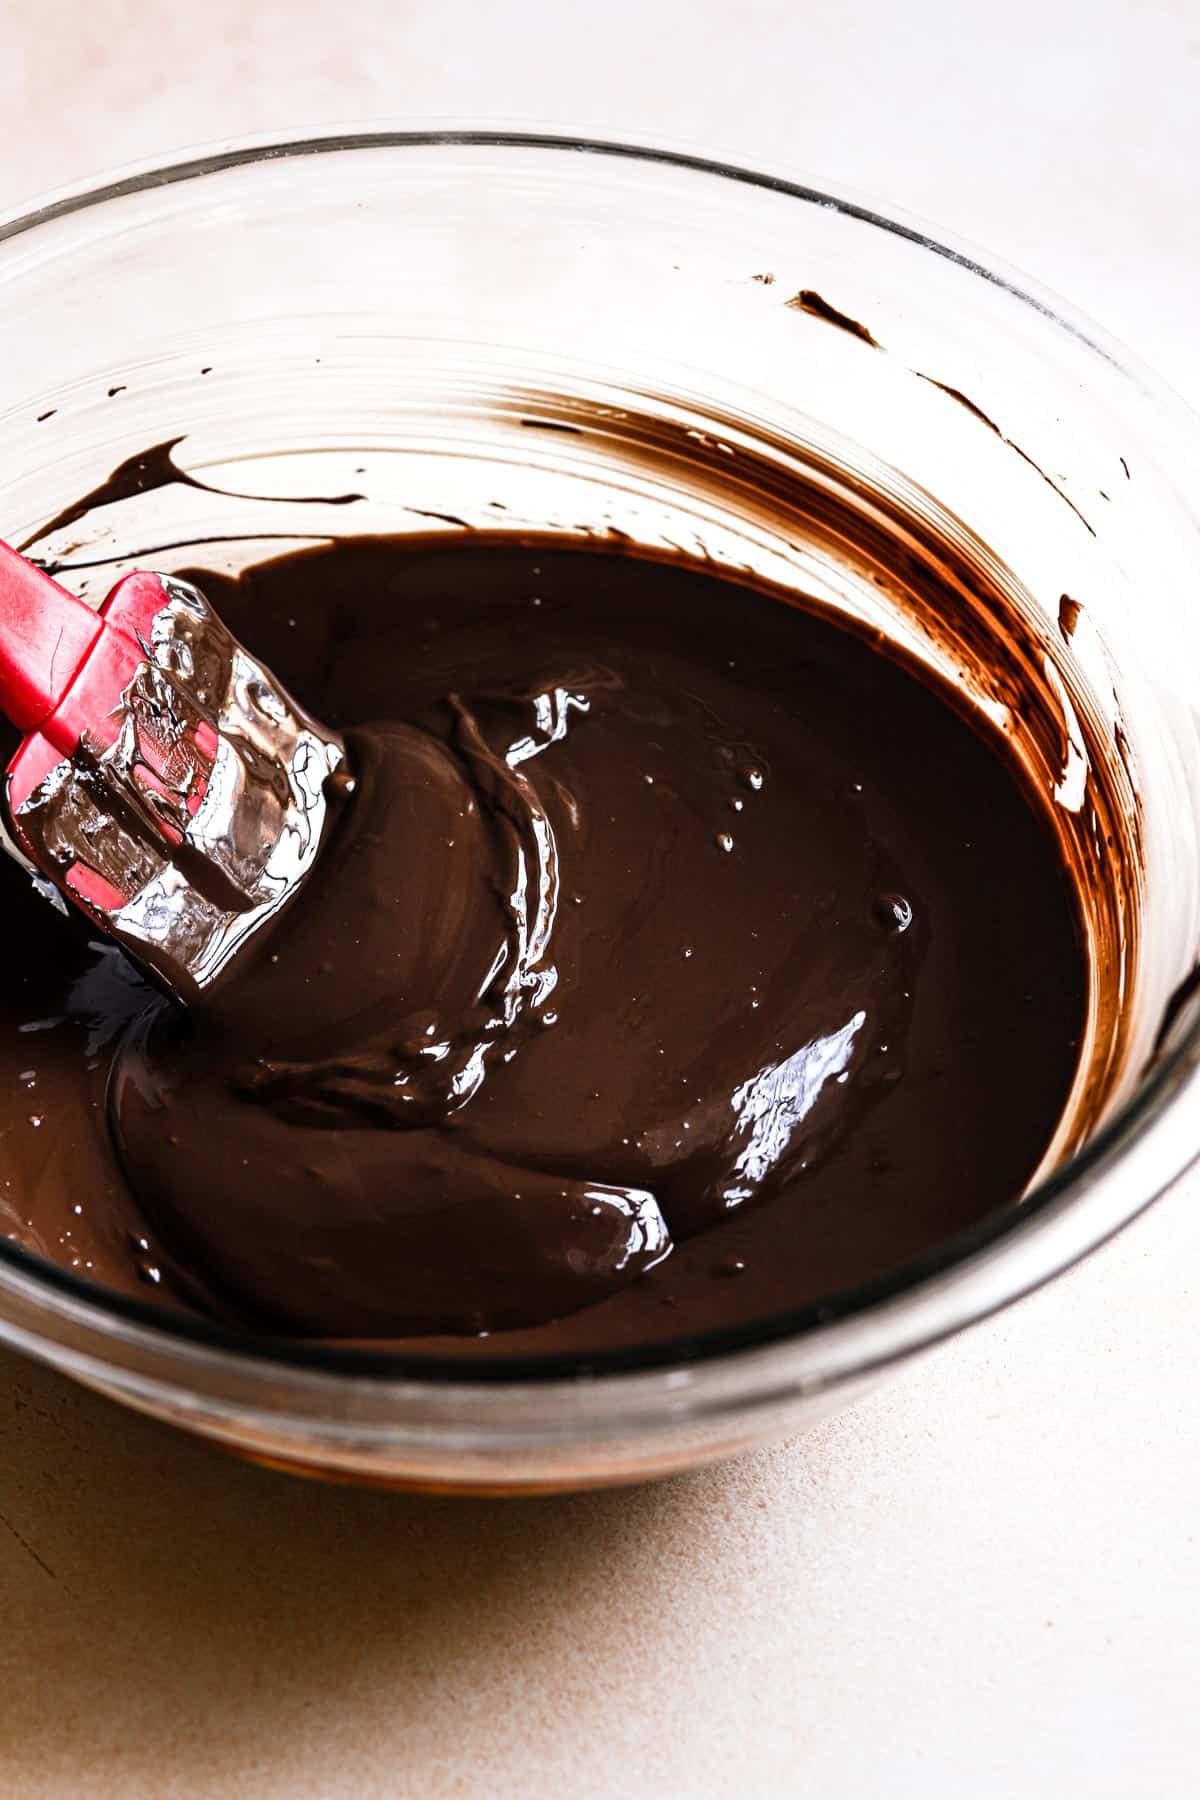
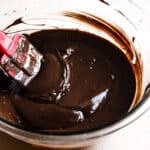
When chocolate is mostly melted but there are still pieces remaining (the chocolate is about 115F degrees), it is time to use the immersion blender and bring the chocolate together. Pour the chocolate into the second glass bowl. Use a rubber spatula to gently stir the bowl of chocolate until the temperature of the chocolate reads 90-92 F (32-33C) The chocolate is now ready to be used.
- Warm it up if needed.
Tempered chocolate cools very quickly as we work. If that happens, use a hair blow dryer to give it a “quick” warm-up and bring it back to 90-92 F (32-33C).
Method 2
This way also uses the seeding method but does not call for an immersion blender. This is a great method when you need to temper over 1 cup of chocolate. you will need:
- Glass bowl
- Chopped chocolate – important that the chocolate is chopped to the same size pieces.
- Thermometer
- Rubber spatula.
Directions:
- Place three-quaters of the chocolate into the bowl and melt in the microwave using 30 seconds increments. Make sure to toss the chocolate or stir with a rubber spatula every 30 seconds.
- Once the chocolate has melted (should be at the temperature of at least 115 F), remove from the microwave and add the remaining chocolate. Stir in the pieces until melted and the temperature has cooled with 90-92 F. (32-33C) (Remove any unmelted pieces)
- The chocolate is now ready to be used.
Tempering Small amount of chocolate
If you need to melt up to one cup for chocolate decorations, use the first option but only melt it halfway through. Then use a rubber spatula to seed the unmelted pieces into the melted chocolate.
Tempering chocolate temperatures chart
Tempering milk chocolate and white is done the same way as tempering dark chocolate, but with different temperatures.
| Melting temperature | Tempered temperature | |
| Dark | 115-130F 50-55C | 90-92F 32-33C |
| Milk | 113-120F 45-50C | 84-86F 29-30C |
| White | 113-120F 45-50C | 82-84F 28-29C |
Tips
Please read the below tips carefully, this is an essential part of the best results:
- Use high quality chocolate and do not use chocolate chips.
- Reheating tempered chocolate might be the only option for a cool chocolate, use a hair dryer to bring the temperature back to 90-92F (32-33C). If the chocolate is completely solid then you will need to retemper the chocolate.
- Under-tempered chocolate will not have a glossy look and will not snap, so make sure to pay close attention to the desired temperature.
- If you do not have an immersion blender, you can use a food processor but pay close attention to the correct temperature.
- You can use a metal bowl and a double boiler, but pay very close attention that the hot water does not splash into the chocolate. Even the smallest drop will seize the chocolate. If that happens there is no way to save it and you will need to start over.
- Add large pieces of chocolated when using method 2. Once the temperature reacher 90-92 F (32-33 C) it will be easier to remove any unmelted pieces.
Storing
The best way to store tempered chocolate is at 70-75F. A chill spot in your pantry should be a good option. Note that the crystals are always on the move and as time goes by the structure will reposition itself and change the texture and appearance.
Avoid freezing and/or storing in the refrigerator.
DID YOU TRY THIS RECIPE?
If you tried this recipe or any other recipe by One sarcastic Baker baking blog, please take a movement to rate and comment at the end of each recipe. Your questions, ideas, and thoughts are priceless, and here at OSB we value them more than butter!
More Chocolate recipes
Chocolate Orange Cake, Triple chocolate Donuts, Double chocolate Muffins, Black forest cupcakes, Chocolate Drop Cookies, Brownie Cake, Biscoff Brownies, Matcha Brownies, S’mores Pies.
Chocolate Article
Dutch Process Cocoa Powder vs. Natural Cocoa Powder, What Is Cocoa Powder.
How to temper chocolate
Equipment
- 2 large glass bowls
- 1 Thermometer (digital)
- Emergen blender
- Rubber spatula
- Hairdryer
Ingredients
- 5 Cups Chopped chocolate For method 1 (896 g / 32 oz)
- 4 Cups chopped chocolate For method 2 (672 g / 24 oz)
- 1 Cup Chopped chocolate For method 3 (170 g / 6 oz)
Instructions
Mothod 1
- Place the chopped chocolate in a large glass bowl and heat in the microwave using 30-second increments. Make sure to stir between each time.
- Repeat the first step until most of the chocolate has melted but still they are a few unmelted pieces. (the temperature should be 115F-130F )
- Use the immersion blender to blend the unmelted pieces.
- Pour the mixture into the second large glass bowl.
- Use a rubber spatula to gently stir and cool the chocolate down to 90-92F.
- Use it immediately.
- When the chocolate thickens, use the hairdryer to bring it up to the right tempering point. (careful not to over do it, if the temperature is over the tempering point, you will need to retemper it)
Method 2
- Place 3/4 of the chopped chocolate in a large glass bowl and heat in the microwave using 30-second increments. Make sure to stir between each time.
- Once the chocolate has completely melted and reached 115-130F, add the remaining pieces and gently stir until it has cooled down to 90-92F.
- Use it immediately.
Method 3
- Place the chocolate in a microwave proof bowl and warm it in the microwave using 30 seconds increments.
- Remove from the microwave once you notice the chocolate is partly melted and there are some unmelted pieces.
- Remove from the microwave and gently stir to melt the unmelted pieces. Once the chocolate reaches 90-92F (32-34C) it is ready to be used.
Notes
- For milk and white chocolate options, see the temperature chart at the post.
- Make sure the chopped pieces are all even in sizes. (1/2″ – 3/4″).
- If using a double boiler, very important that no water splashes the mixture or else it will seize.
- Do not use chocolate chips of any product that does not contain any cocoa butter.


Thank you for such an informative post and the different chocolate chart. Can’t wait to temper some chocolate and make some of your chocolate covered graham crackers.