Last updated on February 9th, 2026.
In this post, I collected my top tips for baking cake but, to be more specific, the perfect pound cake. Is there anything more satisfying than a buttery, moist cake with a beautiful dark golden crust in the shape of a bundt pan? Whether it is a chocolate cake or vanilla cake, a well-baked pound cake is perfect for me!
This post contains affiliate links.
Tips for baking cake: pound cakes
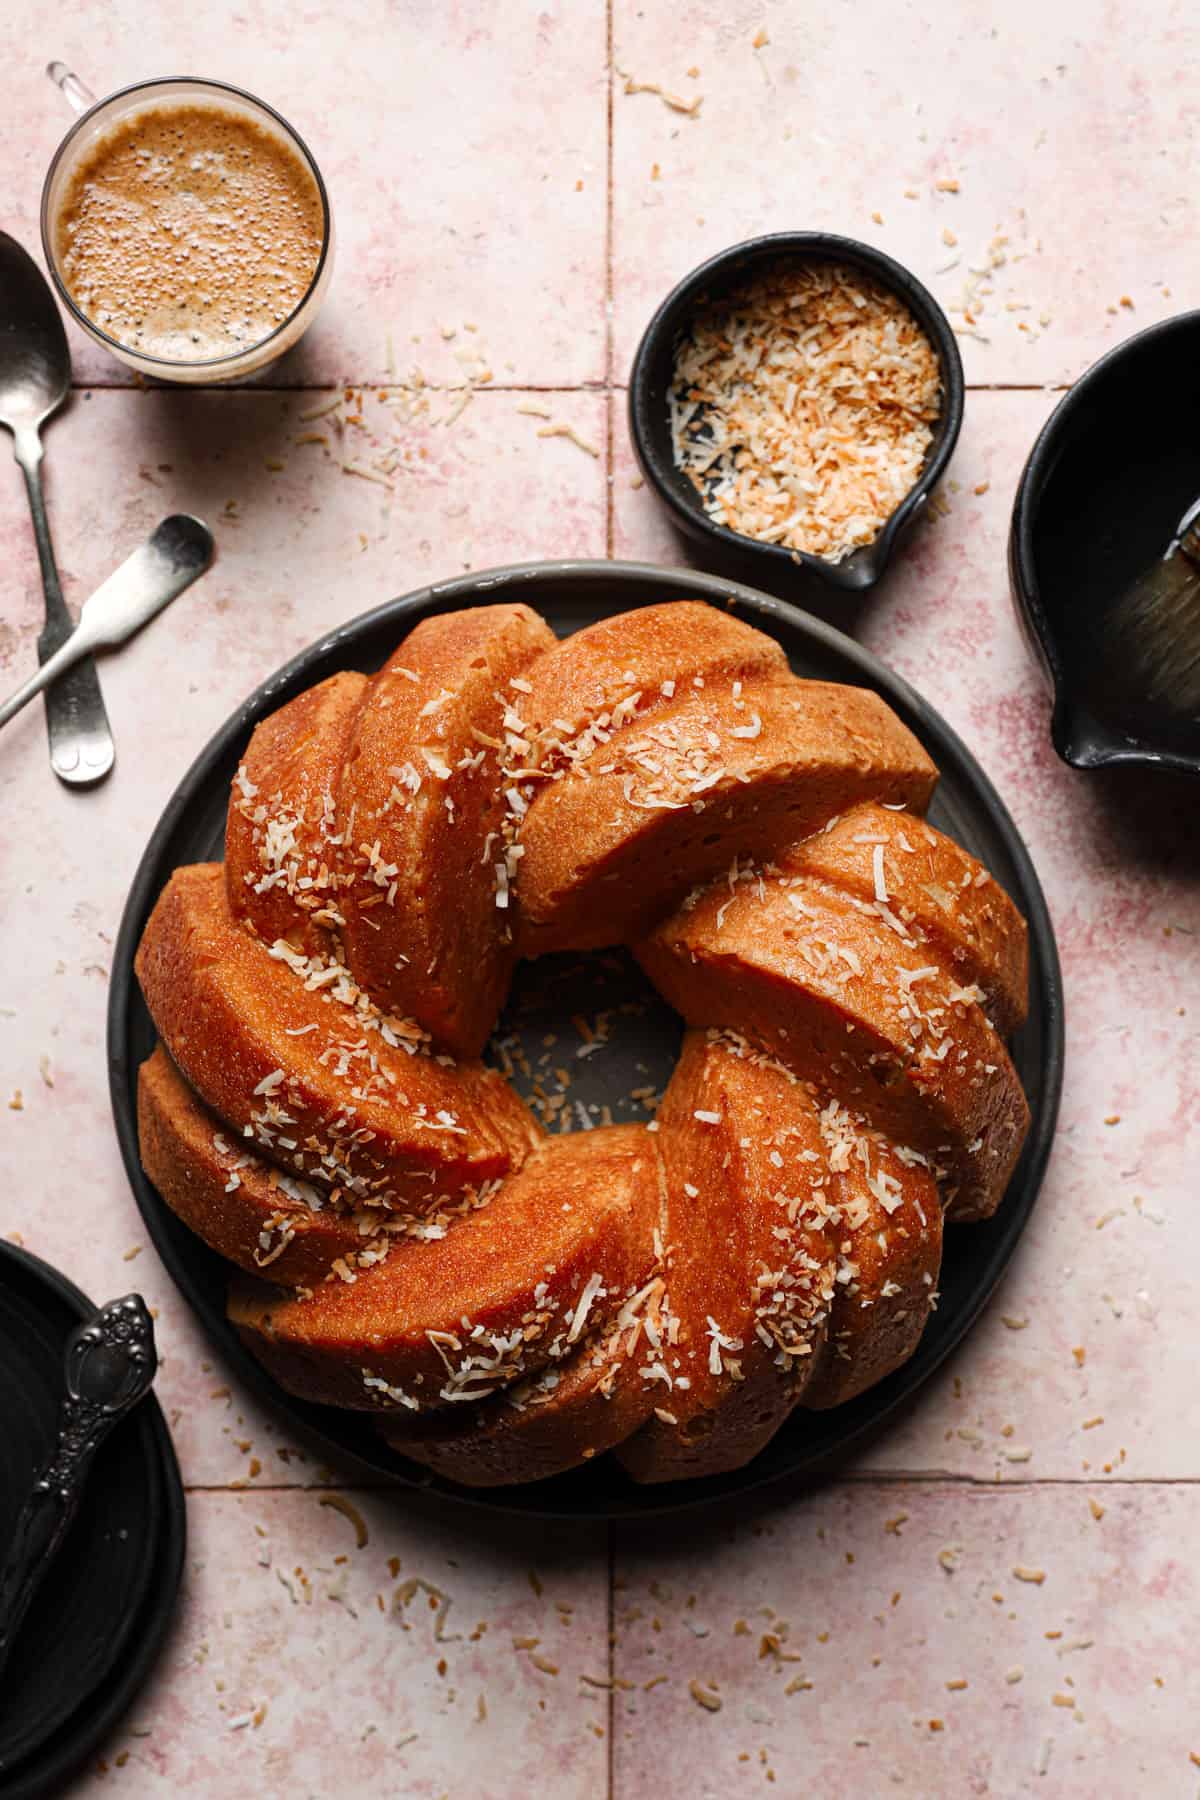
Baking the perfect pound, whether this Real Pistachio Pound Cake, or this classic Marble Pound Cake is an art that requires precision, patience, and a keen understanding of the baking process. In this first part of our series on baking tips, we’ll delve into the intricacies of creating a flawless pound cake. From understanding the recipe to mastering the creaming method, these tips will guide you toward a pound cake that is moist, tender, and utterly delicious.
If you are planning to bake an angel food cake or a chiffon cake, even though some tips may apply, the tips in this post are specifically for pound cakes and butter cakes (like pound cakes but less butter and eggs).
1. Read the Recipe
Before you start, take your time and read the recipe thoroughly. Familiarize yourself with the ingredients, measurements, and steps involved. This simple step can prevent mistakes, help you organize, and ensure a smooth baking process. Also, I found that reading recipes is a great way to learn more about cake ingredients, baking techniques, and different methods.
2. Room Temperature Ingredients
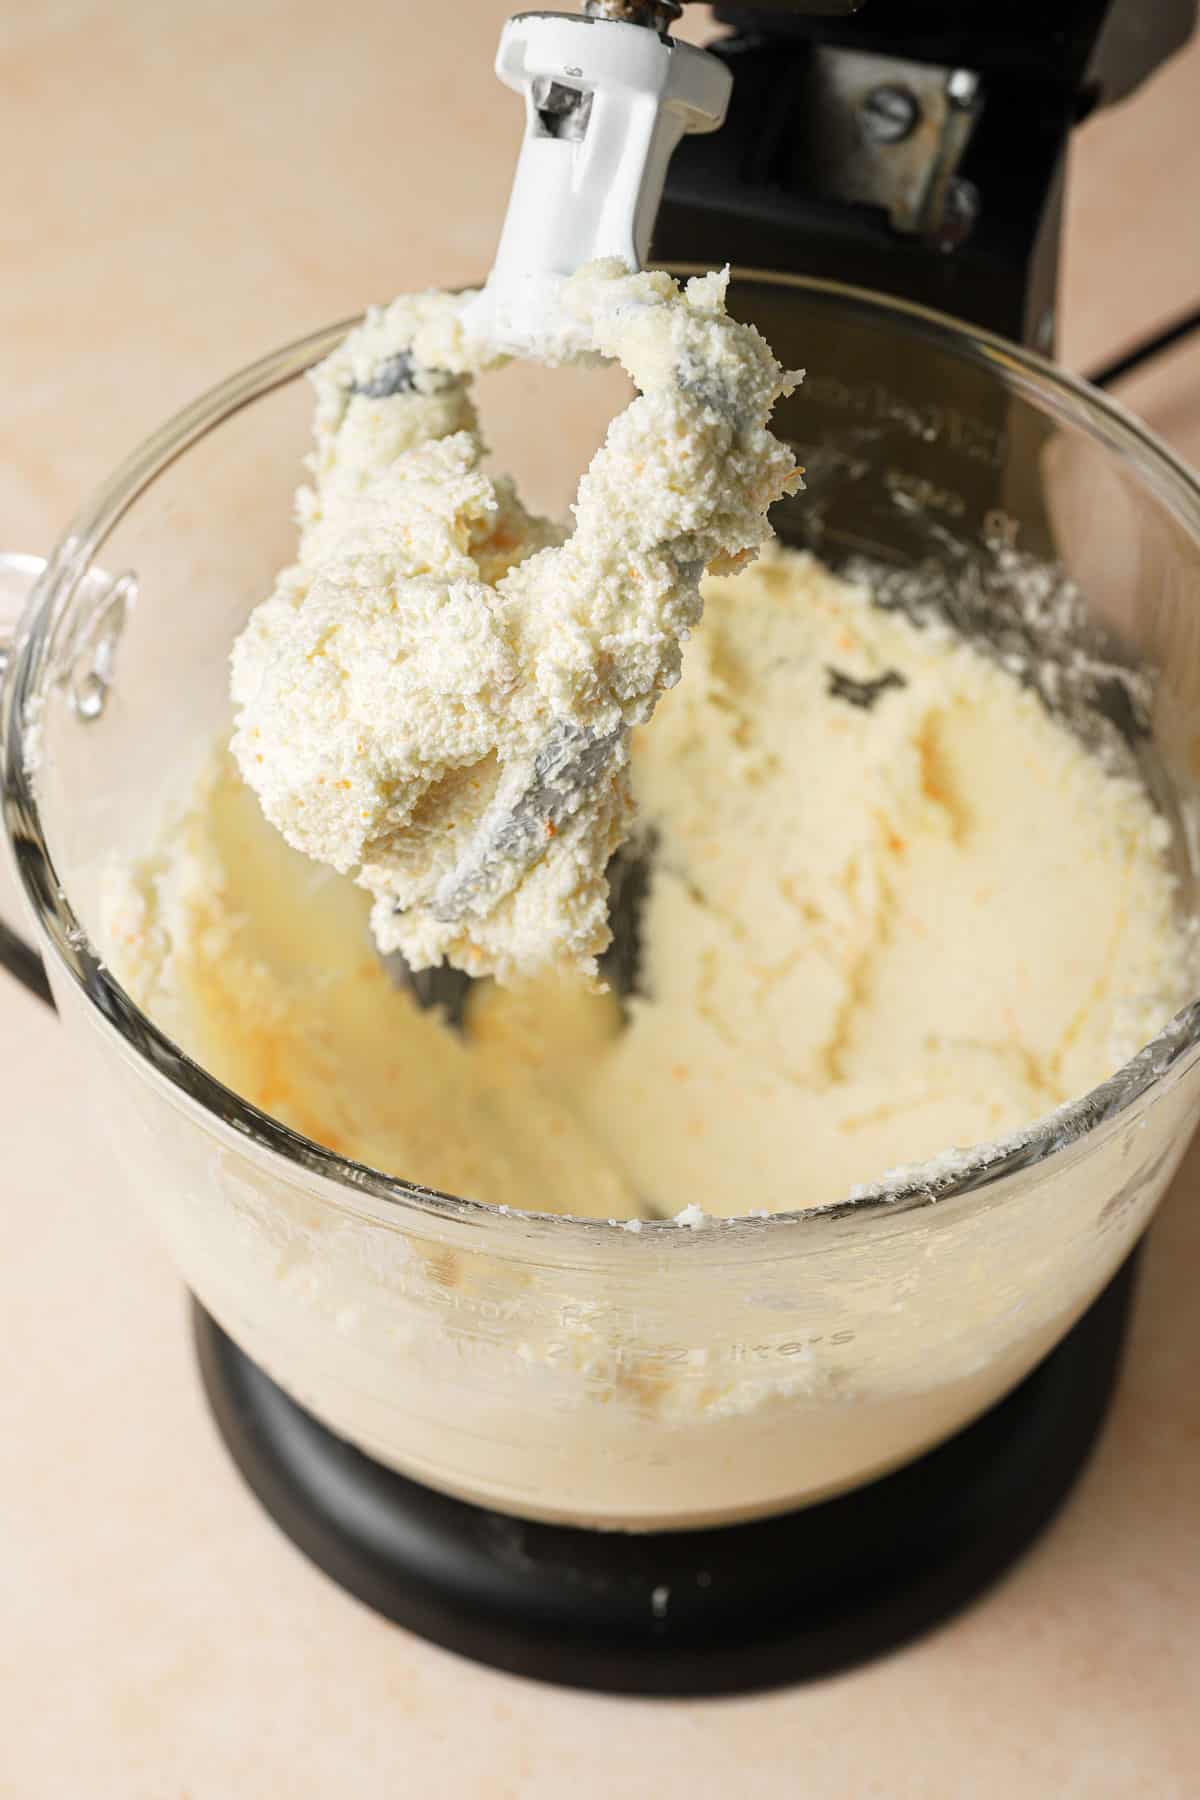
Every pound cake recipe calls for room-temperature ingredients for a very good reason. Our ingredients are made of molecules, which behave a lot like humans: when it’s cold, they stay put and basically shiver in place. Then, as the temperature rises, they absorb energy and start moving around. The first step in baking is the mixing process, and it’s the step that determines whether a cake bakes into a tender, moist, and fluffy heaven or a dense, dry brick.
For the mixing process to succeed, we need our ingredients to infuse with each other smoothly. That happens at room temperature, for example: for the butter and sugar to whip into a light and fluffy mixture, the butter must be at a temperature of 65F-68F (17-19C); this way, the sugar can easily dig into the butter and create tiny holes that end up as air bubbles.
For more tips, check out this post on how to soften butter fast and how to bring eggs to room temperature.

The rule also applies to the eggs (and liquids): remove the eggs from the refrigerator a few hours before baking to allow them to warm to room temperature. The eggs trap air and bind the fat and the liquids in the recipe together. With cold eggs, the emulsification process is harder to achieve, and we might end up with a tough, greasy, and dense cake.
Keep in mind: sour cream, cream cheese, fresh fruit puree, and lemon juice are all considered to be wet ingredients (or, sometimes, liquid ingredients) due to their high water content.
3. Accurately Measure the Ingredients
Precision is key in baking. Even a slight deviation can affect the texture and taste of your pound cake. If you bake a cake more than once a year, then go ahead and get a kitchen scale; they are easy to find and very affordable. Also, invest in measuring cups and spoons. It is very hard to measure flour accurately without a scale. Too much flour will result in a dry, dense cake, and almost all cake fails are a result of poor measurements.
But if you must, first use a spoon to aerate the flour. Then, use the spoon to fill your measuring cup WITHOUT pressing the flour. Once the cup is full, run a butter knife over the top of the cup to remove any access flour. The same technique goes for all the dry ingredients your recipe calls for cornstarch, cocoa powder, or powdered sugar.
4. The Mixing Method: Creaming or Blending
The creaming method
In this method, we start by creaming the butter and sugar into a light-in-color mixture full of air bubbles that, during baking, expand with gas and elevate the cake. When using this method, always keep in mind:
- Add the eggs one at a time and wait for each egg to fully incorporate before adding the next.
- Add the flour mixture alternating with the liquids in three parts, always starting and ending with the flour mixture.
I used this method to bake this Date Cake, Ciambellone, and Mango Puree Cake.
The Blending Method
Is the easiest of them all, where we just need to mix the ingredients together. Most of the time, we use this method when the recipe calls for oil. Unlike the creaming method, in this method, we do not add air by creaming, so keep in mind that every sifting, mixing, or folding movement also incorporates air into the batter that will help expand the cake batter into a tall and impressive cake.
For recipes using this method, check out Maple Cake and Carrot Cake.
5. The Mixer Speed
Pay attention to the speed of the mixer; it will determine how the ingredients are incorporated into the batter.
- When creaming the butter and sugar, medium-high speed is recommended so we won’t incorporate too many air bubbles (see next tip).
- When adding the eggs (and oil), use high speed so the eggs can emulsify easily.
- Add the flour at low speed to minimize the development of gluten. I like adding the last portion of the flour using a hand spatula.
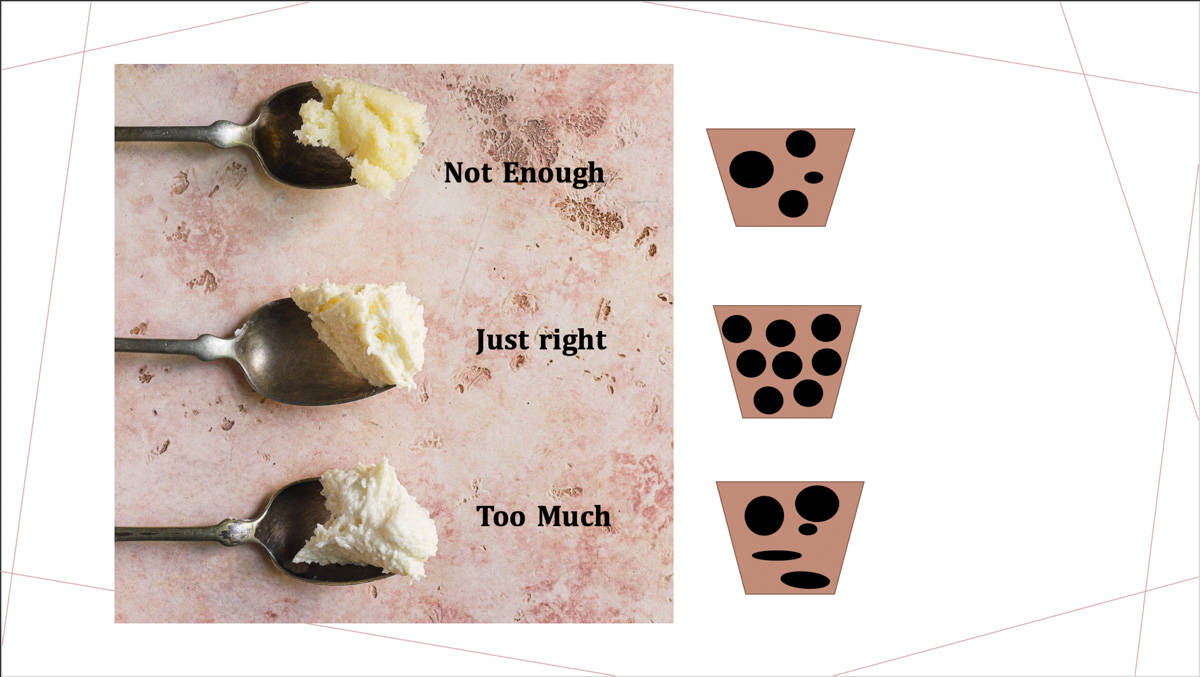
6. Don’t Overmix or Undermix
Pay attention to the texture of the mixture during the mixing process. It is very easy to notice when it’s under mix; if you can point at the ingredients and recognize them, then you know it’s under mix.
Over-mixing can cause the cake to deflate and toughen, and instead of having a fluffy cake, we end up with a chewy, dry cake.
Because during the mixing process, we incorporate air, emulsify, and blend the ingredients together. Here is when you need to pay attention:
- When beating butter and sugar: Over mixing results in over-crowding our mixture with air bubbles. When that happens, the air bubbles do not have any room to expand during baking. So they bump into each other and deflate. Knowing how much is too much takes practice, but I found that 4-5 minutes is the average. It’s a good idea to scrape the bottom and sides of the bowl once or twice. This will help with an even creaming.
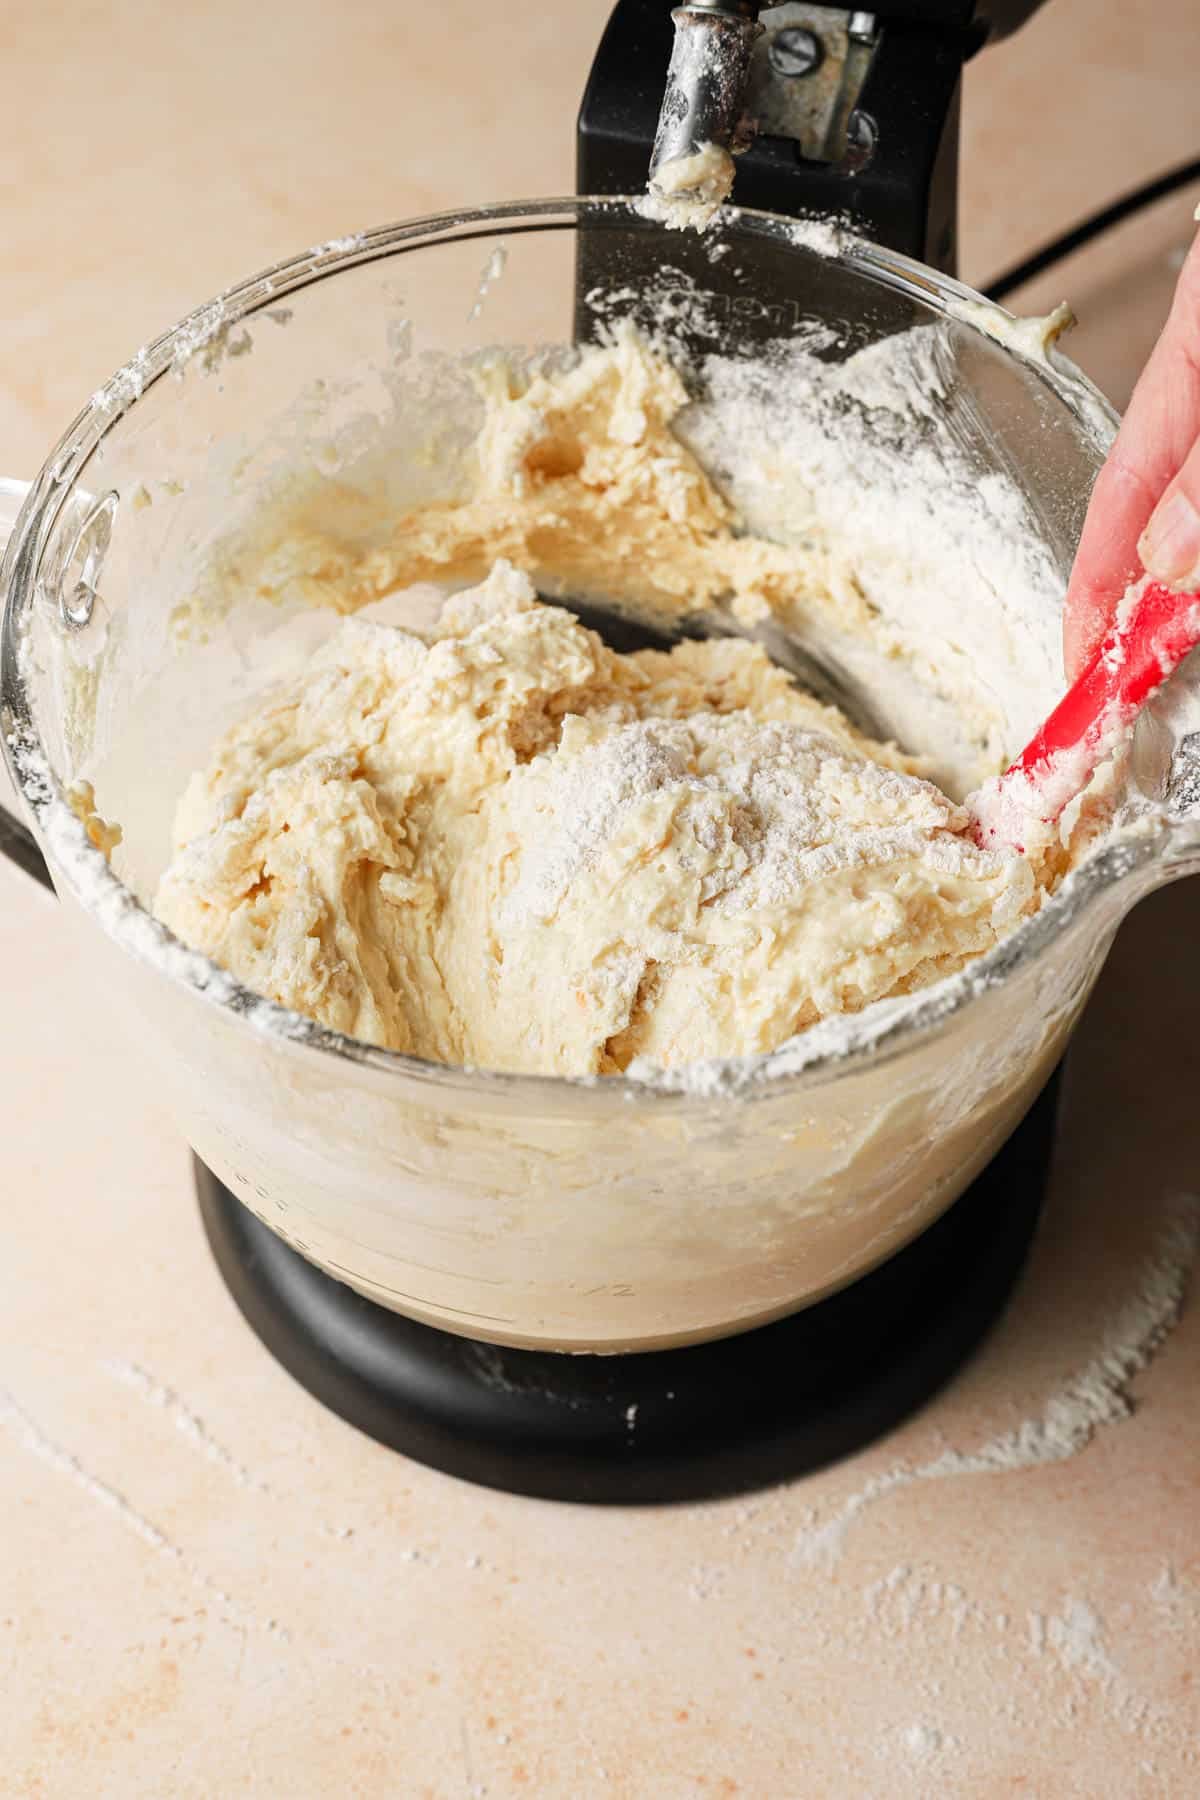
- When adding the flour: Mix just until you no longer notice any dry flour. If you keep mixing, the flour will create gluten bonds, and you might end up with a tough, chewy cake. So:
- Use a rubber spatula to incorporate the last portion of the flour.
- Only mix until you no longer notice any dry flour.
7. Scrape as You Go
Our mixer is not perfect, and it does not care when it can not reach the chunks of butter at the bottom or sides of the bowl. So, between every step (and during the creaming step), stop the mixer and use a rubber spatula to scrape the bottom and sides of the bowl.
8. Know Your Oven
Every oven is unique, so different ovens call for different baking times. That’s why most recipes will describe to you how to tell if the cake is ready. For example, insert a toothpick or a cake tester into the center of the cake. Or press the top of the cake if it bounces back. Invest in an oven thermometer to verify the accuracy of your oven temperature. This knowledge is crucial for achieving consistent results.
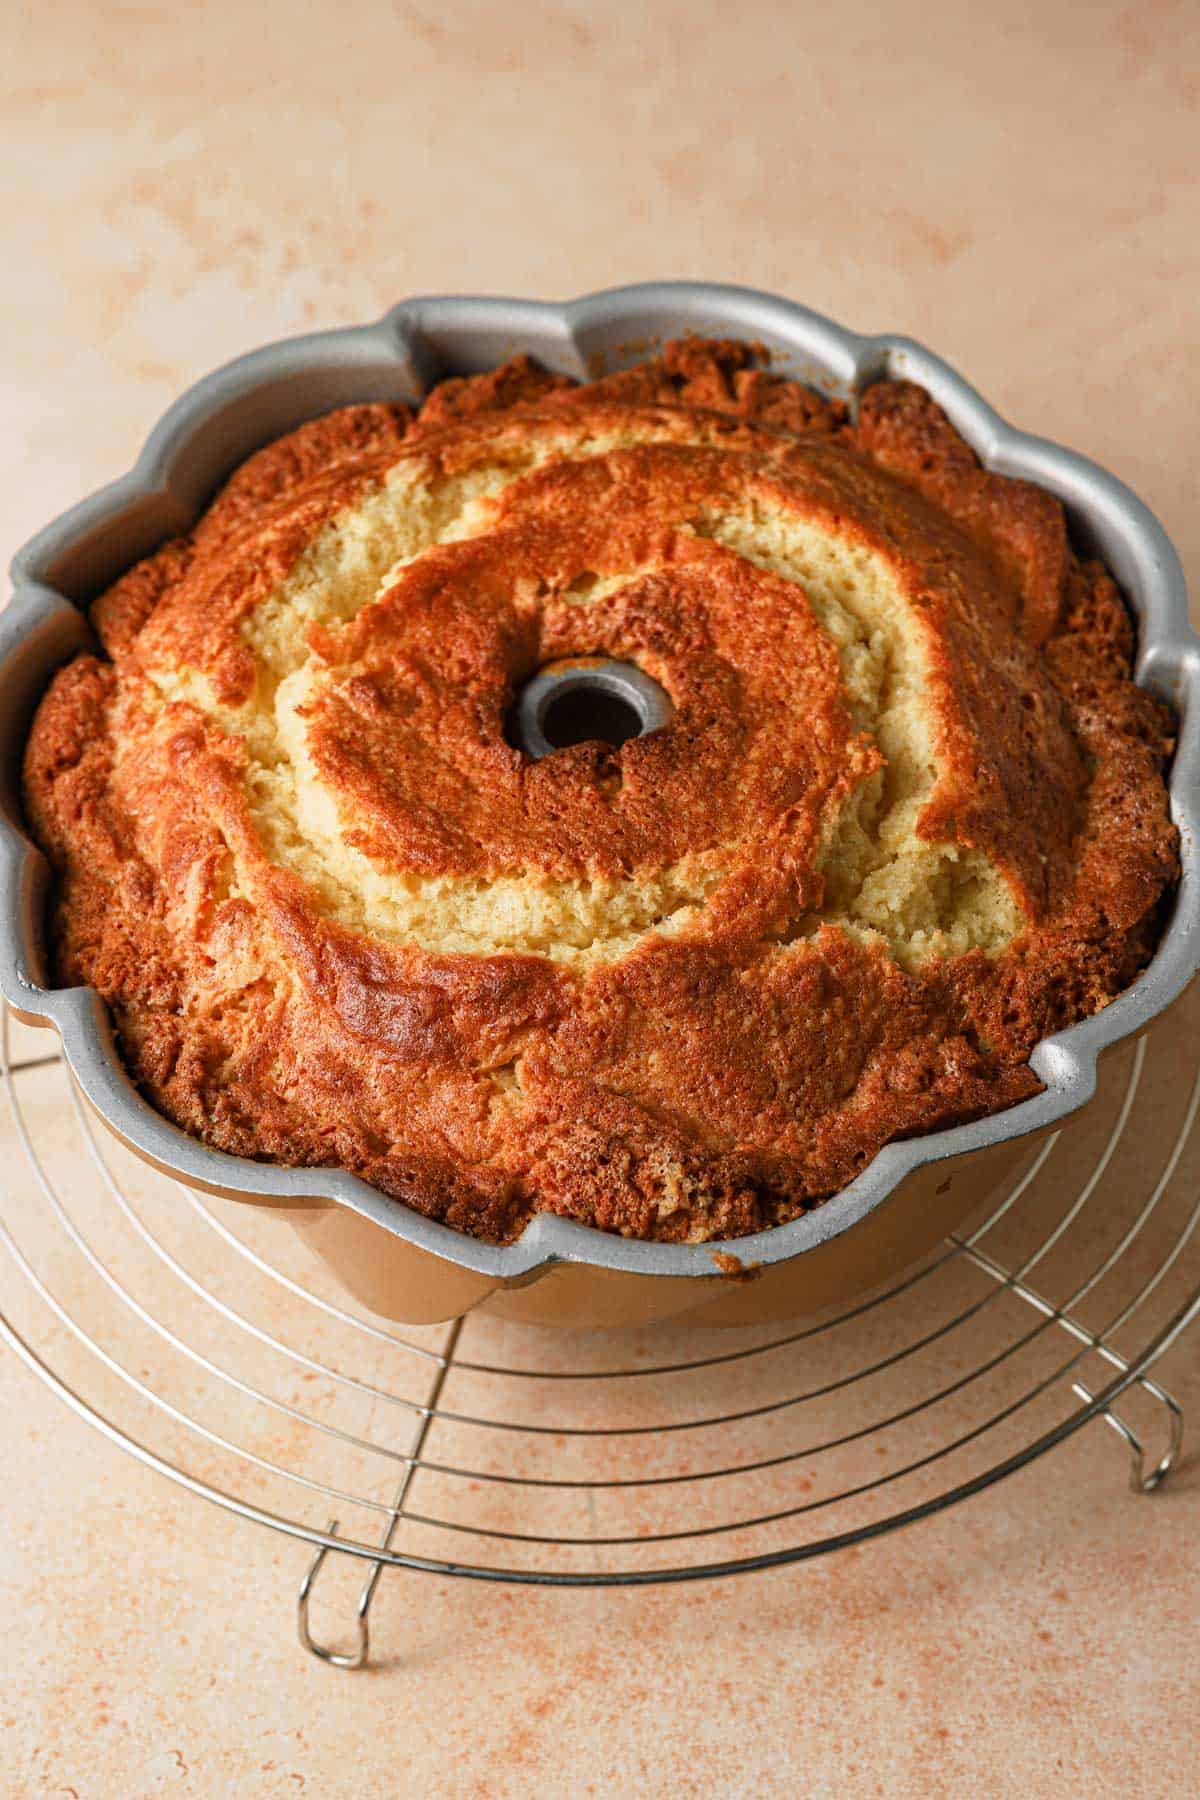
9. Cooling Process
When we remove our cakes from the oven, the cakes actually continue to bake from the heat residue. If we invert the cakes, most likely, they will collapse and, or stick to the pan. As a result, we’ll end up with a messy and massive pancake. Depending on the size and weight of the cake, allow it to cool in the pan for 20-30 minutes. Then, carefully invert it to a wire rack. And never allow it to cool completely in the pan.
10. Storing Your Pound Cakes
I noticed that pound cakes taste best the next day when at room temperature. Do not store your unfrosted cakes in the refrigerator. The refrigerator’s job is to remove moisture from the surface of our food. Great for our cheese but not so much for our bundt cake. Store your bundts (that includes sheet cakes) at room temperature, covered in a dome cake, or with aluminum foil.
A great way to keep the cakes fresh is by freezing them. It’s great for when you want to bake ahead of time or are not sure what to do with your leftover cake. To freeze, gently wrap the cakes with plastic wrap, place them inside a plastic bag, and freeze for 4-6 weeks. (I do the same with cake layers)
I hope you learn something new from this post; of course, if you have any questions, feel free to ask them in the comment section below. And if you have any more tips for baking cake, let me know; I am always eager to learn.
More How To Tutorials
How To Make Brioche Bread, How To Laminate Dough, How To Temper Chocolate