Last updated on March 2nd, 2023.
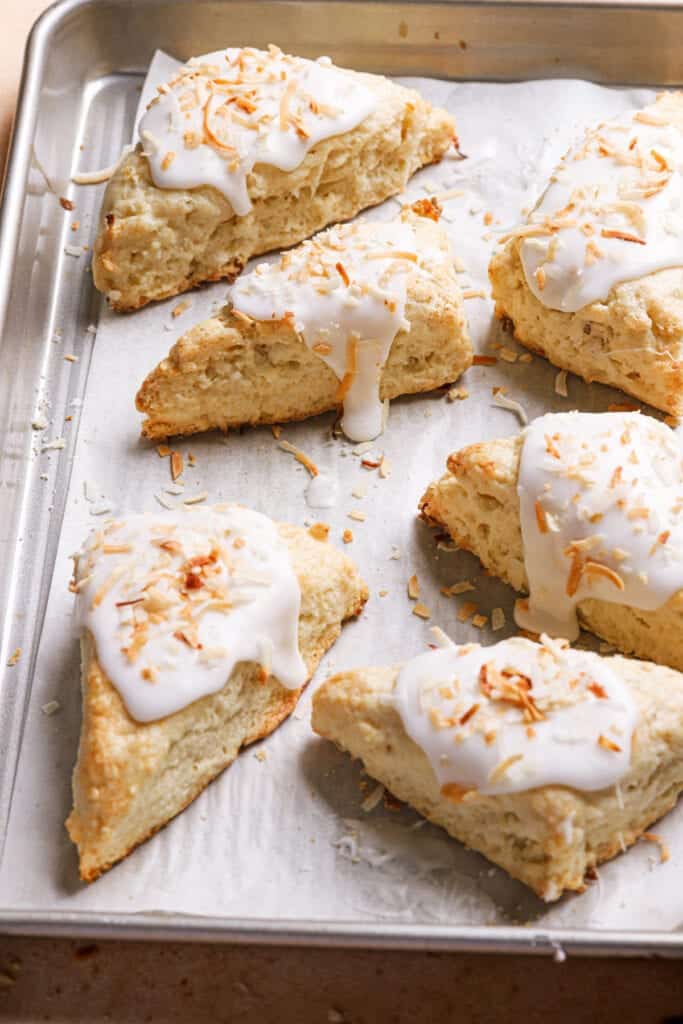
These coconut scones are made with coconut milk and coconut flakes, they are frosted with coconut glaze and sprinkled with toasted coconut.

Breakfast recipes have a high ranking for a good reason, recipes like Brioche French toast, Brioche French Toast casserole, and Cinnamon rolls are comforting, delicious, and most satisfying. Today we are adding another epic recipe to our breakfast collection.
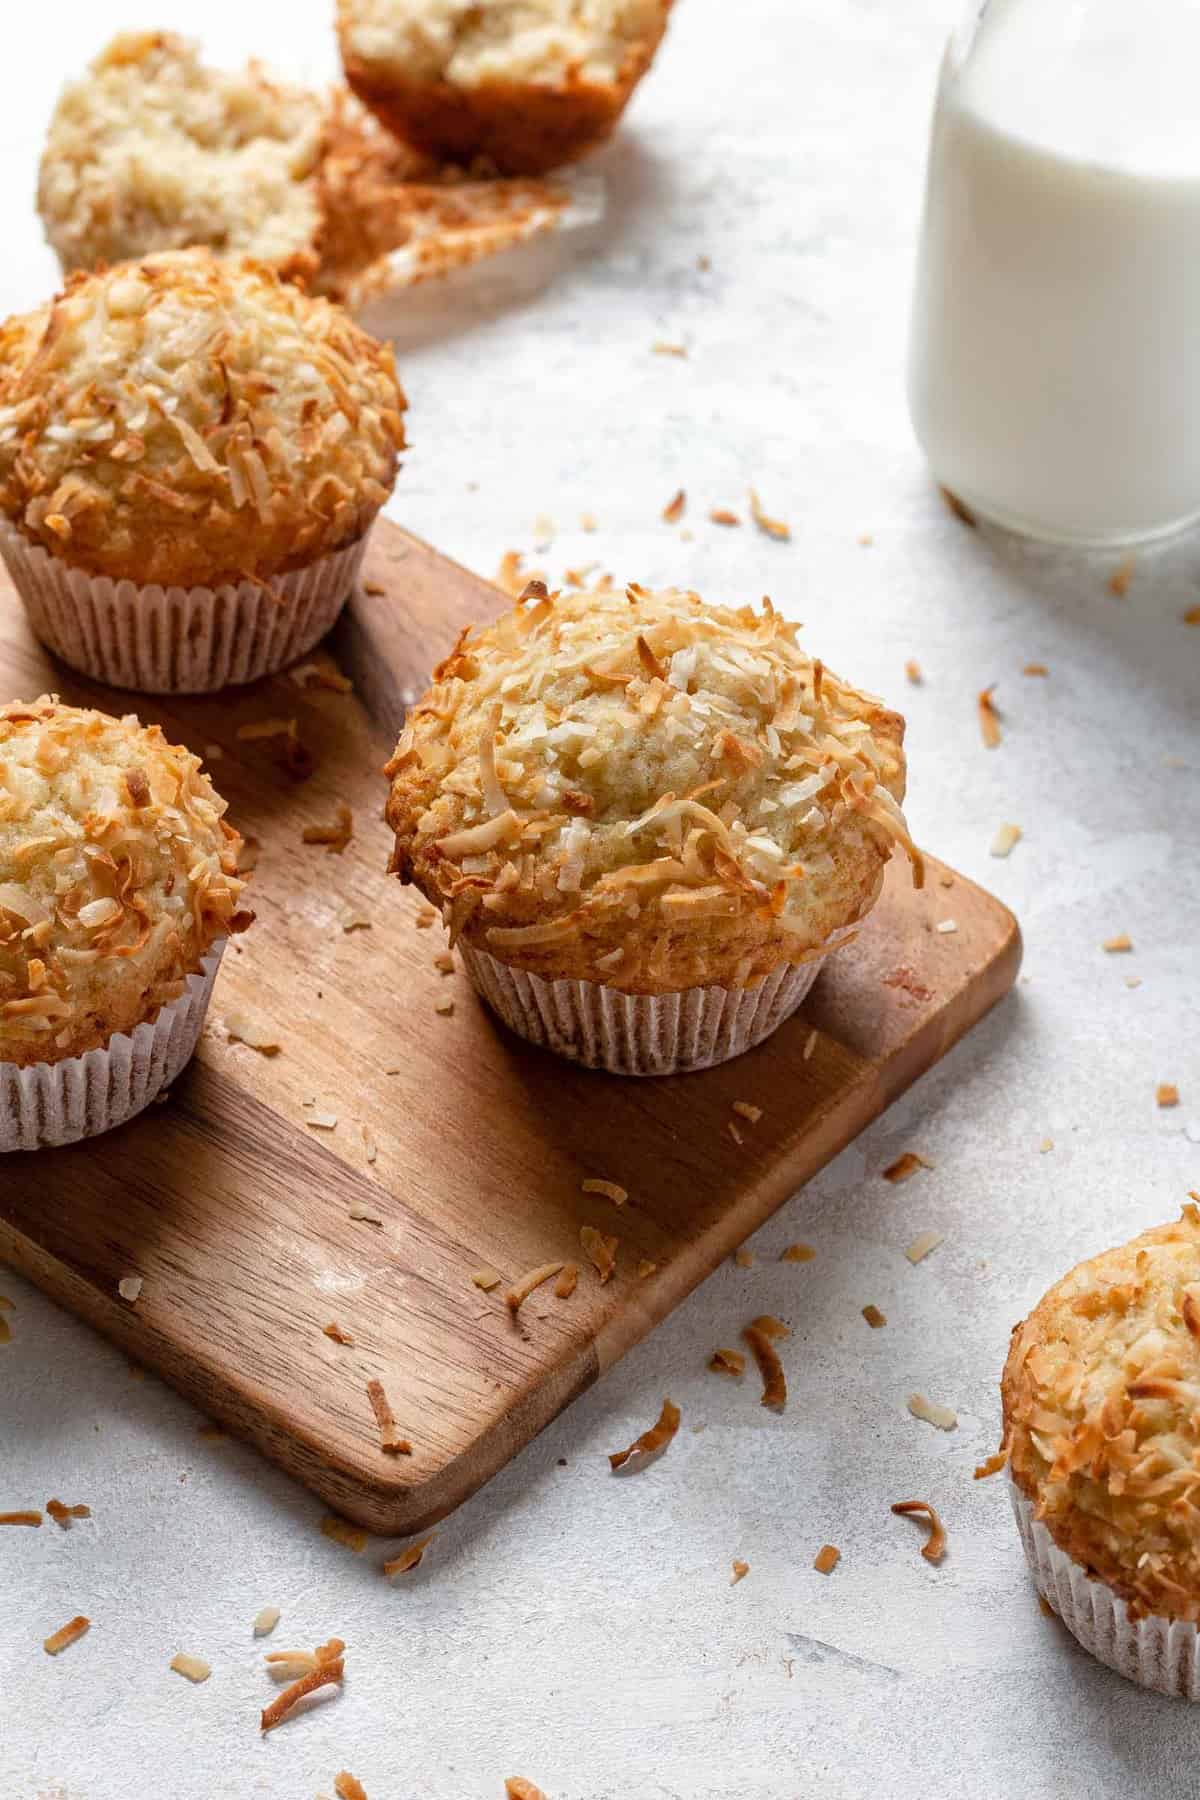
These scones are made for the coconut lovers among us, and also these Coconut Muffins. And for the scones lovers among us? Well, these are quite the scones. Forget about dry and hard scones; a relatively large amount of butter gives the scones a tender and soft texture, and the coconut milk gives a rich coconut flavor.
Making homemade scones is super easy and even faster. But the way to success relies on a few key steps (listed below and bolded) I highly urge you not to skip. These tips are essential and easy to follow. Also, once you understand (and adapt) the science behind them, you will master scones.

What ingredients are in these Coconut scones?
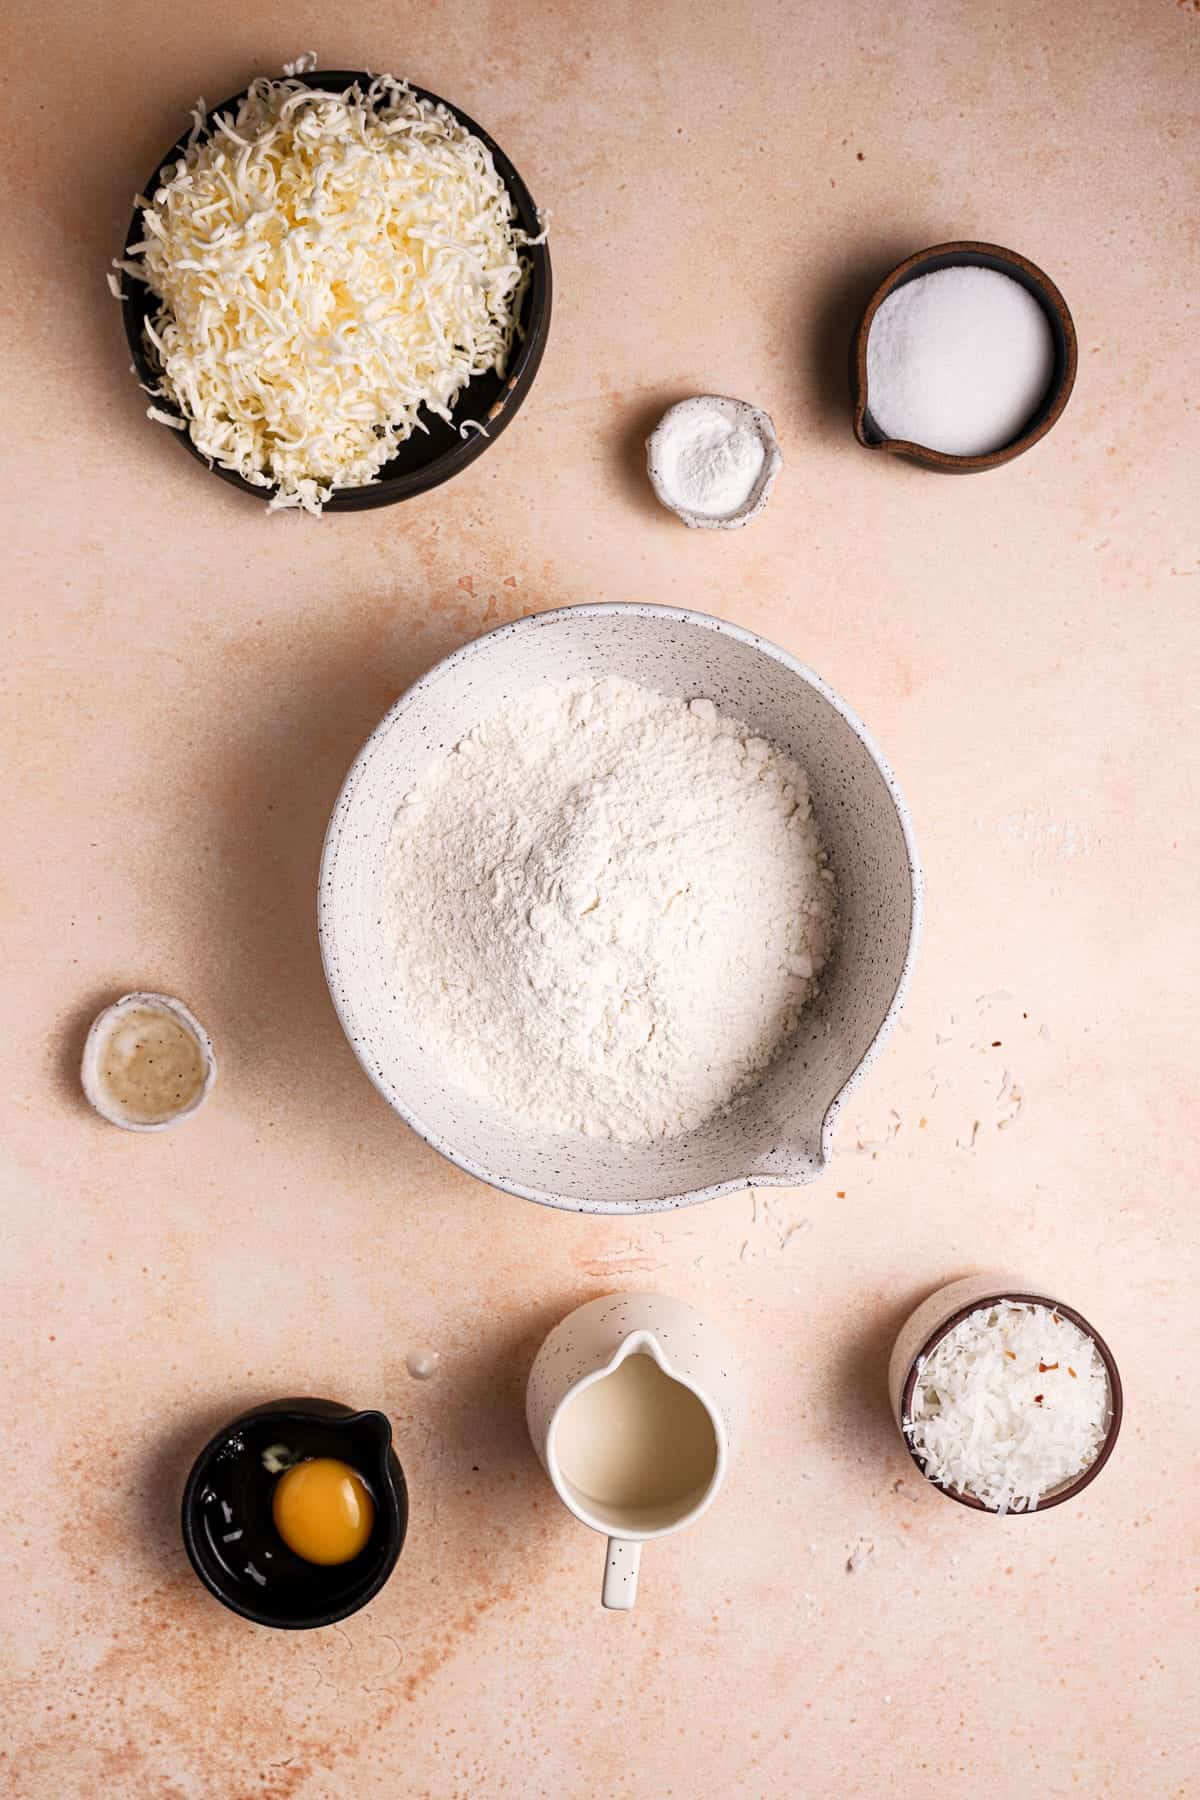
- All-purpose flour
- Baking powder
- Sugar
- Coconut milk, I used full-fat canned unsweetened coconut milk.
- Egg
- Sweetened shredded coconut
- Coconut extract
Can I use light coconut milk?
Yes, and I am referring to canned coconut milk. However, please note that the high content of fat in the full-fat coconut milk contributes to the soft and tender texture of the scones.
Can I use regular milk?
Yes. Both regular milk or heavy milk are great substitutes even though they will not contribute any coconut flavors.
Hot to make these scones?
The most important role to remember whenever making scones is to make sure the ingredients are as cold as possible. That means you should first start by getting the ingredients ready by measuring and cooling in the refrigerator for about 30 minutes before mixing them into a scone dough.
Why cold ingredients?
Because we are using butter and butter has water in it. Cold butter means it is less likely to melt when we incorporate it into the flour.
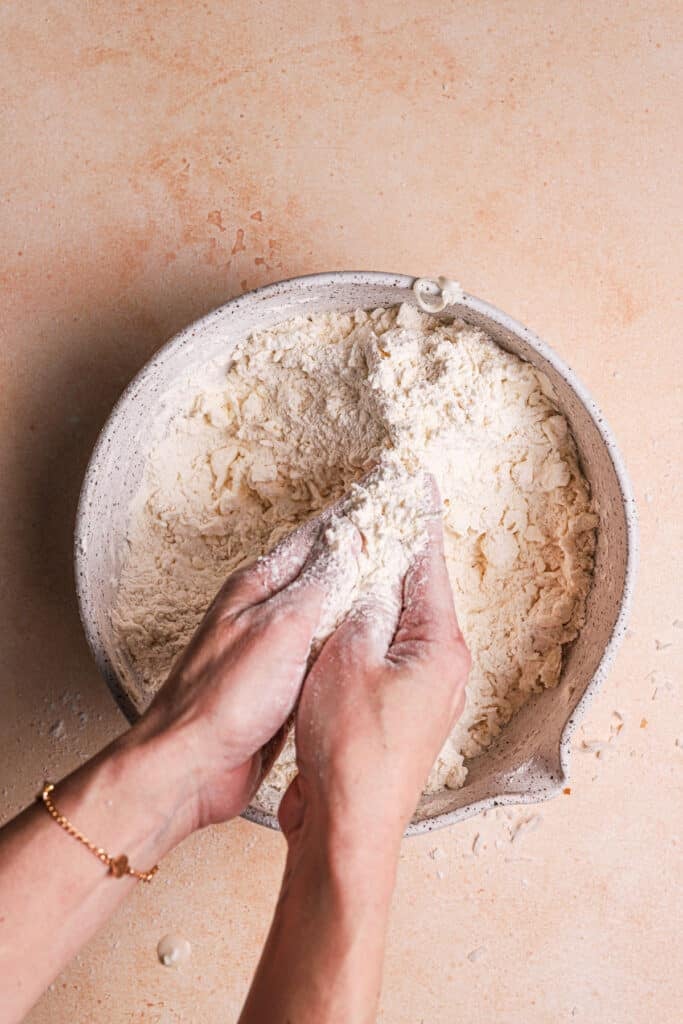
Next, we will rub/cut the butter into the flour until the flour is fully coated with the butter. This is what gives us a tender and crumbly bite (vs. dry scones).

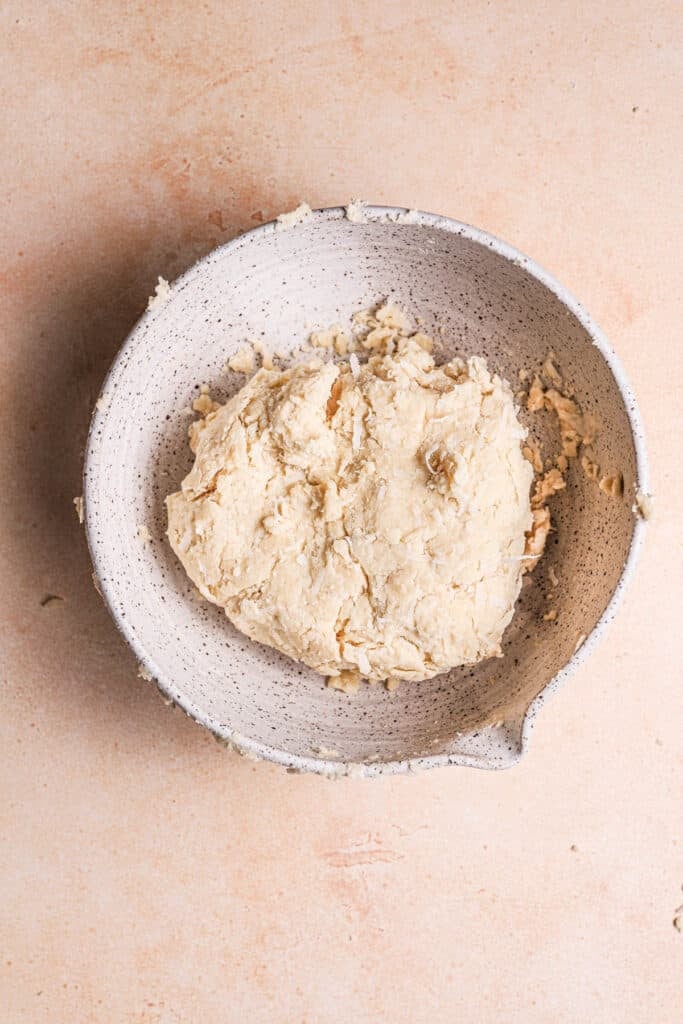
Now it is time to add the liquid mixture and hydrate the flour-butter mixture. I chose the word hydrate vs. mixing on purpose. The goal is to create short and weak gluten chains. When we hydrate we “move” around the flour using a fork, wooden spoon, or even our hands so the flour will be able to absorb the liquids while developing very weak gluten chains. When we mix, we are hydrating the flour using more force, much like kneading and by doing so we are developing stronger gluten chains. Stronger gluten chains = tougher scones. Starting by adding 2/3 of the liquid is another way of controlling the formation of gluten chains. Gluten develops in water, less water, a weaker gluten.
Lastly, we will divide the dough into 2 equal parts, shape into rectangles (or circles if you prefer) and scones.

Baking right away vs. freezing:
The advantage of freezing the scones before baking is that when baking a scone frozen, the scones set before the butter melts and misshape the scones.
If you do not mind some perfectly imperfect scones, go ahead and bake right away.
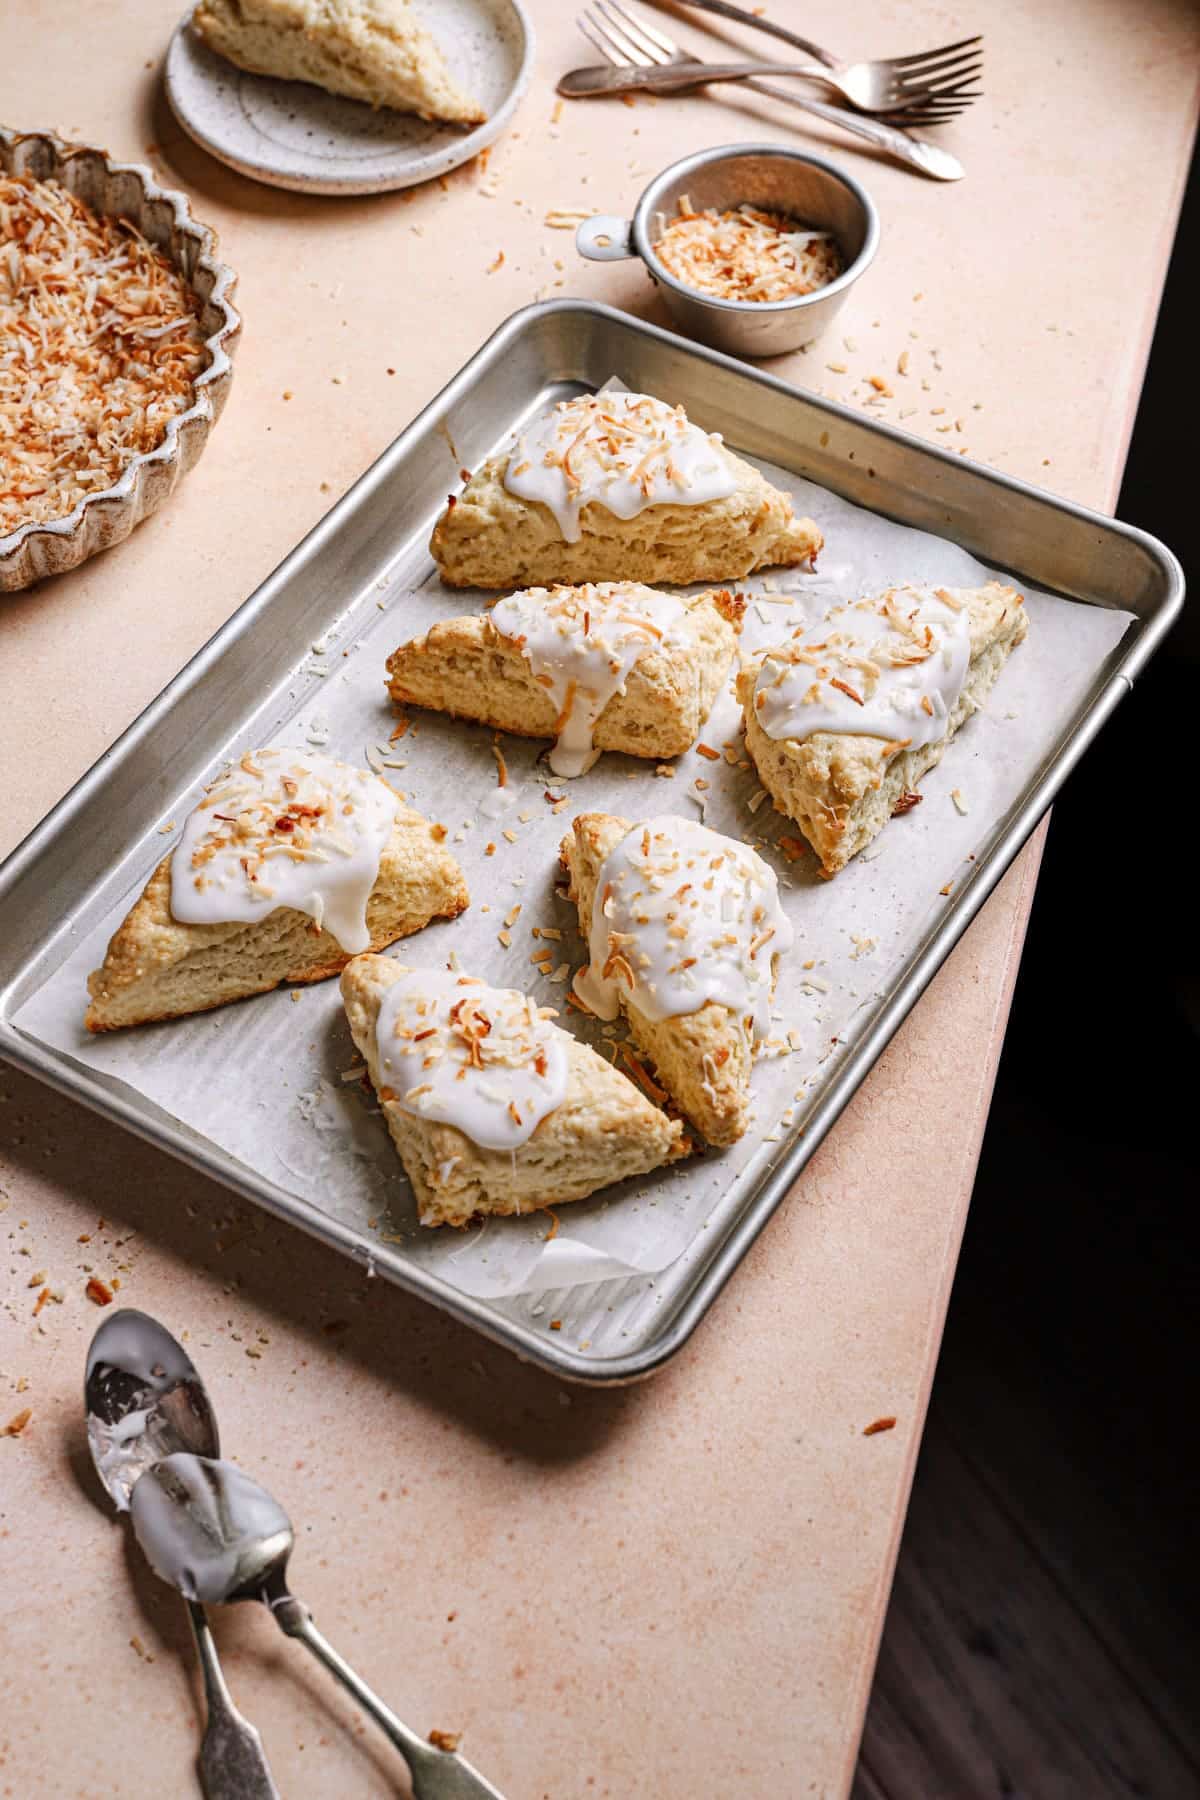
Glazing the Coconut Scones:
Glazing is completely optional and you can use full-fat coconut milk or light coconut milk. Due to the high content of the full-fat coconut milk, you will need to add 1/4 cup + to achieve a thick glaze. The case will be different if using light coconut milk or regular milk so start by adding 2 tbsp.
Storing the scones:
Unbaked, you can freeze the scones for up to 1 week. But make sure you wrap them tightly to avoid any moist coating the scones. Baked, the scones are best eaten the same day, but I found they tend to seep fresh for 2-3 days if stored covered, at room temperate.
HAPPY BAKING!!!
Here are some more recipes you might like:
- Coconut Dulce-de-Leche cupcakes
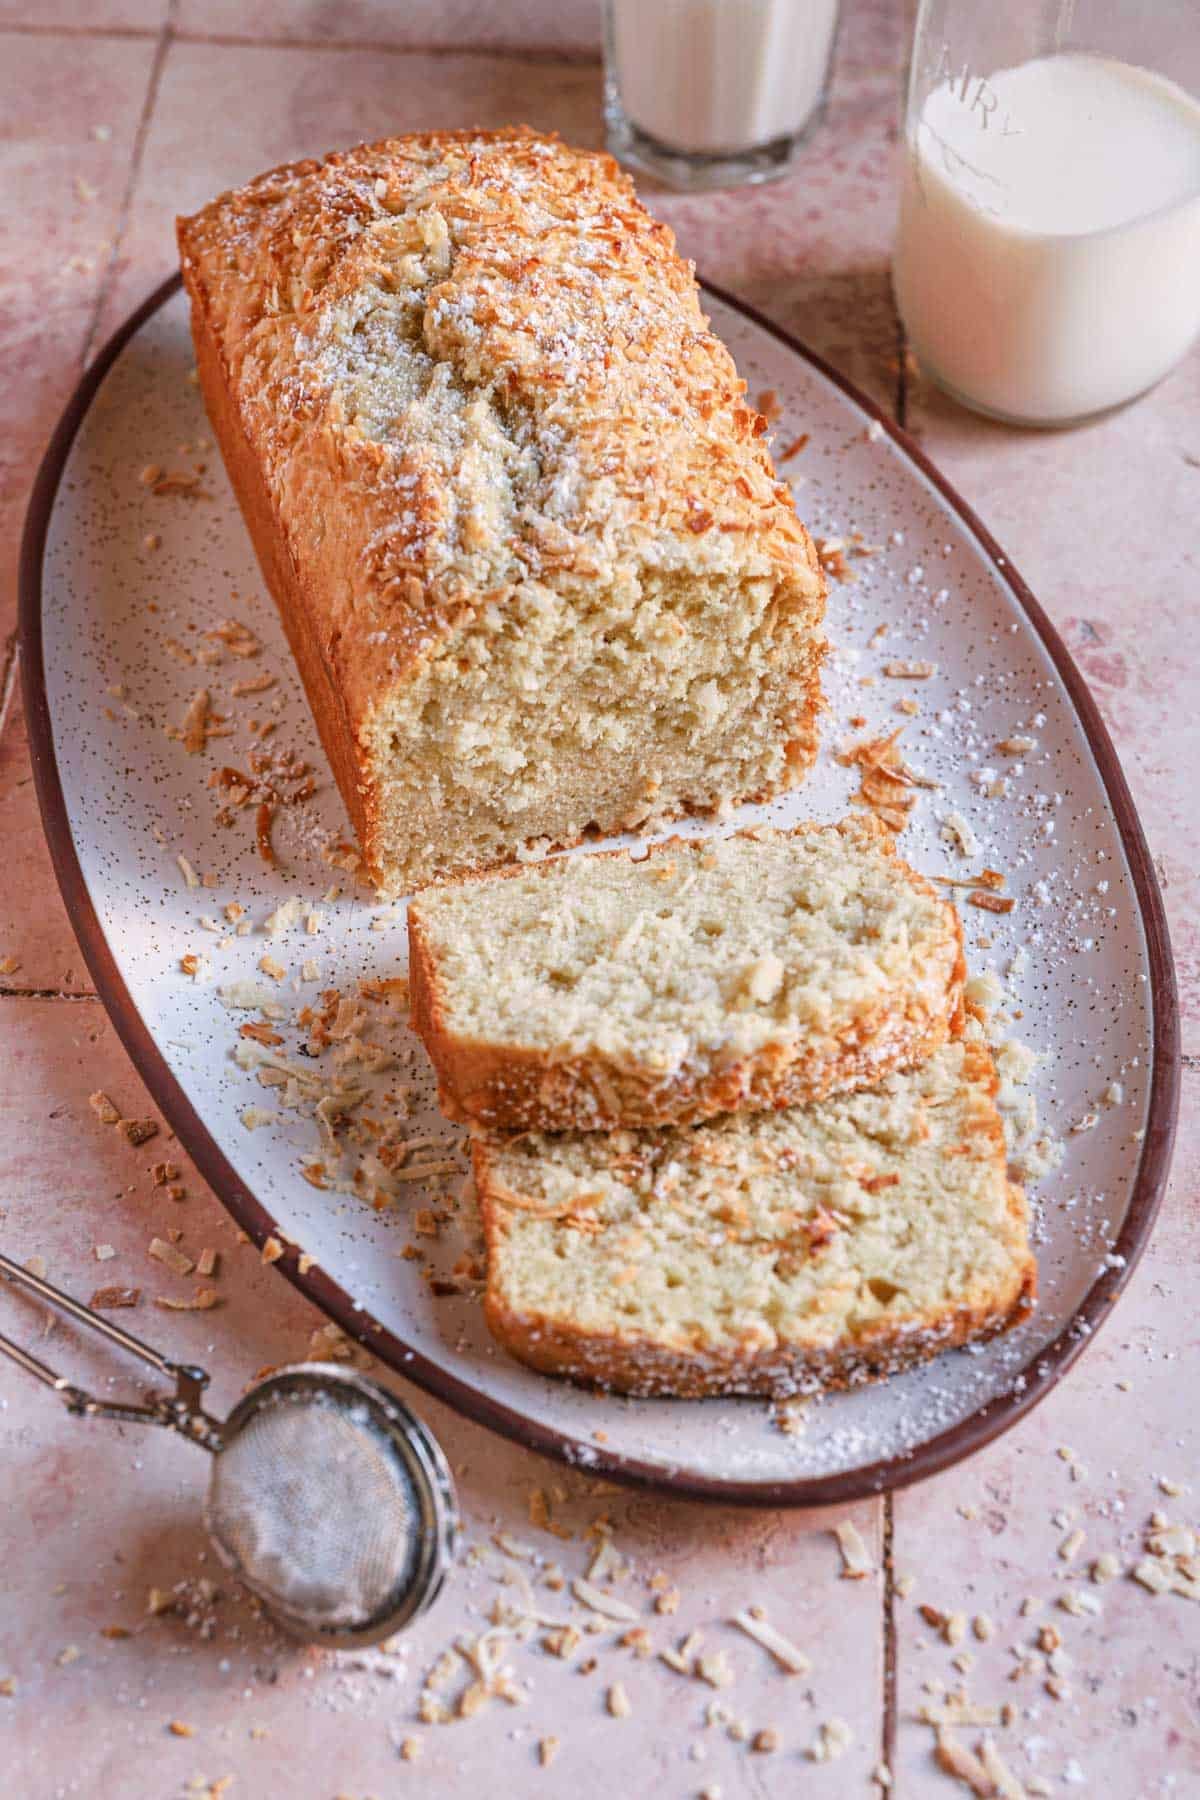
- Triple coconut cake
- 5 minutes scones
- Candied ginger pecan scones
- 5 minutes pumpkin scones
One more thing…
Don’t forget to tag @OneSarcasticBaker on Instagram whenever you bake this recipe. Would love to see your creations!

Coconut scones
Ingredients
- 3 1/3 cups AP flour (400 g / 14 oz)
- 1/4 cup granulate sugar (50 g / 2 oz)
- 2 tsp baking powder
- 1/2 cup Sweetened shredded coconut (60 g / 2 oz)
- 14 tbsp Unsalted butter, cold (200 g / 7 oz)
- 1 cup unsweetened coconut milk, cold (240 ml)
- 2 tsp coconut extract
- 1 large egg, cold
Coconut glaze
- 2 Cups Powdered sugar (250 g / 9 oz)
- 1/4 cup coconut milk (60 ml)
- 1/2 Cup toasted coconut (50 g / 2 oz)
Instructions
Coconut scones
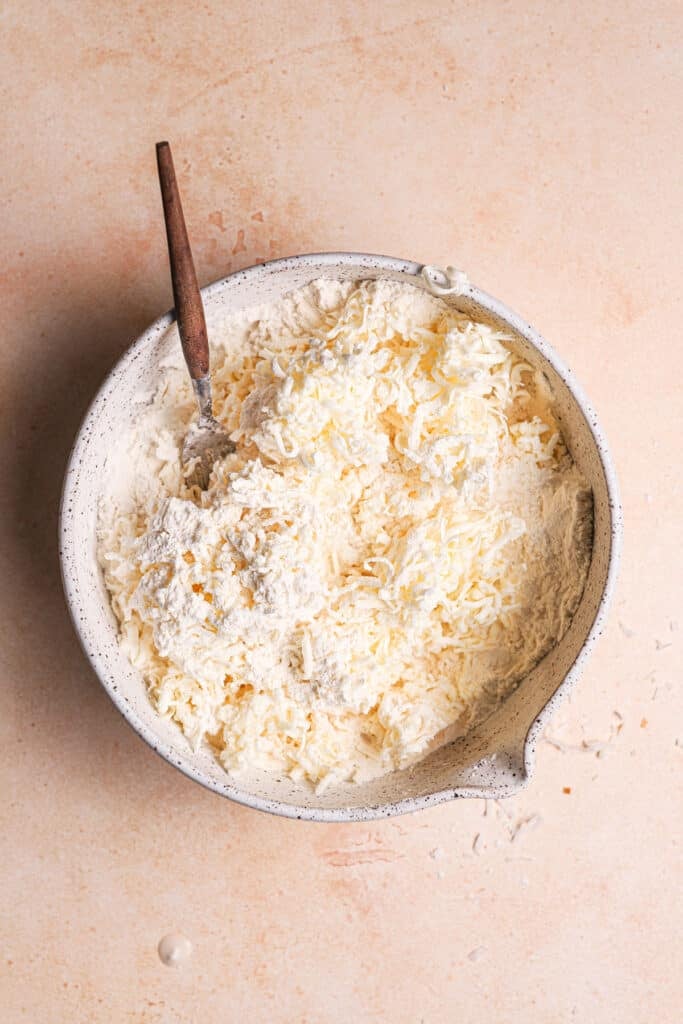
- Prepare the ingredients by grating the butter, then mix together the coconut milk, egg, and coconut extract. Place both the butter and liquids back in the refrigerator.
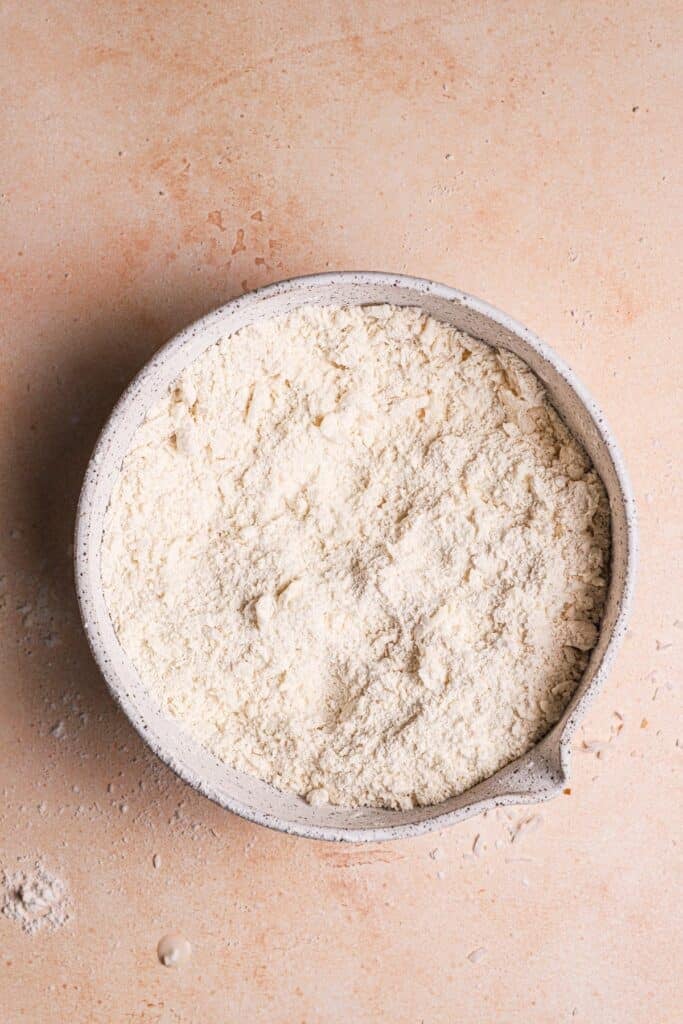
- In a large bowl, sift together the flour, baking powder, shredded coconut, and sugar. If time permits, allow the mixture to cool for a while in the refrigerator or freezer.
- Have a large cookie pan lined with parchment paper ready to be used.
- Using your hands or a fork, rub the butter in the flour until the flour is fully coated with the butter and the mixture resembles slightly wet sand.
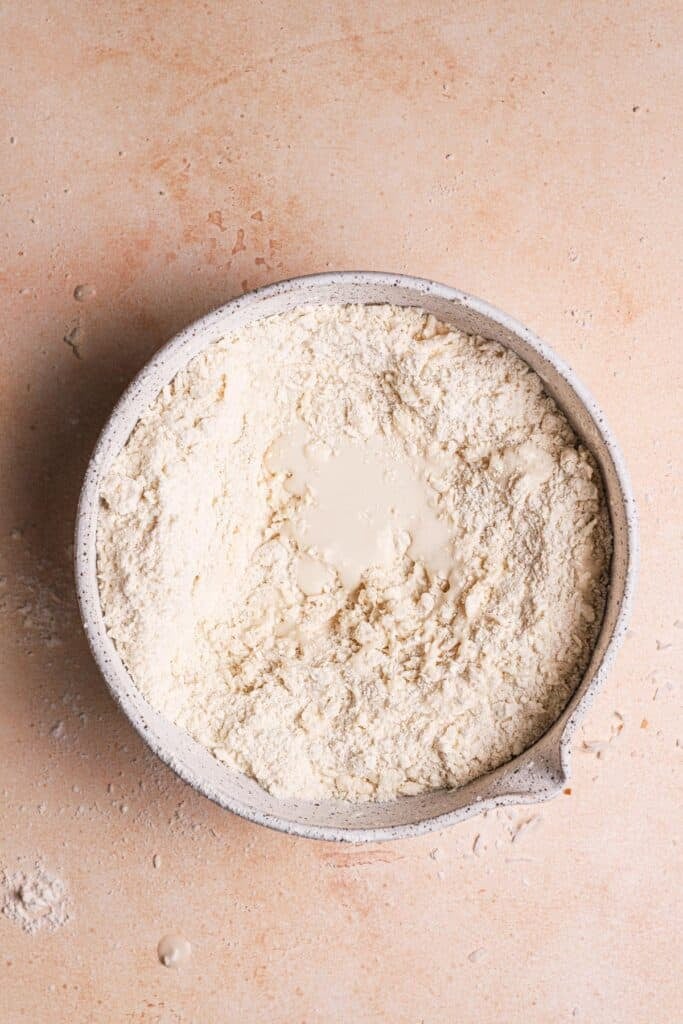
- Pour in 3/4 of the liquid mixture and use a wooden spoon, a fork, or a rubber spatula to mix in the liquid and hydrate the flour. If you notice there is some dry flour that does not mix in drizzle in a little more of the liquid. Depending on the flour brand, humidity, and the conditions of your kitchen you might use only 3/4 of the mixture or all of it.
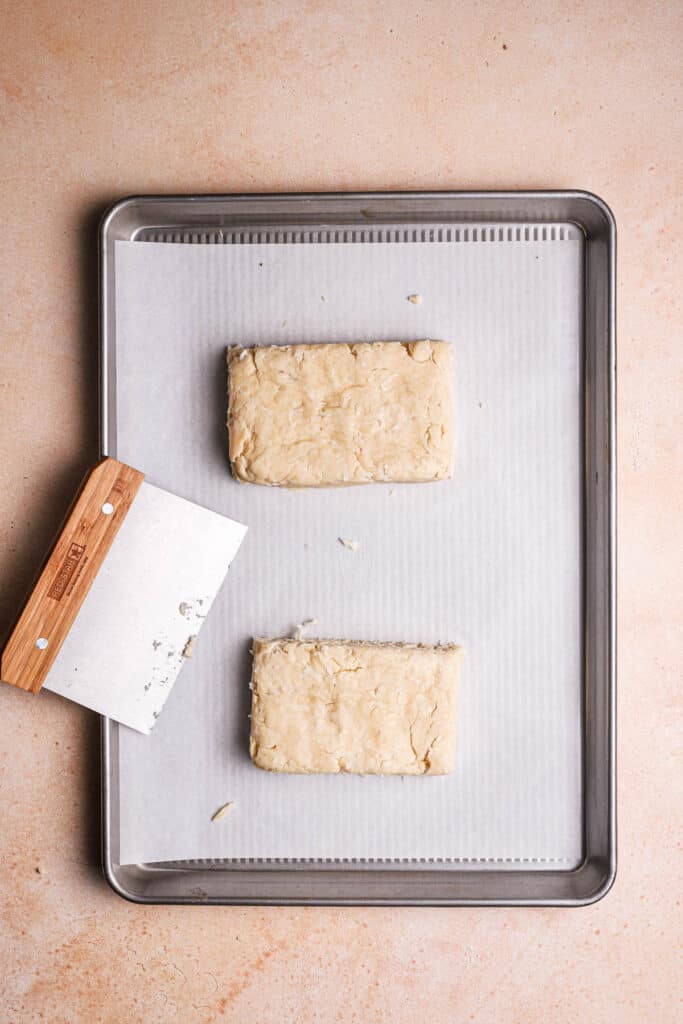
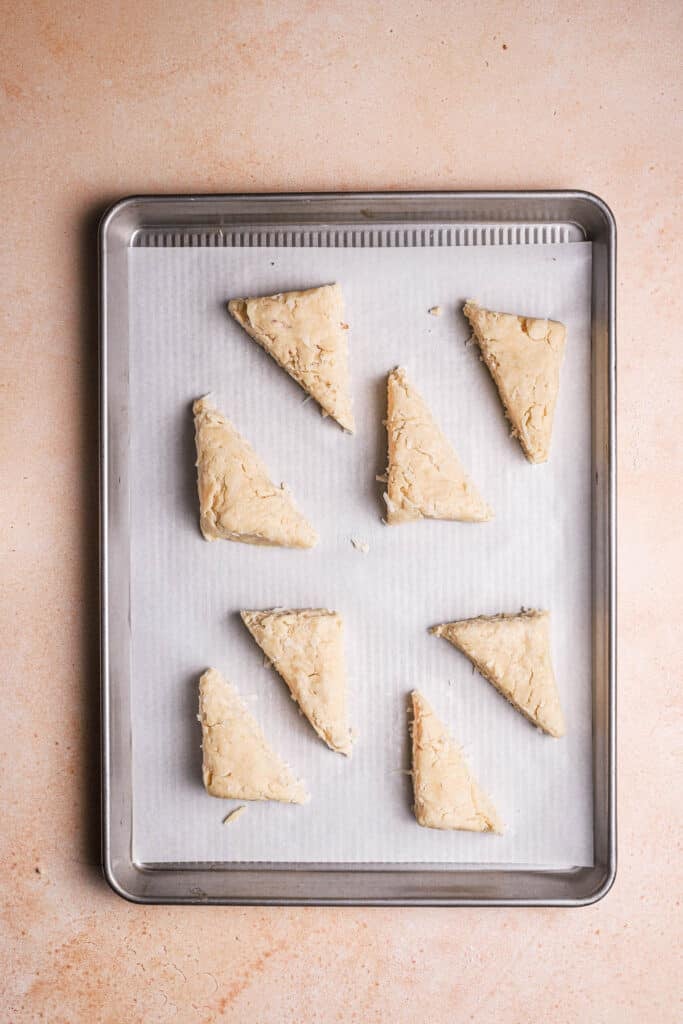
- Once the dough has come together, divide it into equal parts and shape each into a 5"x3" rectangle.
- Use a knife to cut each rectangle into two squares and each square into two triangles. Line the scones on the prepared cookie pan.
- Place the pan in the freezer (or refrigerator) while you heat the oven to 400F. (or up to 8 hours).
- Brush the scones with any coconut milk you have left over and bake for 15-18 minutes or until the bottom edges are golden brown.
- Remove from the oven and allow to cool before glazing,
- To make the glaze, mix the coconut milk with the powdered sugar and mix until smooth. If needed, use more coconut milk. (Light coconut milk will dissolve in the sugar faster so start by adding 2 tbsp)


These were yummy!! I will definitely make again.
Thank you so much, Lori; so glad you enjoyed it.
I used 3 1/2 c flour and added the liquid – it was a sloppy mess
S. I had to keep adding more flour to get to the consistency that the scones could be shaped.
I ended up with 16 scones
So sorry to hear that Maggie, and I will be happy to try and troubleshoot the issue with you. Sounds like you were able to handle it after all, but let me know if you wish to do that.