Last updated on May 7th, 2026.
Braided Challah is, hands down, the queen of all breads: light, fluffy, braided loaf bursting with flavor. It pairs effortlessly with anything, sweet or savory, and makes an unbeatable sandwich. Of course, it’s the gold standard for French toast and bread pudding.

challah bread is arguably the most Jewish of breads, and when I say Jewish, I don’t just mean it’s kosher style/parve (dairy free) style, I mean it’s practically a carb-based family reunion. Sephardic, Mizrahi, Ashkenazi: the exiled, the chased, the scattered from Eastern Europe to North Africa (shoutout to my own no longer wandering ancestors), they’re all braided right in. This loaf isn’t just bread; it’s diaspora in dough form. For me, it’s more than just bread, it’s a sacred guest at my Jewish Shabbat dinner table and jewish holidays, and a cherished link to generations of Jewish women who’ve lovingly nourished their families, week after week. So it’s only fitting that anyone with a love for culture, or carbs, joins the celebration.
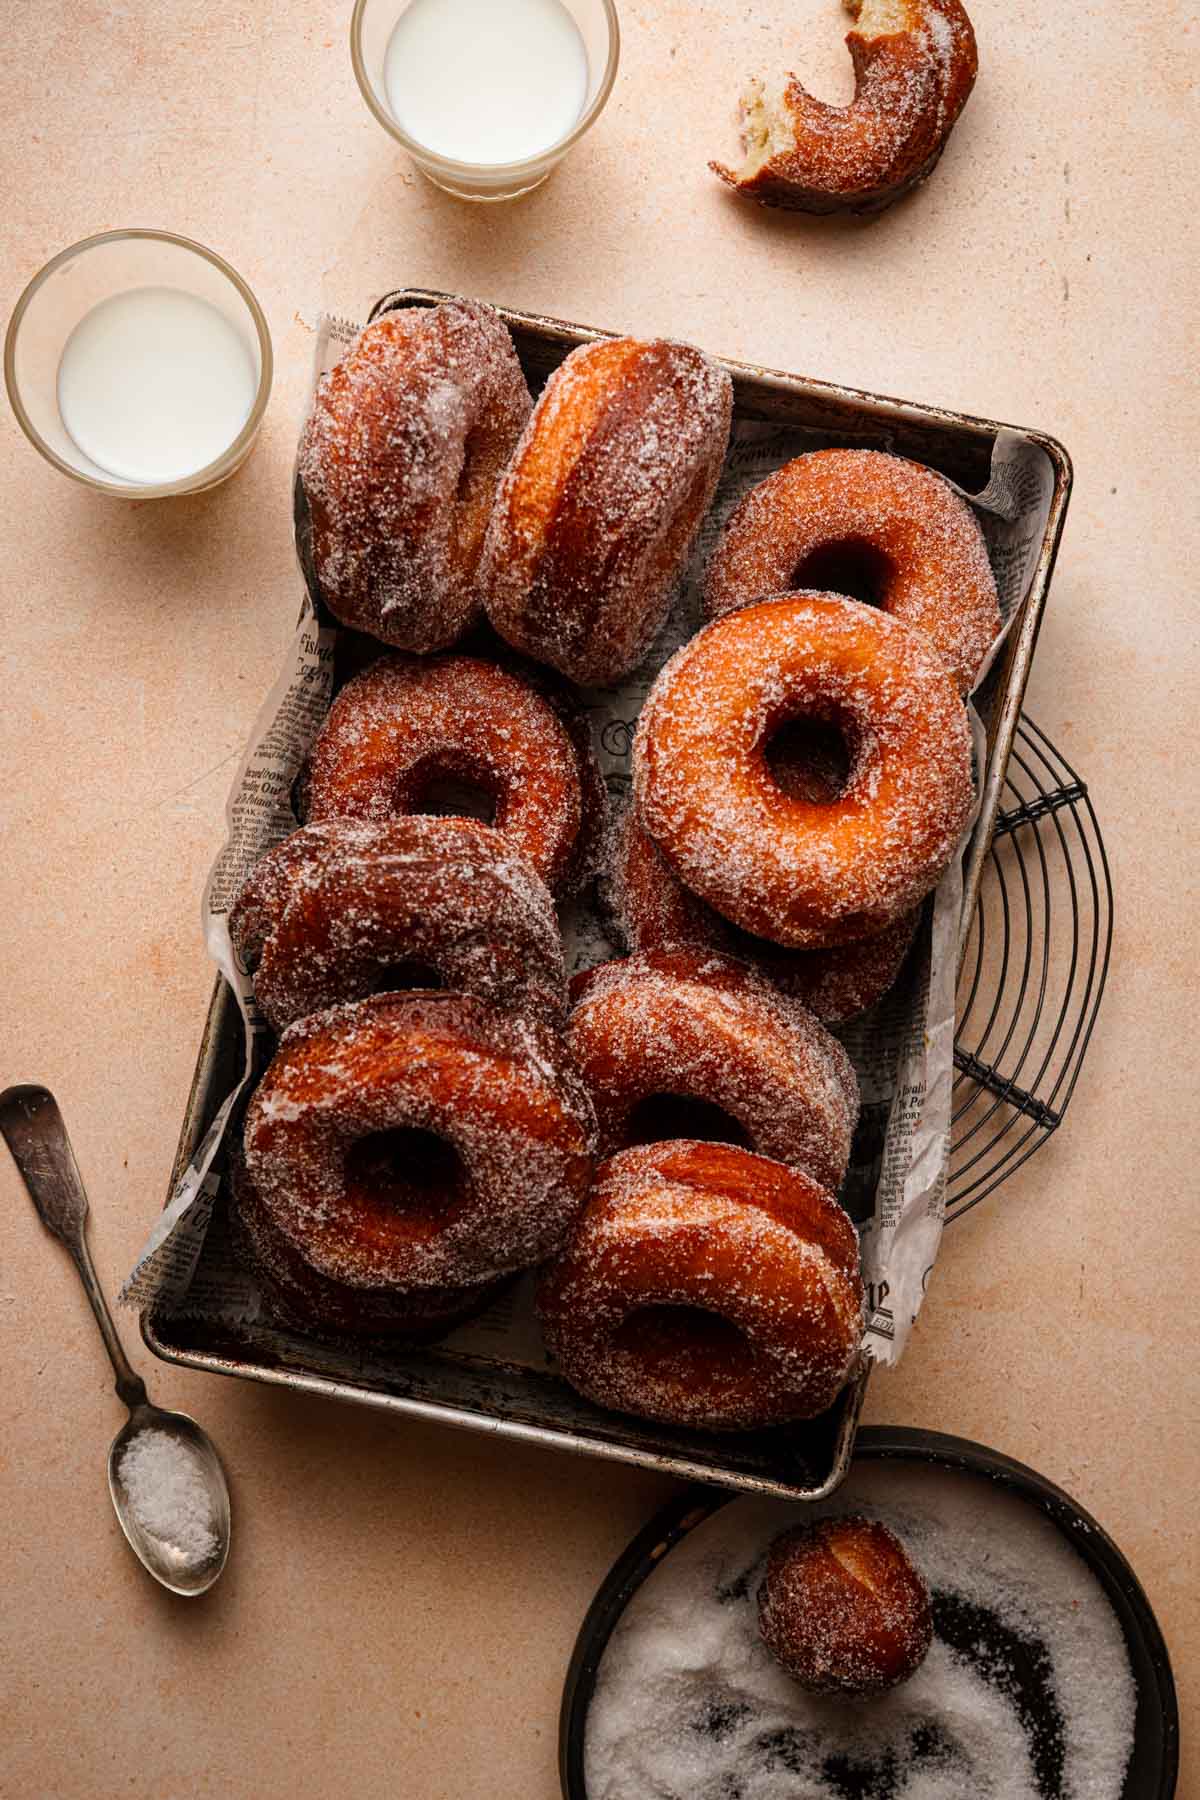
Consider baking this Parve (dairy-free) Jewish Apple Cake for dessert for the perfect bake.
Key Ingredients
The complete list of ingredients including measurements is at the bottom of this post in the recipe card. Here are my notes on the key ingredients and how to substitute.
- Bread Flour, is recommended, but you can also use all-purpose flour as long as it is Unbleached. Note that when you replace the bread flour with all-purpose flour, you might need to use less water. A combination of bread and all-purpose flour is also an option.
- Egg yolks. Challah by definition is an enriched bread, but because the Kosher laws forbids serving dairy with meat, and challah is the star of Shabbat dinner, the alternative to butter is egg yolks. If you have any issues with eggs, you can always bake my Eggs free Challah recipe.
- Instant yeast. Of course you can also use fresh or active dry yeast. To adjust, increase the yeast amount by 50% (1 Tablespoon), then mix the yeast with the warm water and 1 teaspoon of sugar and set aside for 15 minutes, or until the yeast have been activated and you have a foam layer on top. Add the yeast mixture to the dry ingredients followed by the egg yolks mixture.
Optional: Poppy or sesame seeds for topping, or add-ins like raisins for a sweet twist.
Top Three Tips for The Perfect Challah
By the time I am typing these words, I have baked this recipe hundreds of times. About 40 times a year, for more than 14 years. Now you do the math. Here are my top tips for the best results:
- When is comes to water, less is more. You might need to use less or more water than what the recipe calls for depending on where you live, and adding water is easier than removing it. Start with adding 1 1/8 cups (170g) of lukewarm water and allow the mixture about 30 seconds to absorbs the liquid. If still you notice some dry flour add more water, a tablespoon at a time. You want the dough to be smooth but not sticky. If sticky, or over-hydrated the strands will lose its definition during the second rise, the loaf will be too heavy to rise and it will be into a dense bread.
- Do not over mix. The bread contains a high amount of egg yolks and fat, which requires a long rising period. During this time, the yeast releases gas and multiplies, causing the dough to expand and shift, a process that effectively acts as a form of kneading. Over mixing the dough at the beginning can interfere with this, potentially resulting in a dense and tough texture. Only mix for about 2 minutes, until you have a smooth dough that stenches but also tears easily.
- Don’t rush the rise: This dough takes its time to double in size, about 6-8 minutes depending on the wether, moist and elevation you live in. I like to make the dough the nigh before then shape the challahs in the morning (about 8-10 hours later). Note that the higher the altitude you live in the faster the dough will rise, so adjust the time.
Make The Dough
Making the dough is super simple, I only ask you to remember the tip tips from above as you go.
- In a a large bowl of a stand mixer, measure the flour, sugar, salt, and yeast. In a separate bowl, mix the egg yolks, oil, and 1 1/4 (270ml) of the warm water.
- Using the paddle attachment, mix the dry ingredients to distribute, then with the mixer on low drizzle in the beaten egg yolk mixture. Mix until you have a shaggy mass and no dry flour.
- Replace the paddle attachment with the dough hook and knead on medium speed for about 2 minutes, until you have a smooth stretchy dough.
- Spread an even thin layer of oil over the top of the dough (I use an oil spray), cover the bowl with a loose piece of plastic wrap and set it aside to rest in a warm place for 6-10 hours.
Making the dough by hands (mixer free): Carefully read the above instructions, and replace the paddle attachment with a wooden spoon, and the dough hook with your hands. Knead for 5-7 minutes.


Braid It
After the dough has risen and doubled in size, gently punch it down and divide it into two equal pieces (each weighing around 680g). Next, split each portion into the number of strands you’d like to braid. A three-strand braid is the simplest and a great starting point. My personal favorite is the 4-strand braid—it’s easy to make and results in a beautifully tall, high-risen loaf. Here’s how I do it:
- Roll each piece of dough into 12-inch log. Tip: Start with the center of the dough and move your hands towards opposite sides. Once you reach the end, add more pressure to shape the ends of each stands into a sharp tip.
- over a clean work surface, arrange the stands next to each other vertically, then pinch the top ends together.
- From this point, only look at the bottom ends of the strands and count each starting from 1 to 4.
- Now move the stands according to the below pattern, and remember to recount the strands from the bottom ends after every move.
- The pattern: 3 over 2. 1 over 3. 2 over 3. 4 over 2. Take your time, at first it might be a bit confusing, especially if its your first time, but I promise once you get it you’ll do it in your sleep. If you are nervous, use play dough to practice like I did.
- Use the palm of your hands to roll the ends into a pointy tips, them gently lift the loaf and place it over a large sheet pan lined with parchment paper. (it will double in size, so it needs the space)
- Use a pastry brush to brush with an egg wash, top with sesame seeds, or poppy seeds and set a side to rest for the second dough rise, about 4-5 hours.
For 6-braid challah divide the dough into 6 equal parts and repeat this pattern: 4 over 1. 2 over 6. 1 over 3.


Tip: When crossing the stands over, make sure to line them in a 45 degrees, for a tight, symmetric challah. See images for illustrations.

How to know it is ready?
The challahs are ready when they are deep golden brown and the inner temperature is 190F. If you do not have a thermometer, use a large wooden skewer if it inserts with no resistance or moist crumbs it is ready. Avoid over baking or else the bread will turn out dry.
Making Ahead and Storing
- Make ahead: the challah is best the same day, and you can bake and freeze the loaves for up to six weeks.
- To Freeze: wrap each loaf with plastic wrap, then another layer of aluminum foil, and place them in a plastic bag, and freeze. When ready, remove from the freezer unwrap and let reach to room temperature. I like to warm the challah at a 280F oven for 30-60 minutes before serving. It refreshes the texture and give a crunchy crust.
- Storage: Store at room temperature in a sealed bag for up to 3 days. Avoid refrigeration—it dries out the bread.


Bakery Style Challah (with egg yolks)
Ingredients
- 6 1/2 Cups (795g) Bread flour
- 1/3 Cups + 1 TBS (85g) Sugar
- 2 1/4 tsp (14g) Salt
- 2 1/2 tsp (10g) Instant yeast
- 7 1/2 Large (130g) Egg Yolks at room temperature
- 1/4 Cup (45g) Vegetable Oil
- 1- 1 1/2 (270-360ml) Cups Warm (90F) Water (start with 1 cup, see notes)
- 1 Large Egg for egg wash
- 1/4 Cup Poppy or Sesame Seeds
Instructions
- Measure the flour, sugar, salt and yeast in a large bowl of a stand mixer. In a separate bowl mix the egg yolks and oil them add 1 1/4 (270ml) of the warm water and mix until fully incorporated/
- Using the paddle attachment on low speed, mix the dry ingredients.
- Add the wet ingredients into the flour mixture and keep mixing until the it is hydrated and looks like a messy dough.If you notice that there is some dry flour that does not incorporate, add 1 Tablespoons of water at a time.
- Switch the paddle attachment to the dough hook and knead at low speed for about 2 minutes. Until you have a smooth dough that stenches but tears easily.
- Place the dough in a large ball (OK to leave in the mixer bowl), apply a thin layer of oil on the dough and cover with plastic wrap. Allow the dough to rest and rise until double in size for 6-10 hours.
- Punch the dough to release the air, then divide it into two equal pieces. About 680g each.
- Divide each piece into as many pieces as you wish to braid and roll each piece into a long sausage than braid. Repeat with the second half.
- Gently place each braided loaf over a large cookie sheet lined with parchment paper and brush with the beaten egg. Sprinkle with teh sesame seeds or poppy seeds (optional)
- Place the loaves in a warm spot and allow to rest for the second rise, until double in size. About 4-5 hours.
- Bake for 25-30 minutes at 350F. (turn the pans mid bake time) The bread is ready when it is deep golden brown and the inner temperature is 180-190. Or when you insert a large wooden skewers there is no resistance and no moist crumbs.
- Remove from the oven and place on a cooling rack.
Notes
- The challahs are best the same day.
- Store at room temperature in a plastic bag I use a regular shopping bag for up to three days.
- To freeze: wrap in plastic wrap them aluminum wrap and place in a plastic shopping bag. Freeze for up to six weeks. When ready unwrap and set aside until reaches room temperature. I like to warm the bread in a 280F preheated oven for 30-60 minutes. It refreshes the challah and gives the crust a crispy texture, perfect for dipping into saucy dishes.
- To use fresh, or active dry yeast: increase amount by 50% (1 Tablespoon), then mix the yeast with the warm water and 1 teaspoon of sugar and set aside for 15 minutes, or until the yeast have been activated and you have a foam layer on top. Add the yeast mixture to the dry ingredients followed by the egg yolks mixture.
- Please read my tips for best results in the post.


I don’t have a stand mixer. Any tips for kneading it all by hand?
Hi,
not really, it’s the same process using a stand mixer or hands.
Hi.
Can you please send directions for the lovely S shaped braid in the photo on this post?
Hi there,
I just posted this short video with the instructions on my Instagram account. Let me know if you have any questions.
Curious as to why this is a “bakery style” challlah. I have made your sweet challah which is delicious.
Thank you Sarah, it is called as a bakery style challah because it is the same recipe (or as close to) as it is used is many jewish bakeries in NYC. Full of egg yolks and with a large volume.
Best challah recipe, came out so fluffy and tender and i love all the great challah recipe tips, really helps.
Thank you Jenni, so glad you enjoyed the challah!
When making challah, instead of vegetable oil, which I am all out of, can I use Extra Light Olive Oil?
yes! absolutely!
Hi. Not sure my previous question went through? I would like to know if I can refrigerate the dough after the first rise- deflating first, and then shape and proof the next day? Thanks!
Hi Cindy, I did not do it, but I do not see a reason why you can’t. Refresirating does not stop the rising process it just slows it. I would allow to to warm a bit before baking.
Can you tell me what I did wrong. I followed the directions exactly and I have a very dense heavy and crumbly ball. It looks nothing like dough.
Crumbly dough means not enough mixing time or not enough water.
Dee: I have an older challah recipe that I have made when I first found your website several years ago. I don’t see it on here. It’s one with a starter or preferment,, and it was delicious. It was too big for us, so I haven’t made it in a while, but want to use it again, and freeze one of the challahs. Do you still use this recipe?
Hi Sara,
I am pretty sure that you are talking about my sweet challah recipe : https://www.onesarcasticbaker.com/sweet-challah-4/.
Thank you for the instructions on the 4 strand braid. I have watched videos and always got lost after the first round. My challah has always been a hit or miss. Looking forward to trying your recipe. Thanks, I’m sure just like all your other recipes, it will be a winner!
Thanks Suzan,
I used to get so confused until I realized I need to count the strands from the bottom end after every step!
Is it ok to leave the dough with the raw eggs out on the counter for 6-8 hours?
I never had an issue and between the first and second rise the dough is on the counter 12-15 hours. But my kitchen’s temperature and environment allow me to not worry about it, if you feel uncomfortable, refrigerate the dough after 3 hours when it is noticeably starting to rise.
Good morning.
If I need to use 7 1/2 large egg yolk for this recipe what do you suggest to do with the egg white?
Then we have 6-10 hours rest and again 4-5 hours rest, this could bring us to 15 hours plus the preparation time to braid the Challah. Should we start the first steps and resting time and leave it over night or this could be risky?
Your thoughts are important.
Thank you.
Hi Joel,
When it comes to timing, I like to make the dough late the night before and allow it to rest over night is a cooled spot in my kitchen. The dough is very high in fat kind of like a brioche, so as long as you make sure not to leave the dough in a warm, or humid spot, it is not risky. I braid it first thing in the morning and give it the time to rest again. Use the leftover egg whites to make my concorde cake, or pull apart pavlovas.
How do I make this in my bread machine?
I never used a bread maker so I am not familiar with it. I think if there are no restrictions in mixing in eggs it should be ok.