Last updated on September 3rd, 2024.
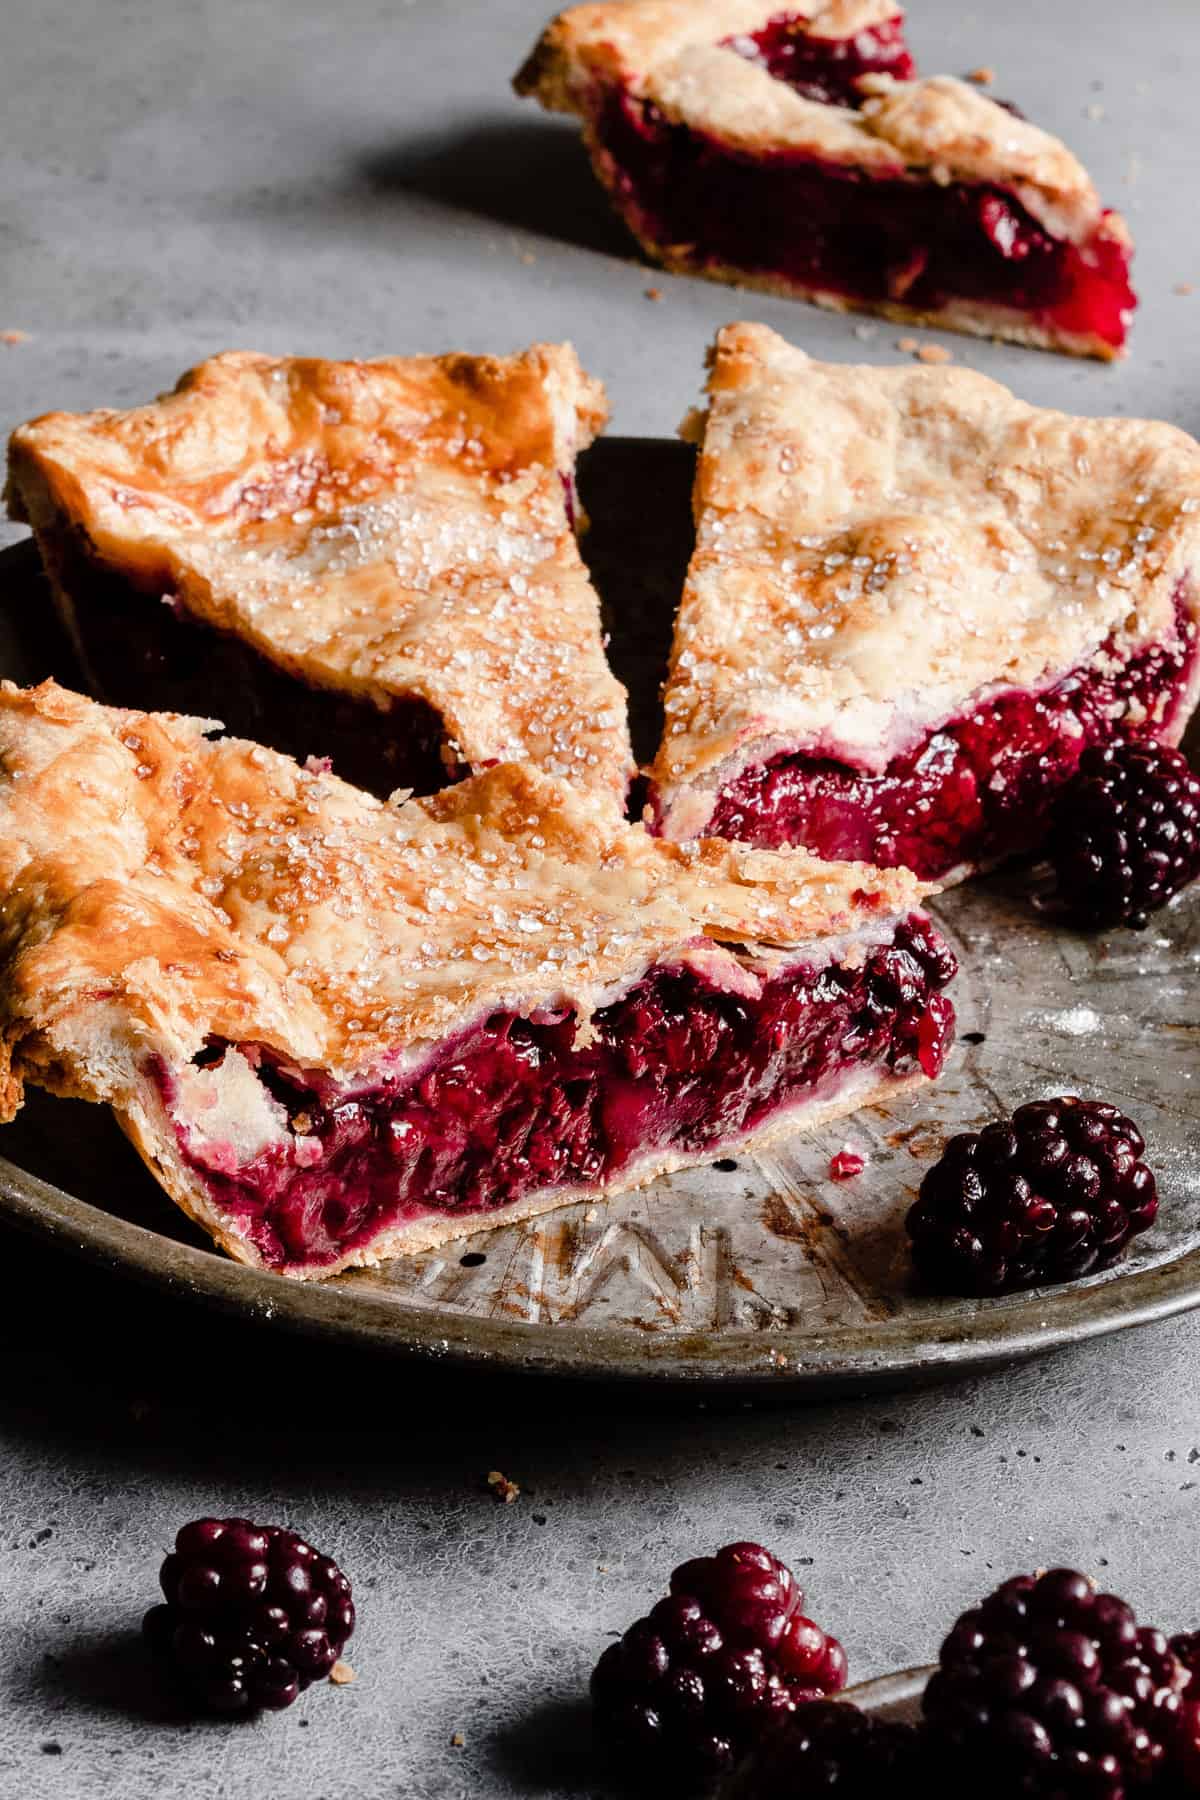
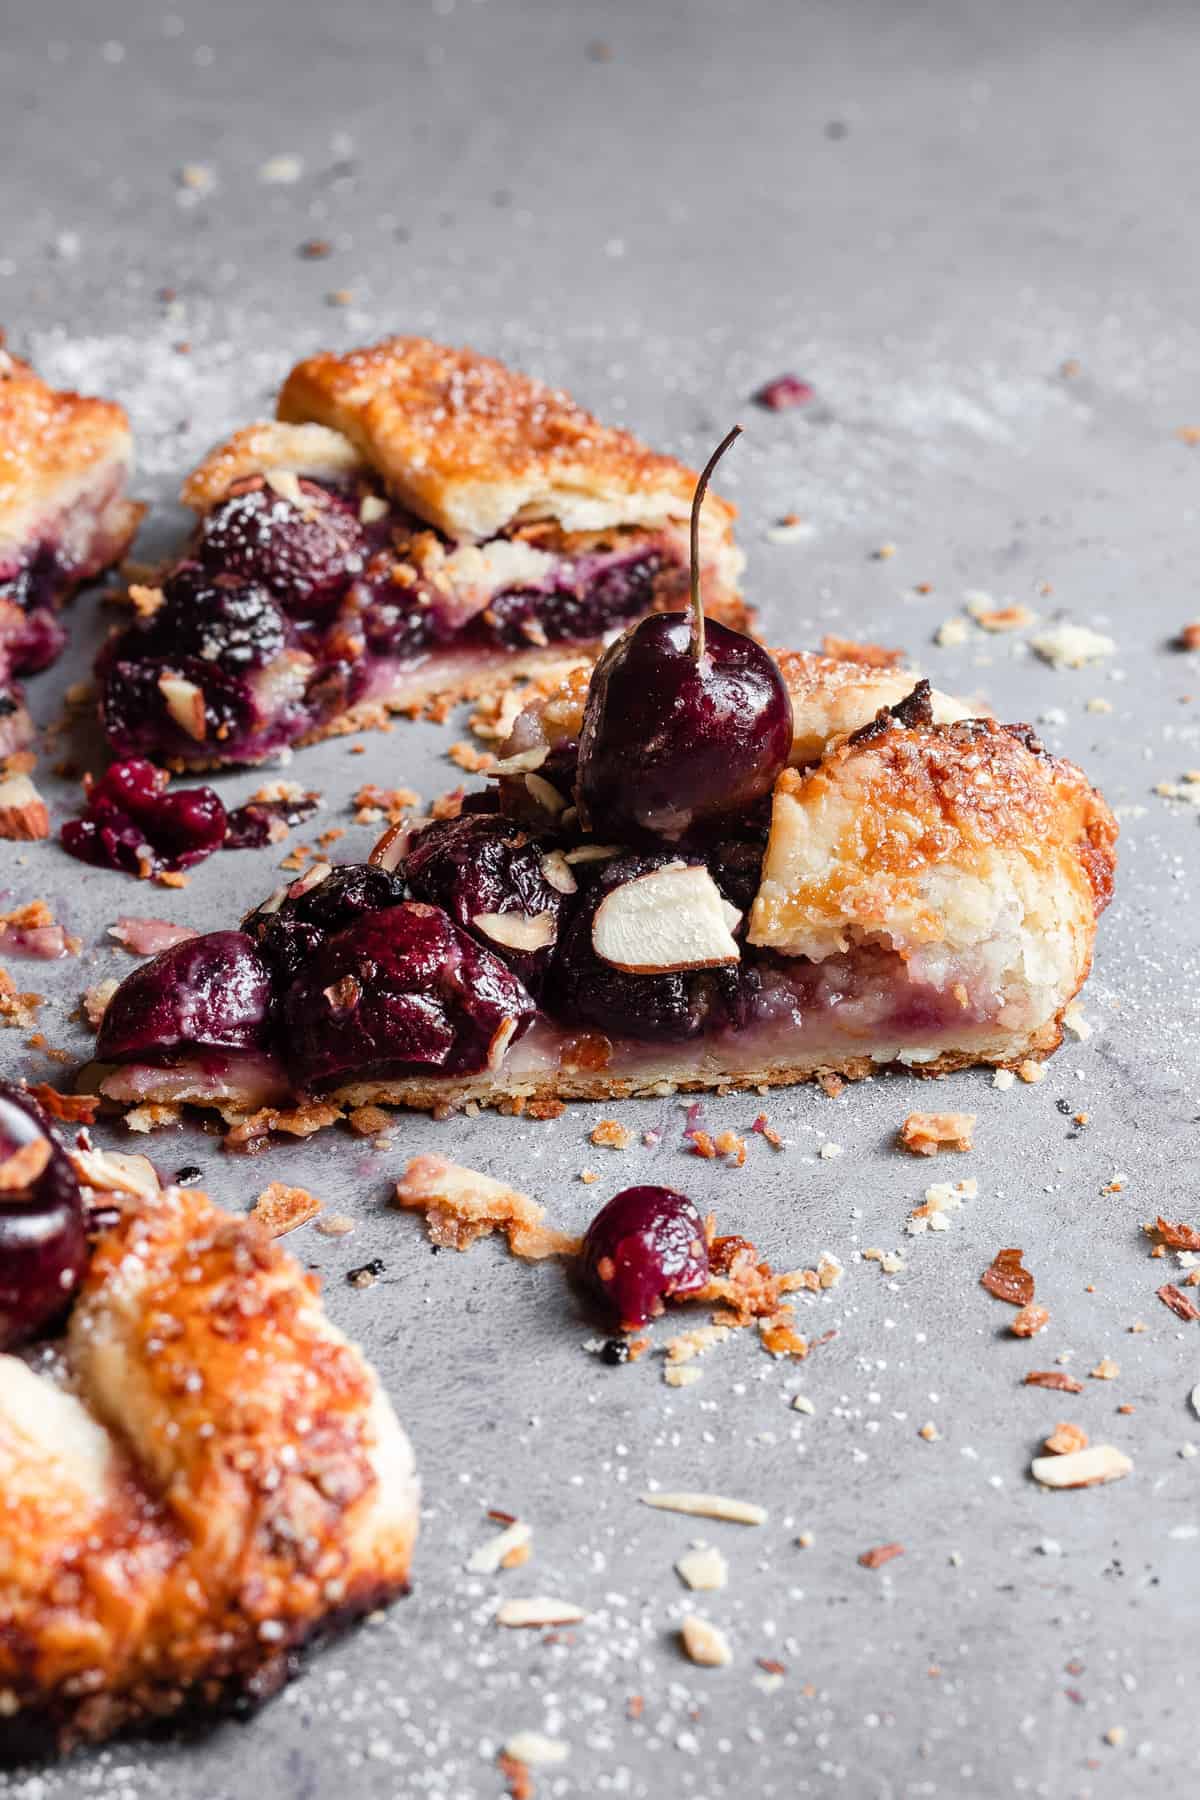
There is such a thing as the perfect pie crust. It is golden brown and has a rustic textured appearance. When you break it you can hear and see the crisp and flaky layers crumble. But the best part is when you bite into it, it is tender, buttery and full of flavors.
Most noteworthy, the most important criteria of a good pie crust is how well it holds during baking and as it cools. Meaning does it get soggy or not.
For the pie crust tutorial, scroll down.
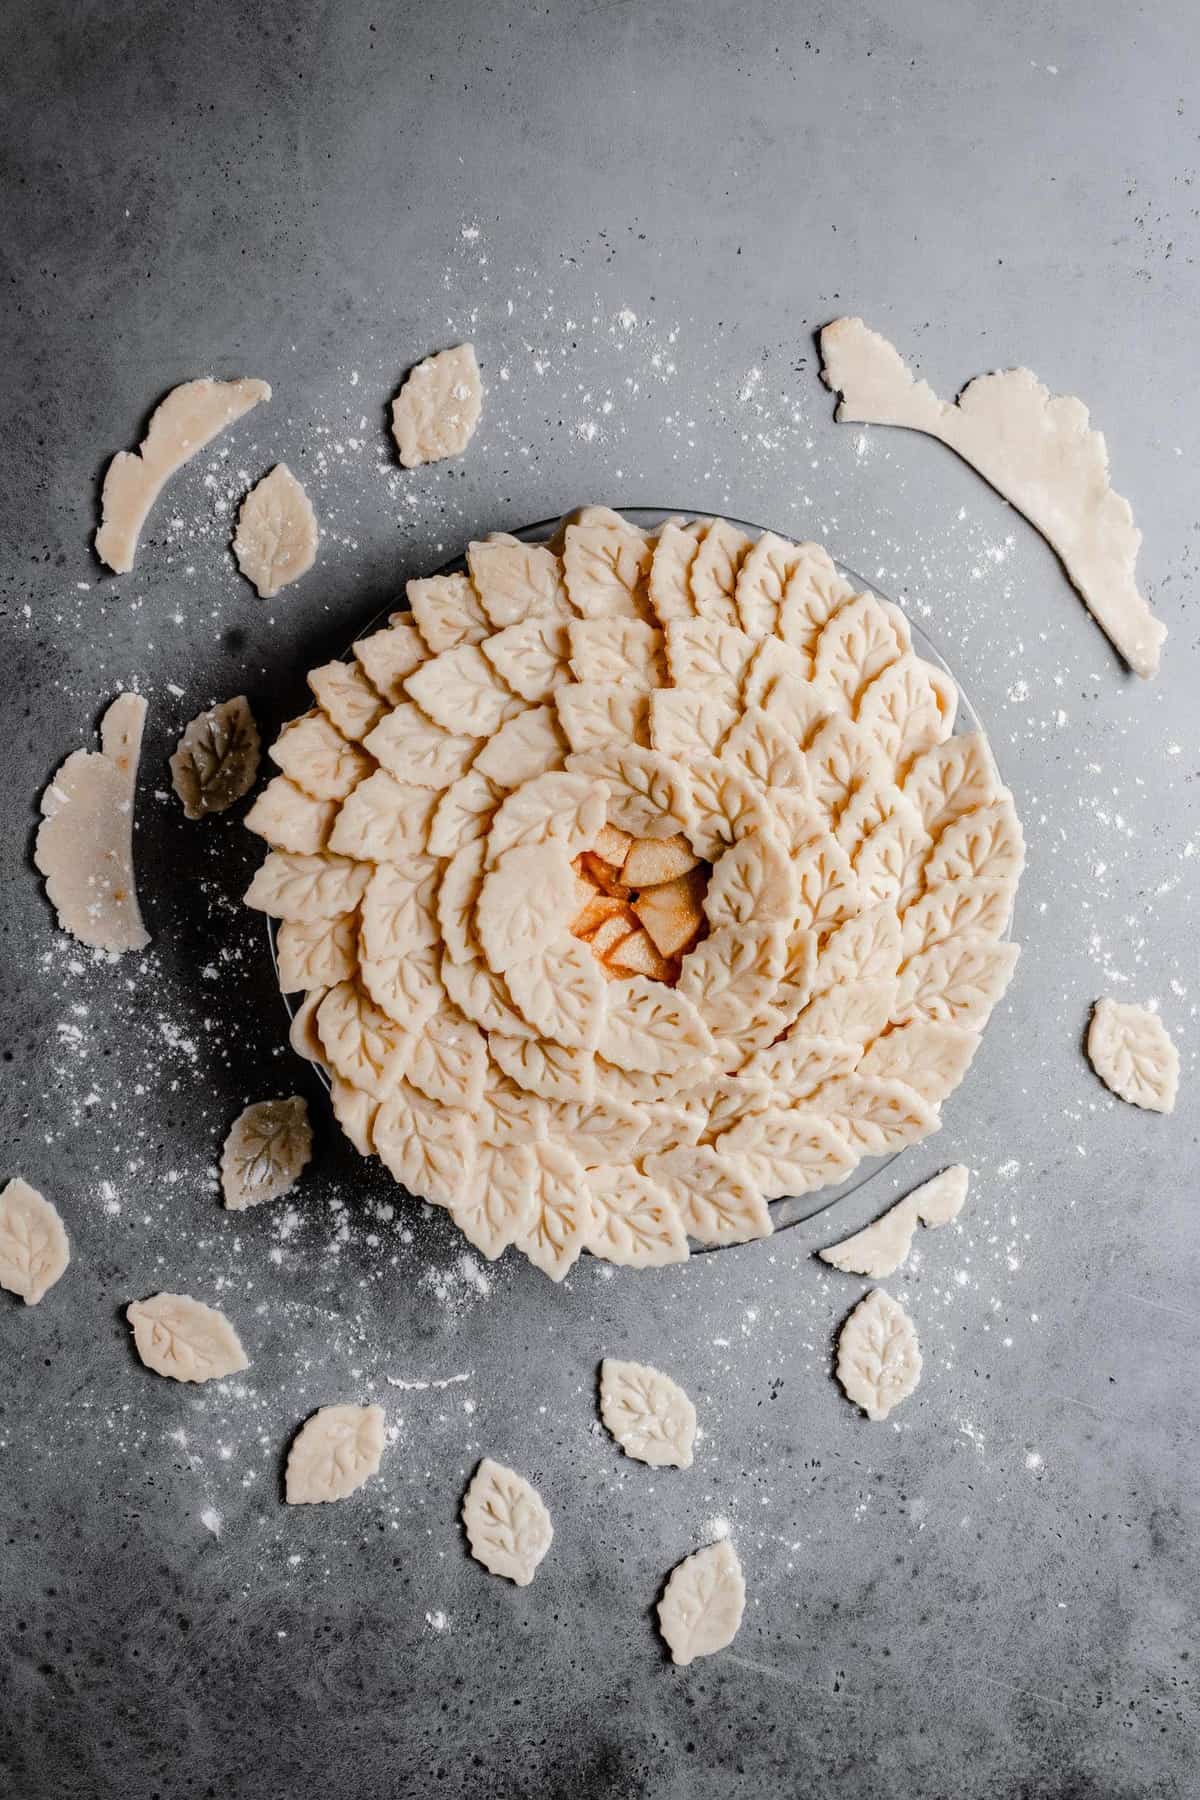
Boring fact: a few years back I was hit by a car and could not walk (or bake) for a few months.
Happy fact: I had Amazon Prime subscription and ordered a few baking books including The Pie and Pastry Bible by Rose Levy Bernabaum (AKA my biggest baking Guru!). The title fits the book. I read it almost cover to cover and by the time I was able to wabble my way into the kitchen I had all the tools and knowledge to bake the perfect pie. I have yet to stop baking or learning about the world and the science of pie.
And have you guessed it already? Pie is my favorite!
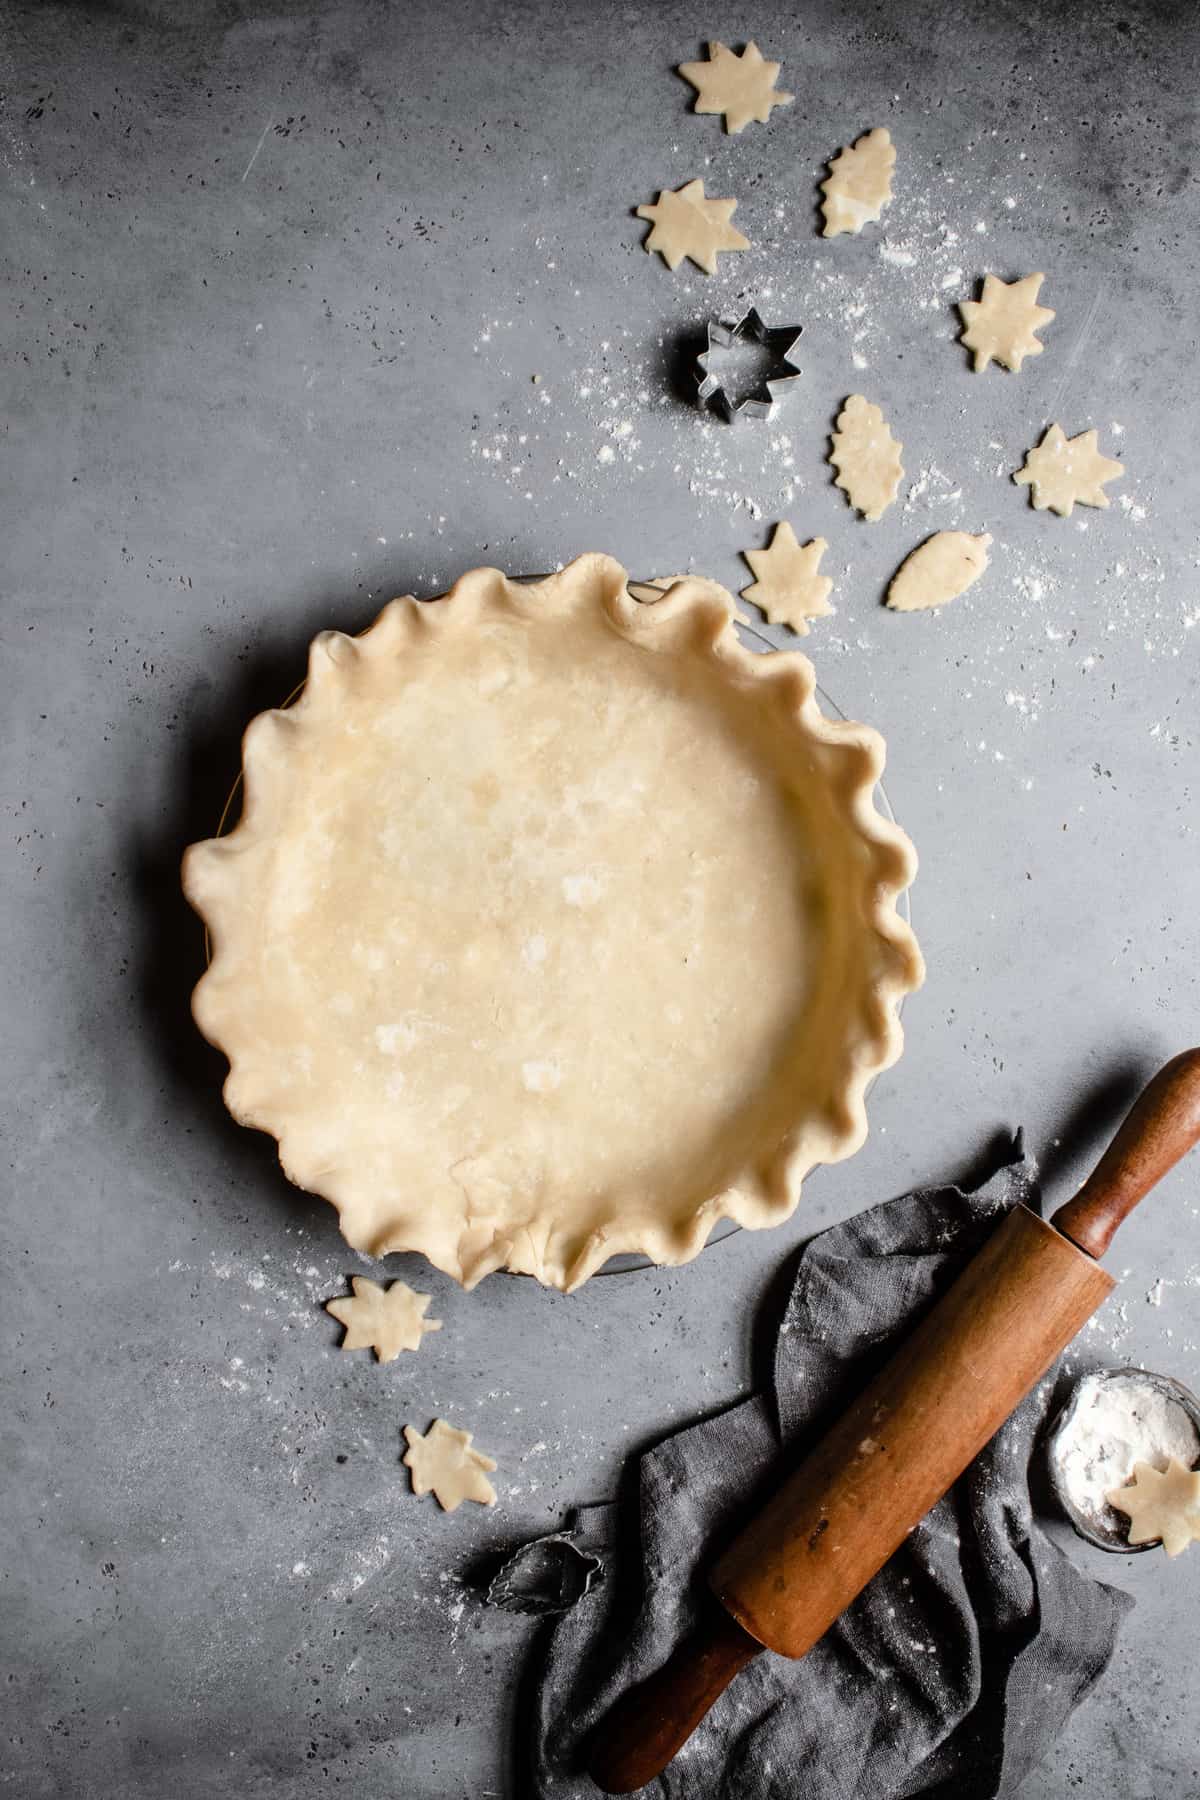
The perfect pie crust is buttery, flaky, tender, and dehydrated.

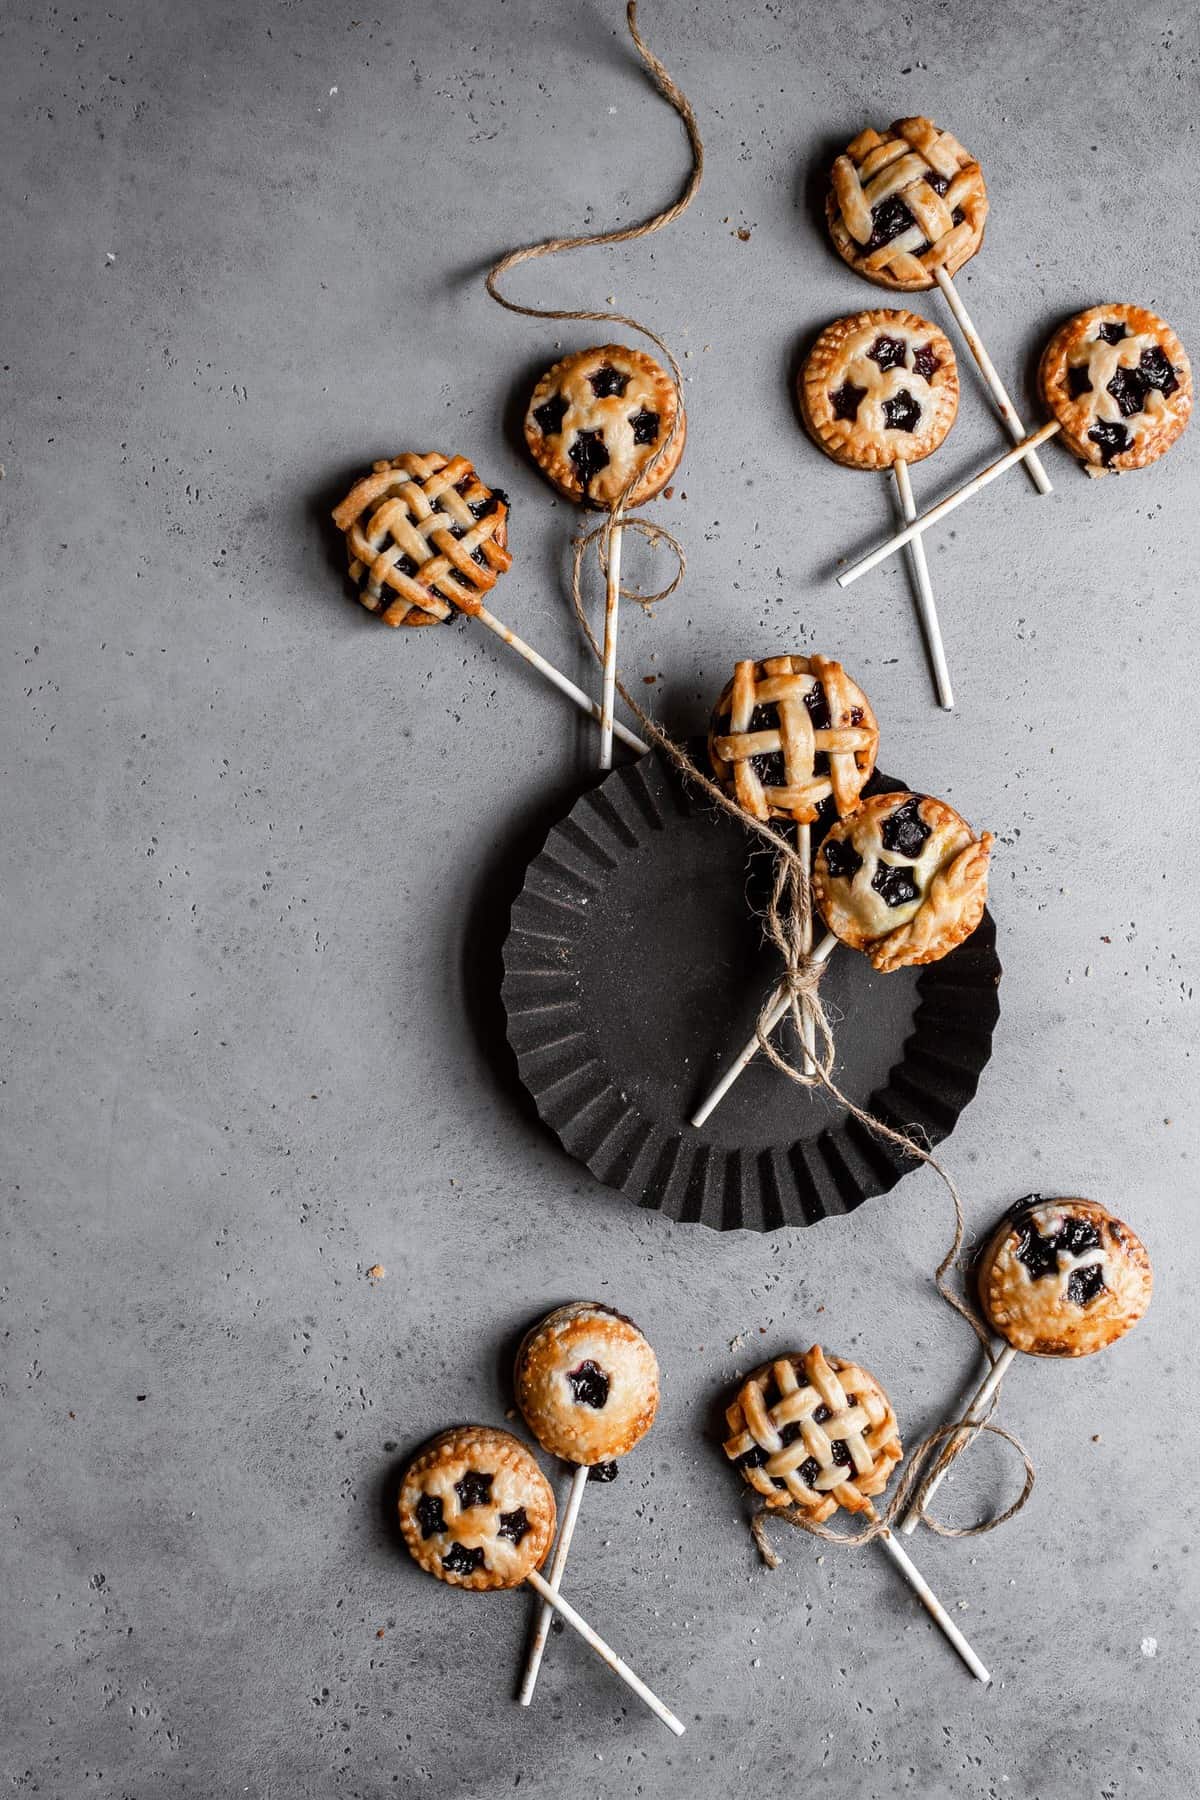
As we all know, the way to achieve the best results when it comes to baking, is firstly, understanding the science behind it.
I also have a full post about paté sablée, a sweet shortcrust.
Here are some tips to help you better understand the science that is pie crust:
Flour –
The best flour recommended for pie is Pastry Flour. The reason is a low percentage of gluten. The gluten in flour is the component responsible for the formation of gluten strings. The strength of those strings will determine how chewy or tender the result is.
As an example, think of bread texture vs. pie crust texture.
So using pastry flour/ bleach flour (has less gluten than AP flour) / bleach flour + cake flour mix (2:1 ratio) will ensure both a low and/or weak gluten development but with enough elasticity for the dough to be rolled and transferred to the pie pan.
I will add and say that pastry flour is not very common, more expensive and is very hard to work with if you are not a savvy pie baker. I found that pies baked with bleached flour are pretty amazing.
Fat –
For the pie crust, the most common fat options are butter, shortening and/or lard.
Butter will produce the flakiest crust since it is 15%-18% water that evaporates during baking. The steam coming up is what creates the flaky layers.
Shortening – It is 100% fat and is a more economical option. In addition, shortening melting temperature is higher than butter. What it means is that the edges/design will hold its shape better during baking since the crust settles before the shortening melts.
Lard – Like shortening, lard is 100% fat. However, it is an indulging product as it is rich in flavor.
Liquid –
Without liquid, the flour will not form the gluten necessary to hold the dough together. However, since we wish to avoid forming a strong gluten bond a very small amount of Ice water is recommended. More so, omitting some of the water with Vinegar will help as vinegar weakens gluten (read more about it HERE).
Temperature of the ingredients –
Using cold butter, ice water and even freezing the flour for about 30 minutes ahead is essential for a flaky and tender crust. The reason is that flour creates gluten when in touch with liquid. Heat will not only melt the butter and release more water but will reduce the size of the butter.
Smaller butter pieces = less flakiness.
More water = more gluten= less tenderness.
How Fast We Are –
Because working with cold ingredients is essential than working fast is just as important. The environment in which we are working can make a huge difference. For example, if you bake a pie on a hot summer day with open windows, or there are few simmering pans on the stove. All can increase the temperature of the ingredients especially if we take our time.
Now Let’s Talk About This Pie Crust Recipe:
- I used a food processor but you can do by hand using a pastry cutter or with a standing mixer. If so, do not freeze the butter and follow the recipe as is.
- The recipe calls for bleached AP flour. I found that it gives great results when it comes to flavor and texture but you can use which flour you have in hand.
- You can make the dough a few days in advance. Make sure you seal it with a plastic wrap to ensure no humidity in the dough when stored in the refrigerator.
- You can use all butter, all-vegetable shortening or a mix of both. But, please read notes on top for a better understanding of the difference.
Let’s do it:
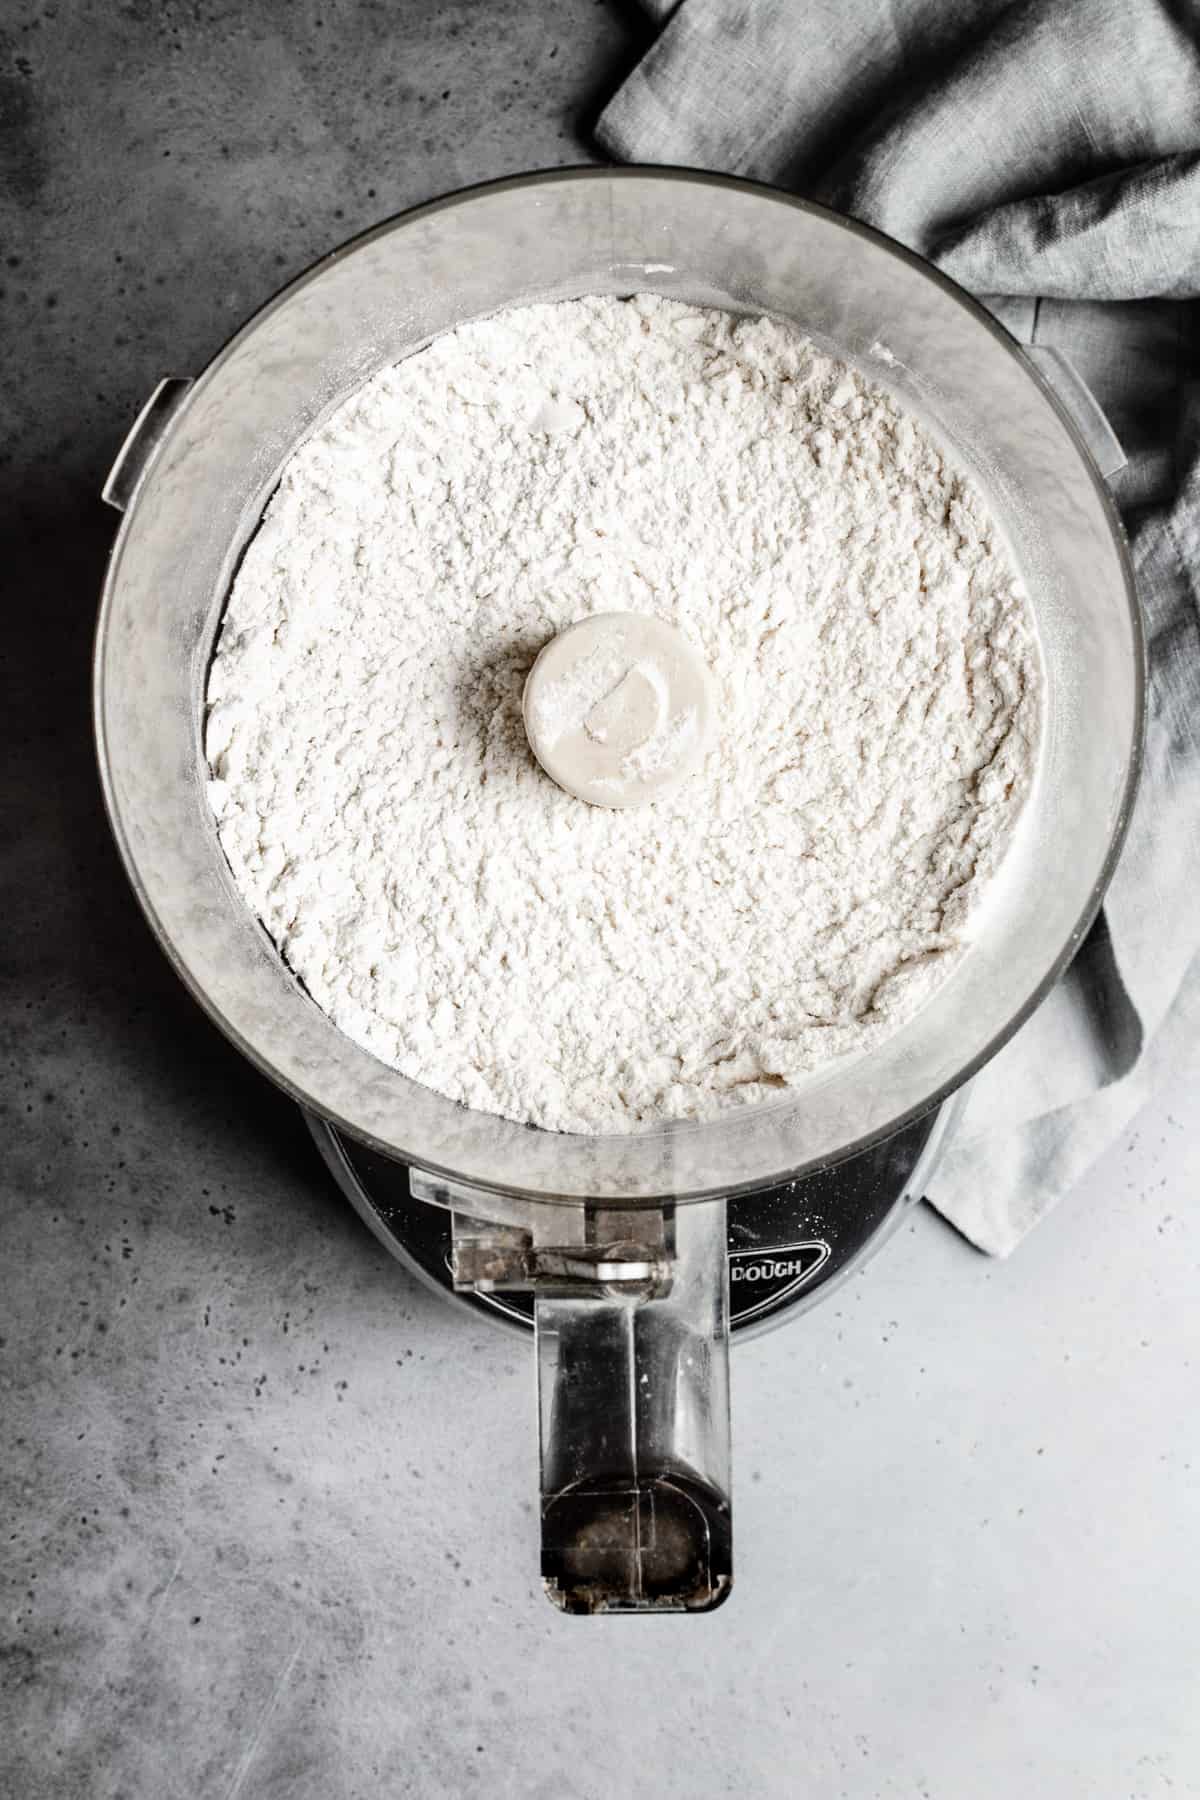
- Place dry ingredients in a food processor.
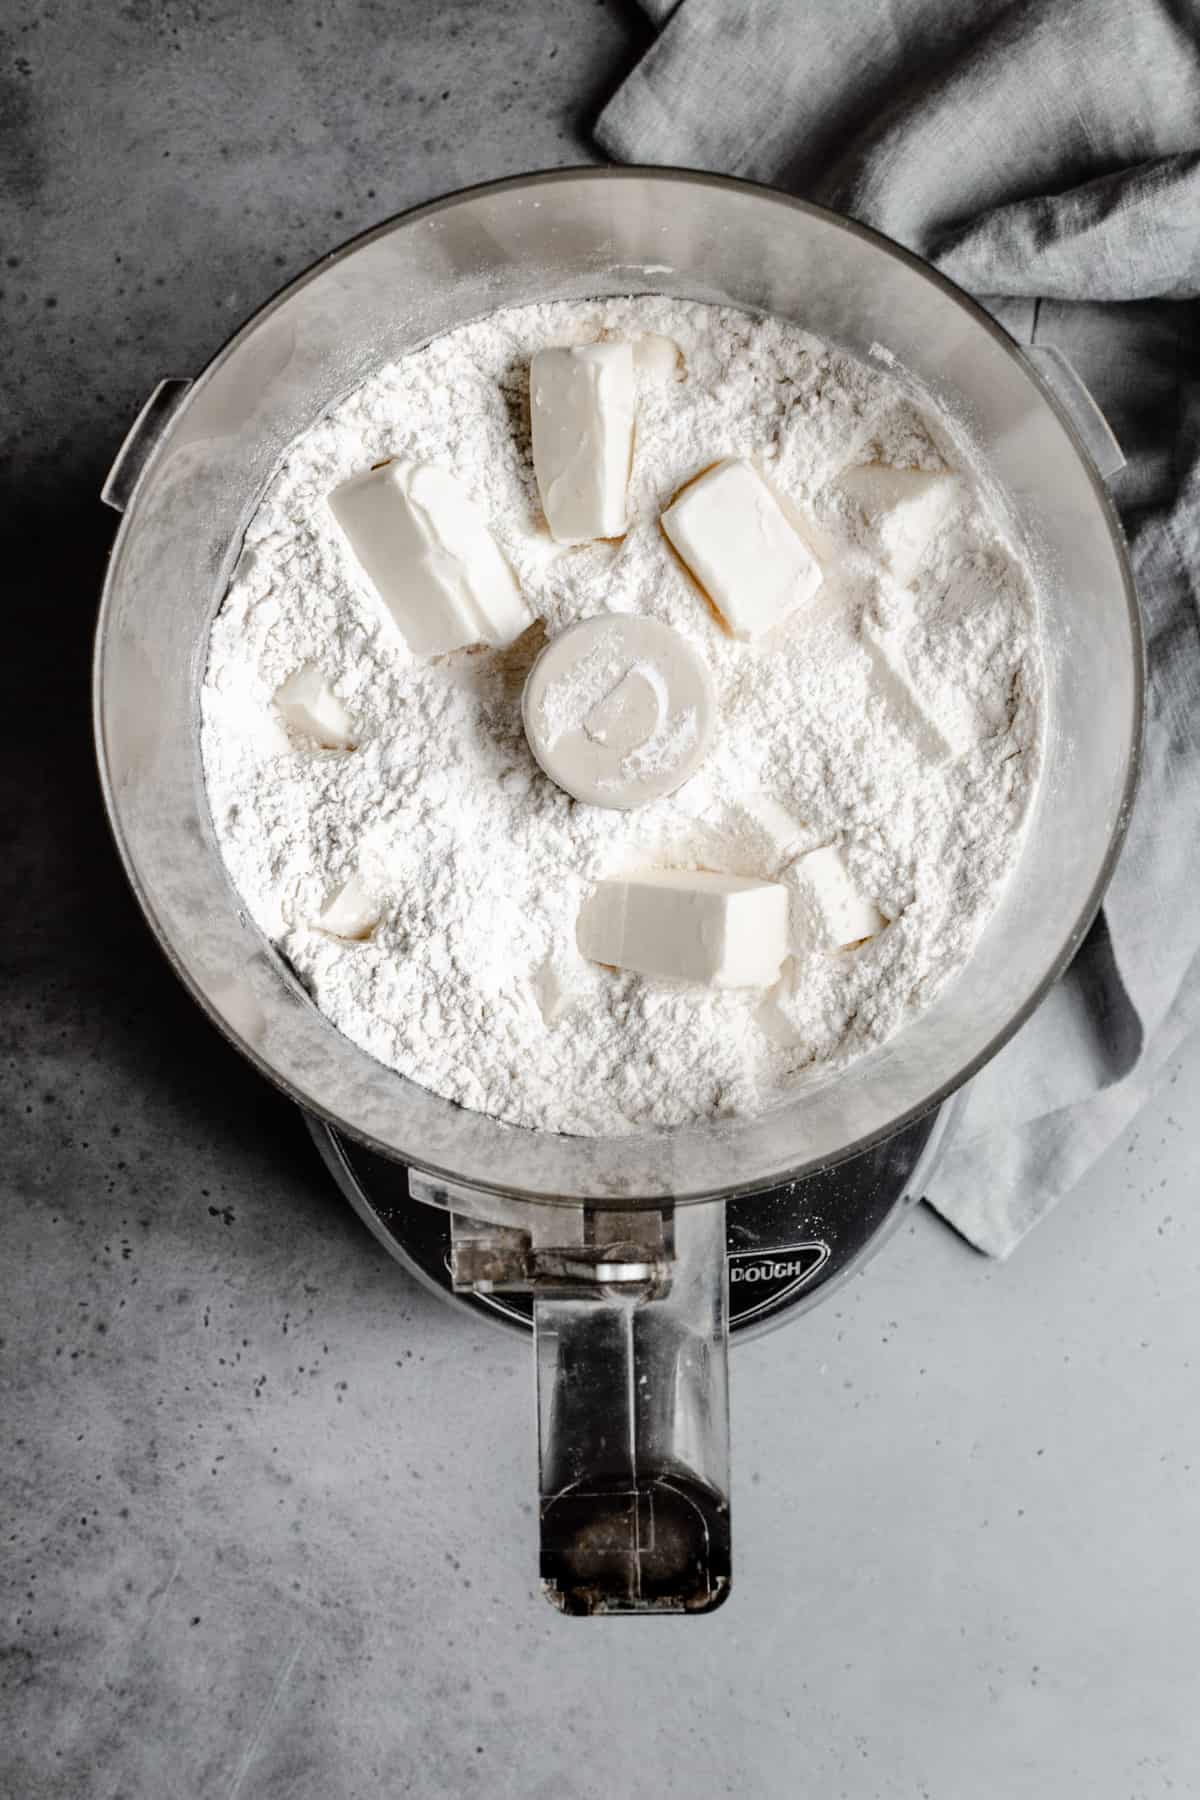
2. Add a larger amount of cool butter.
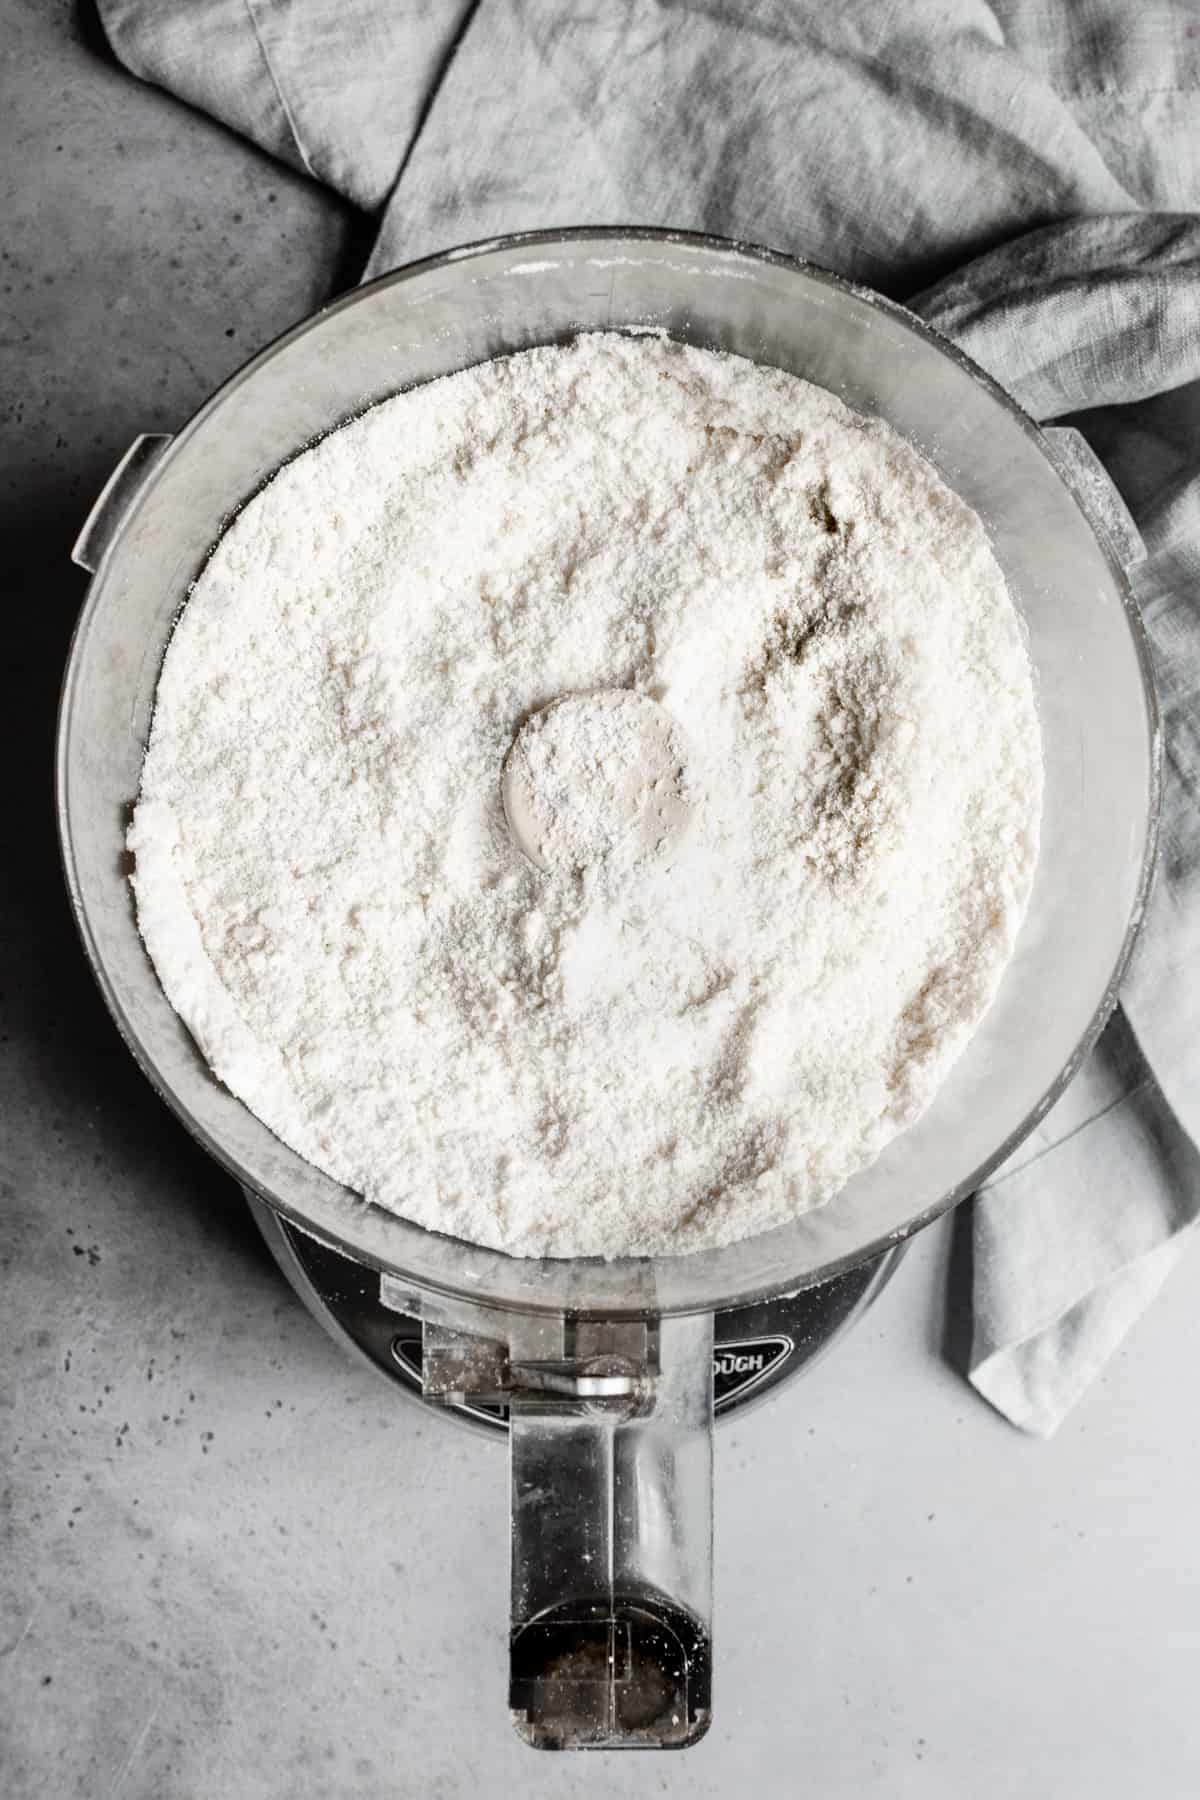
3. Pulse for 5-10 seconds, until the mix resembles a coarse meal.
4. Add the smaller amount of frozen butter, and pulse 5-10 seconds, until the butter is the size of large peas,
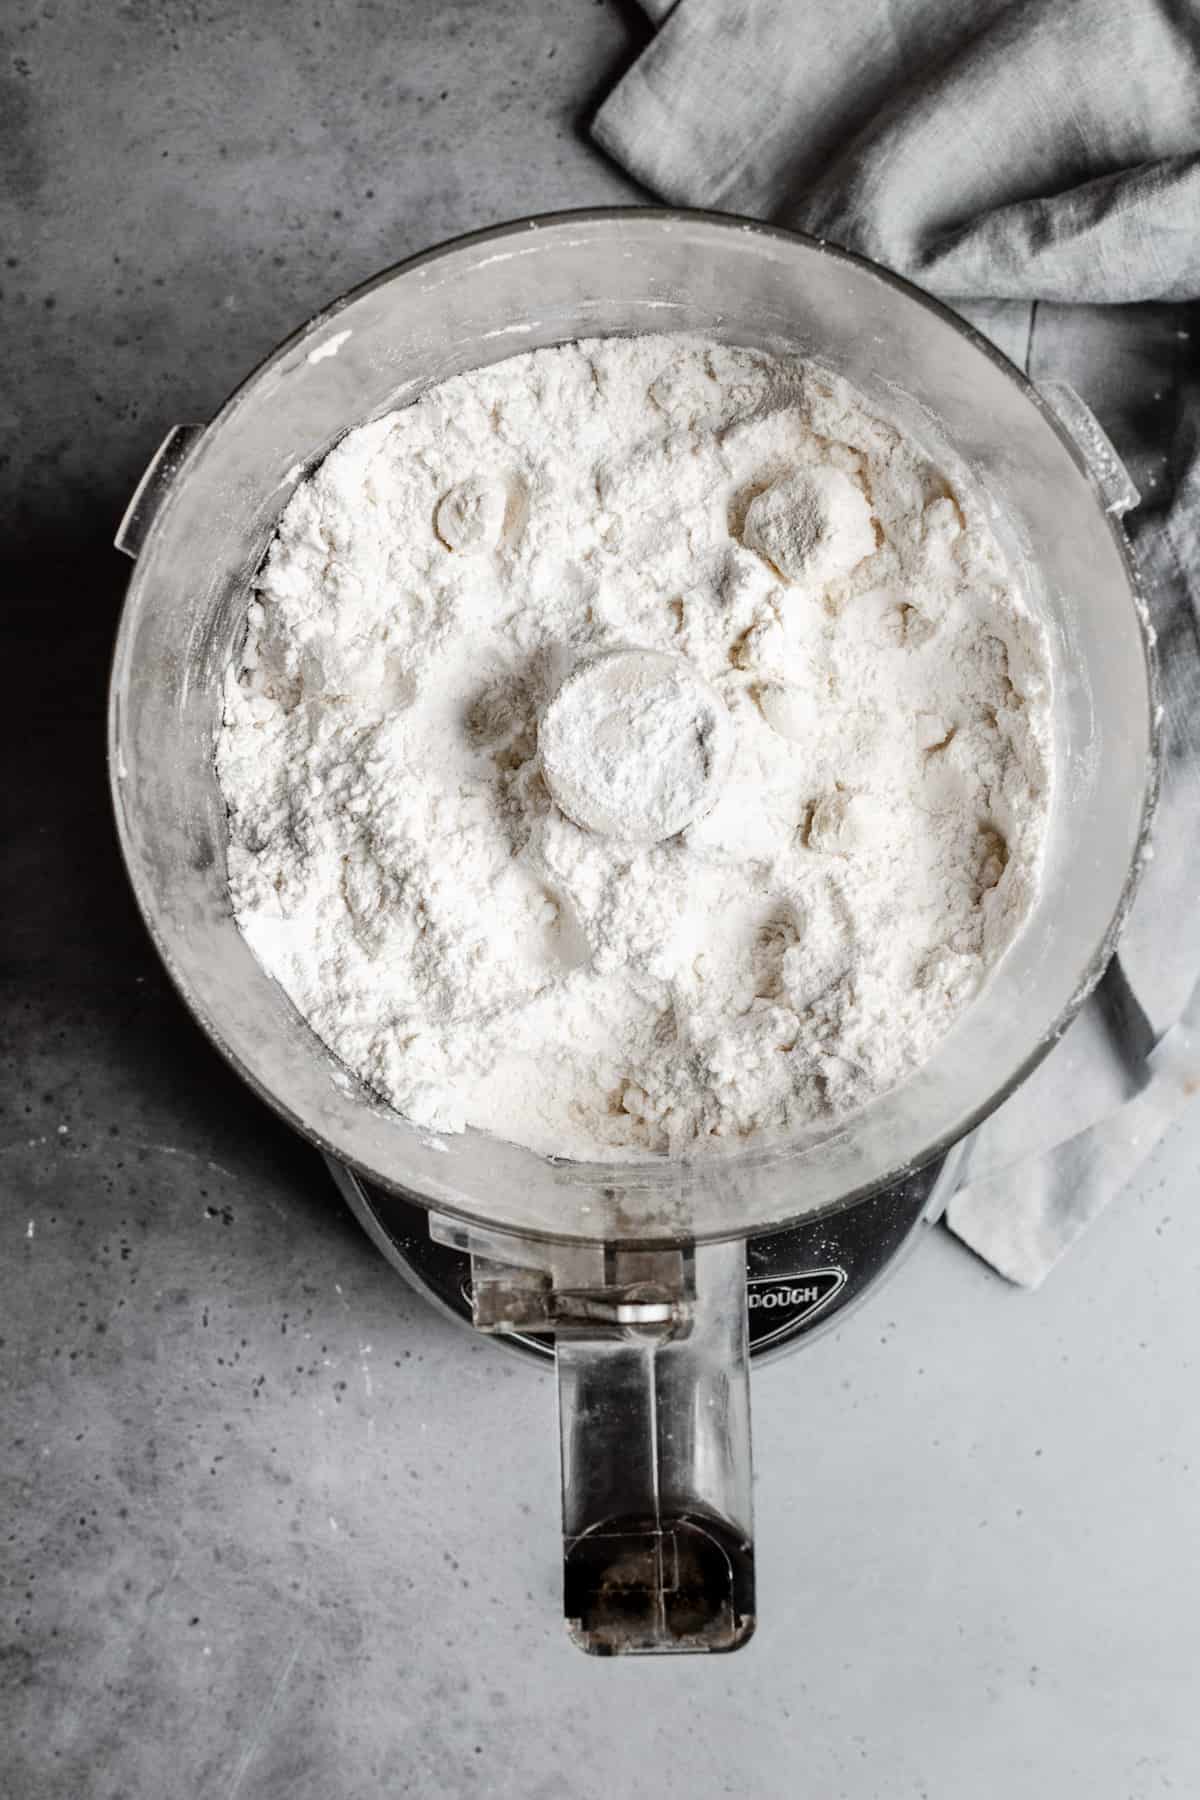
5. Add ice water and vinegar.
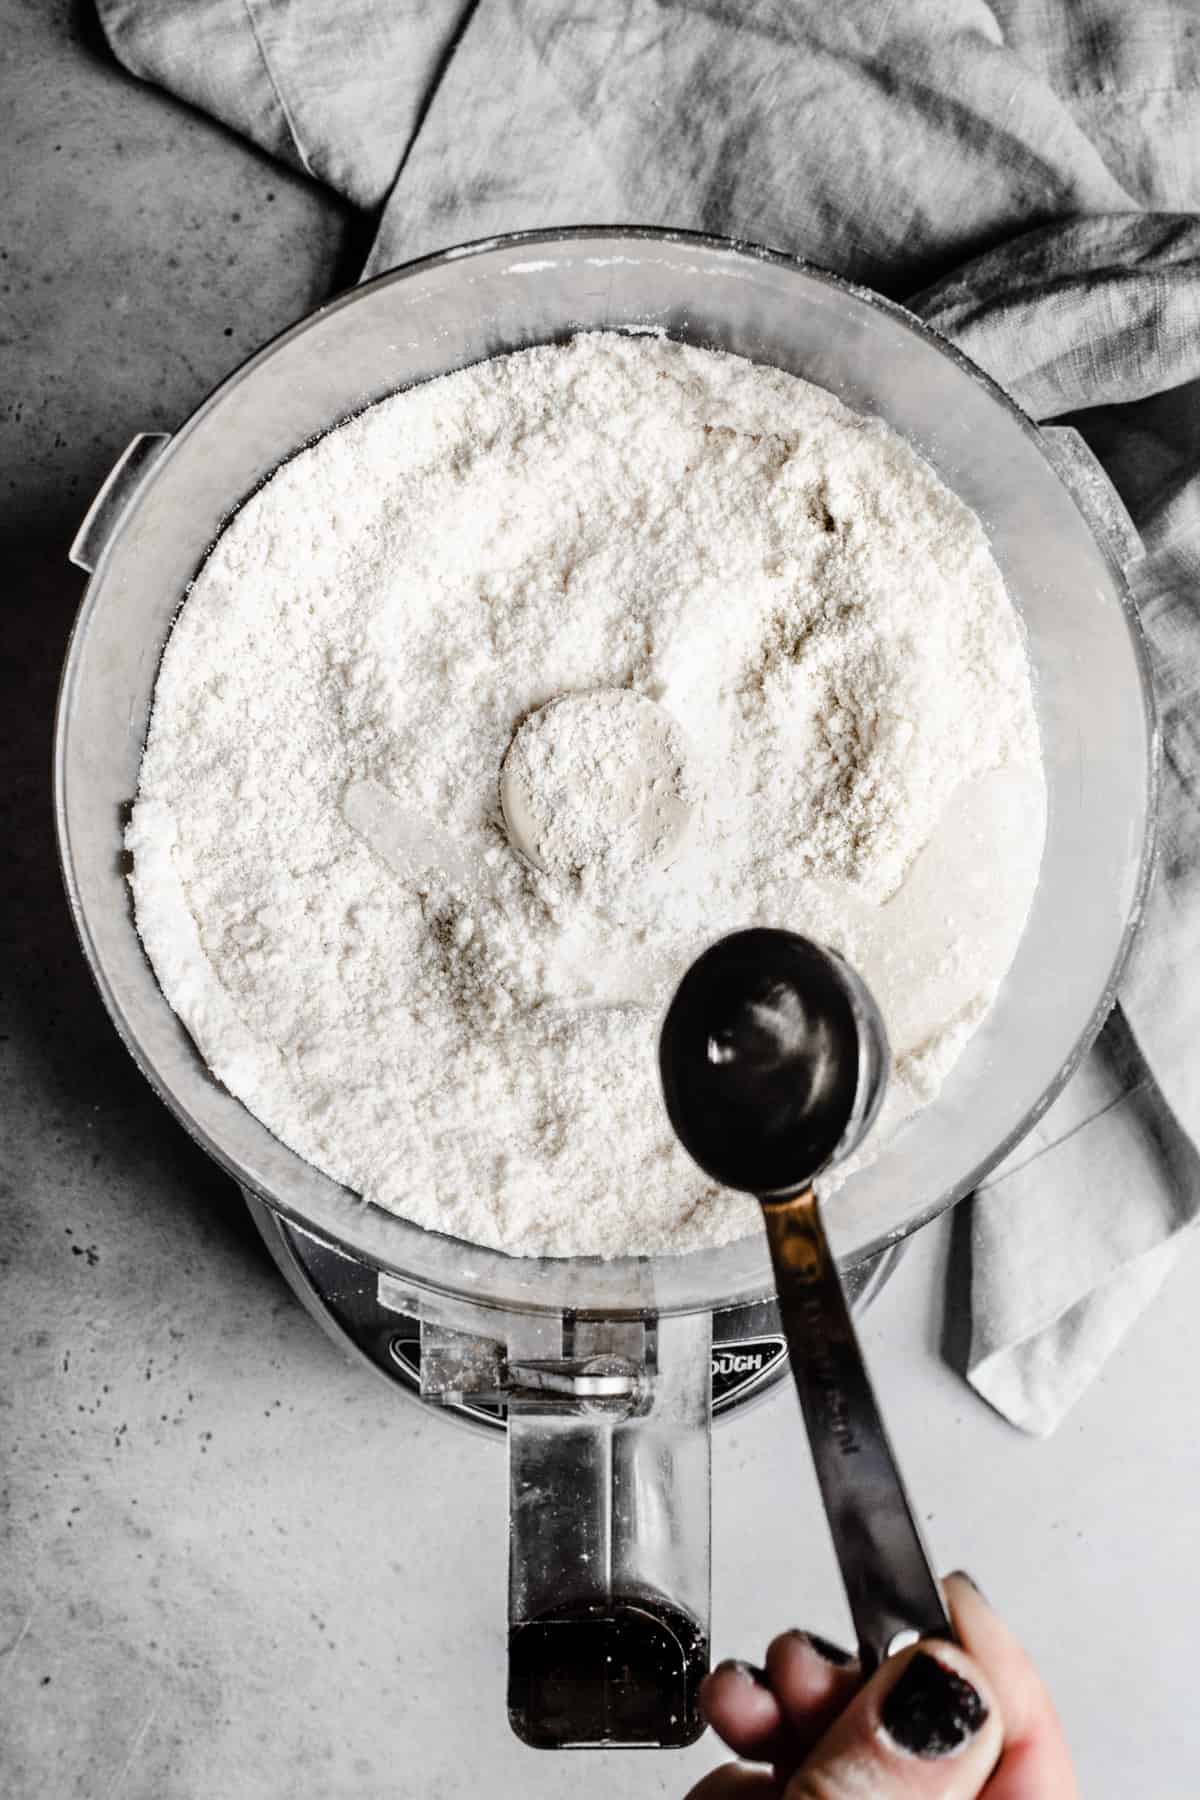
6. Pulse until butter is the size of small peas.
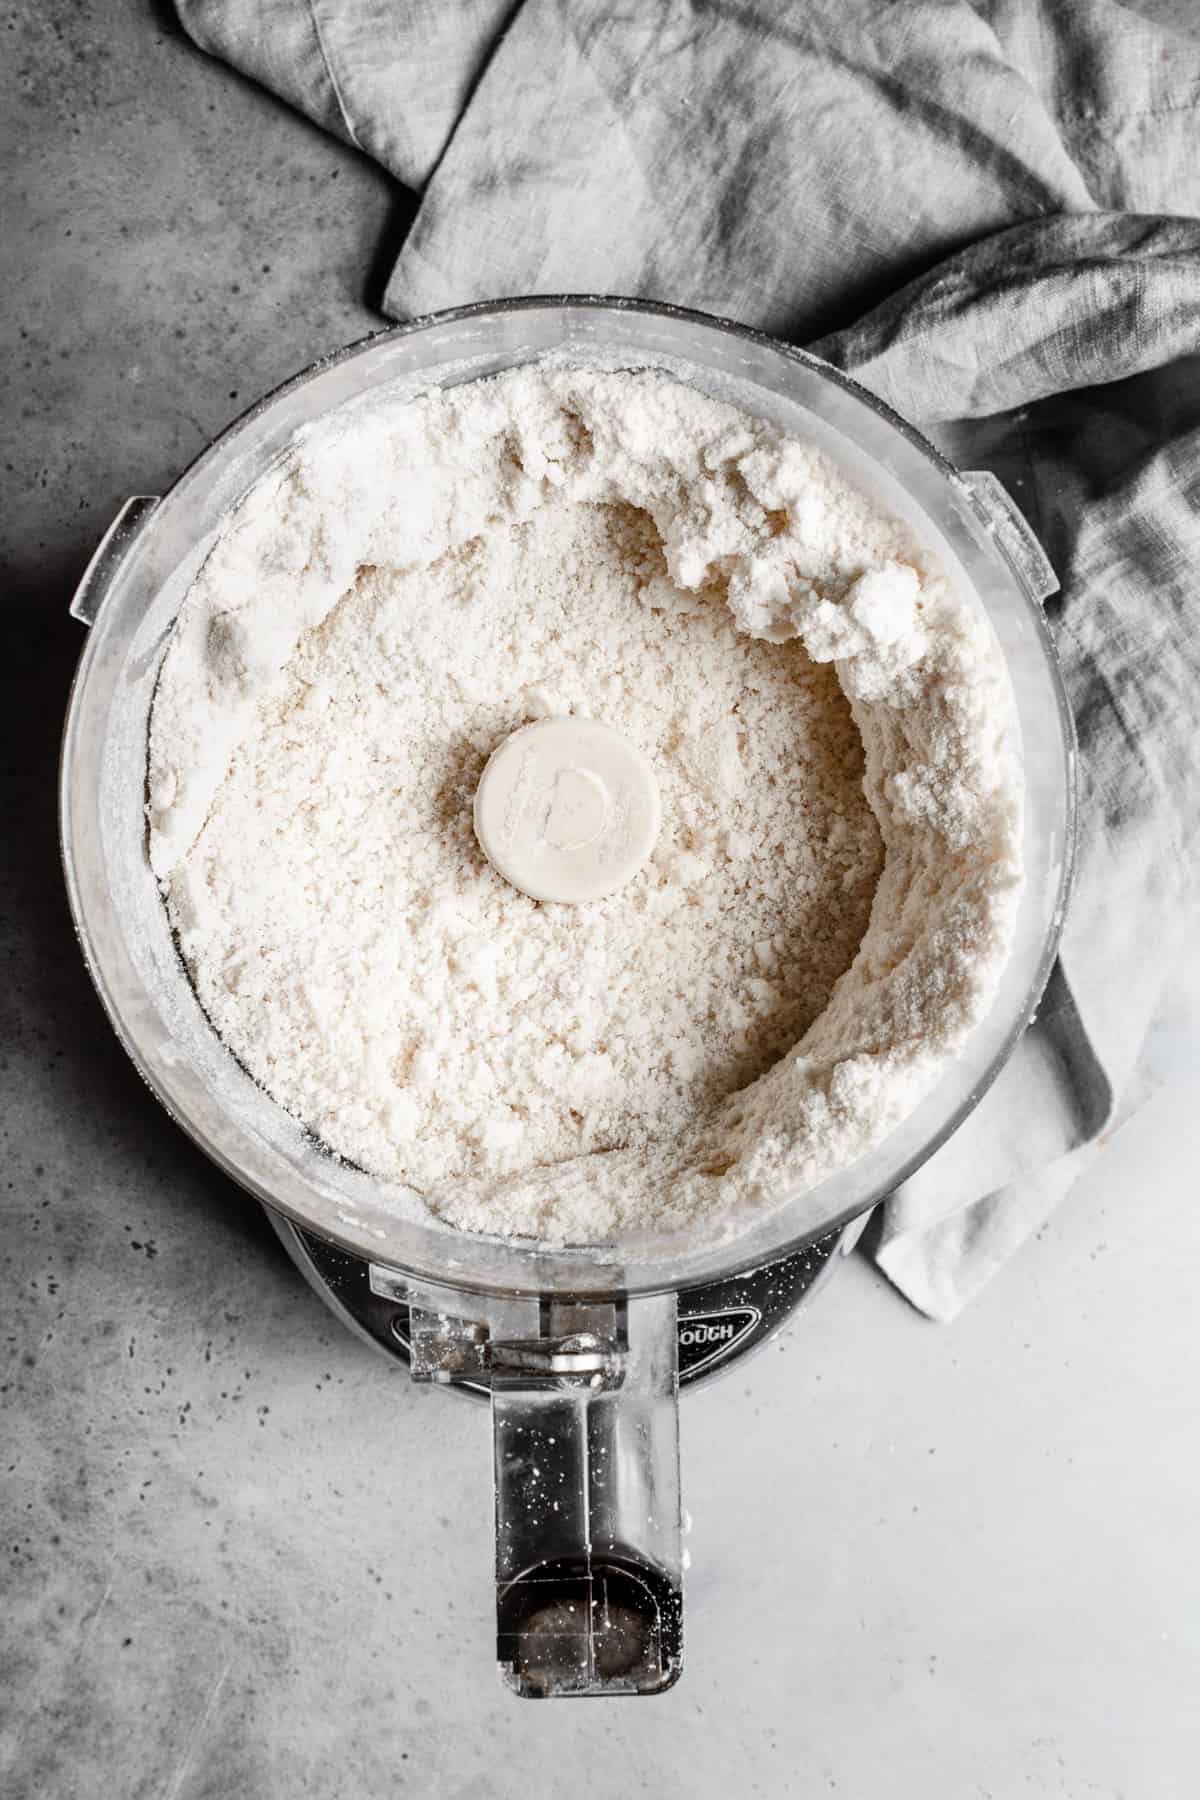
The dough will look crumbly and will only hold together when pinched with your finger.
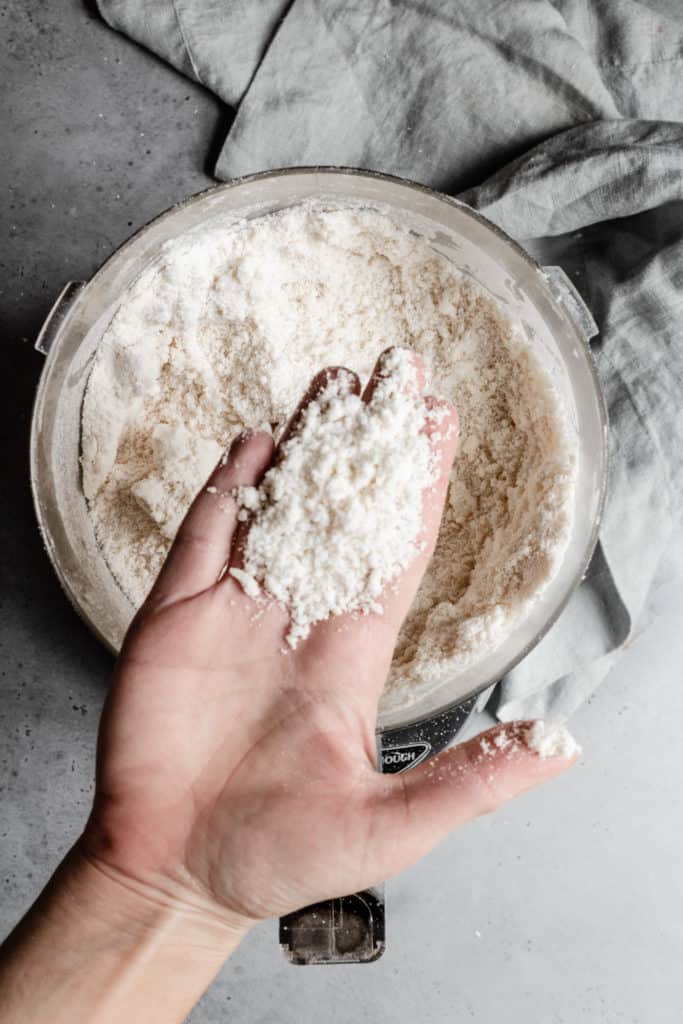
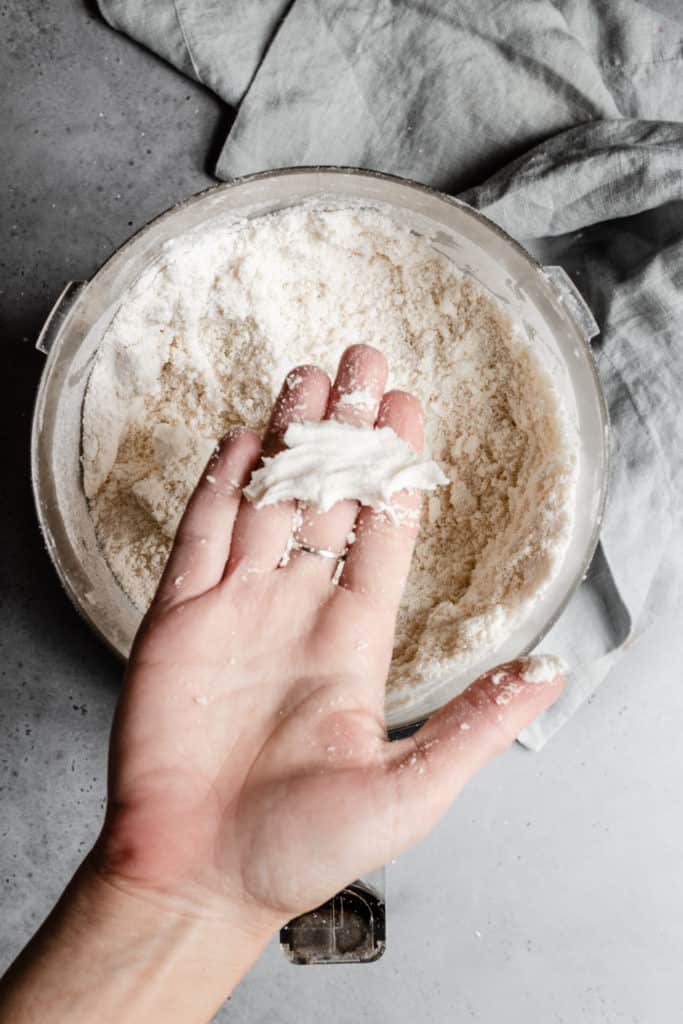
7. Place dough on a flat clean surface.
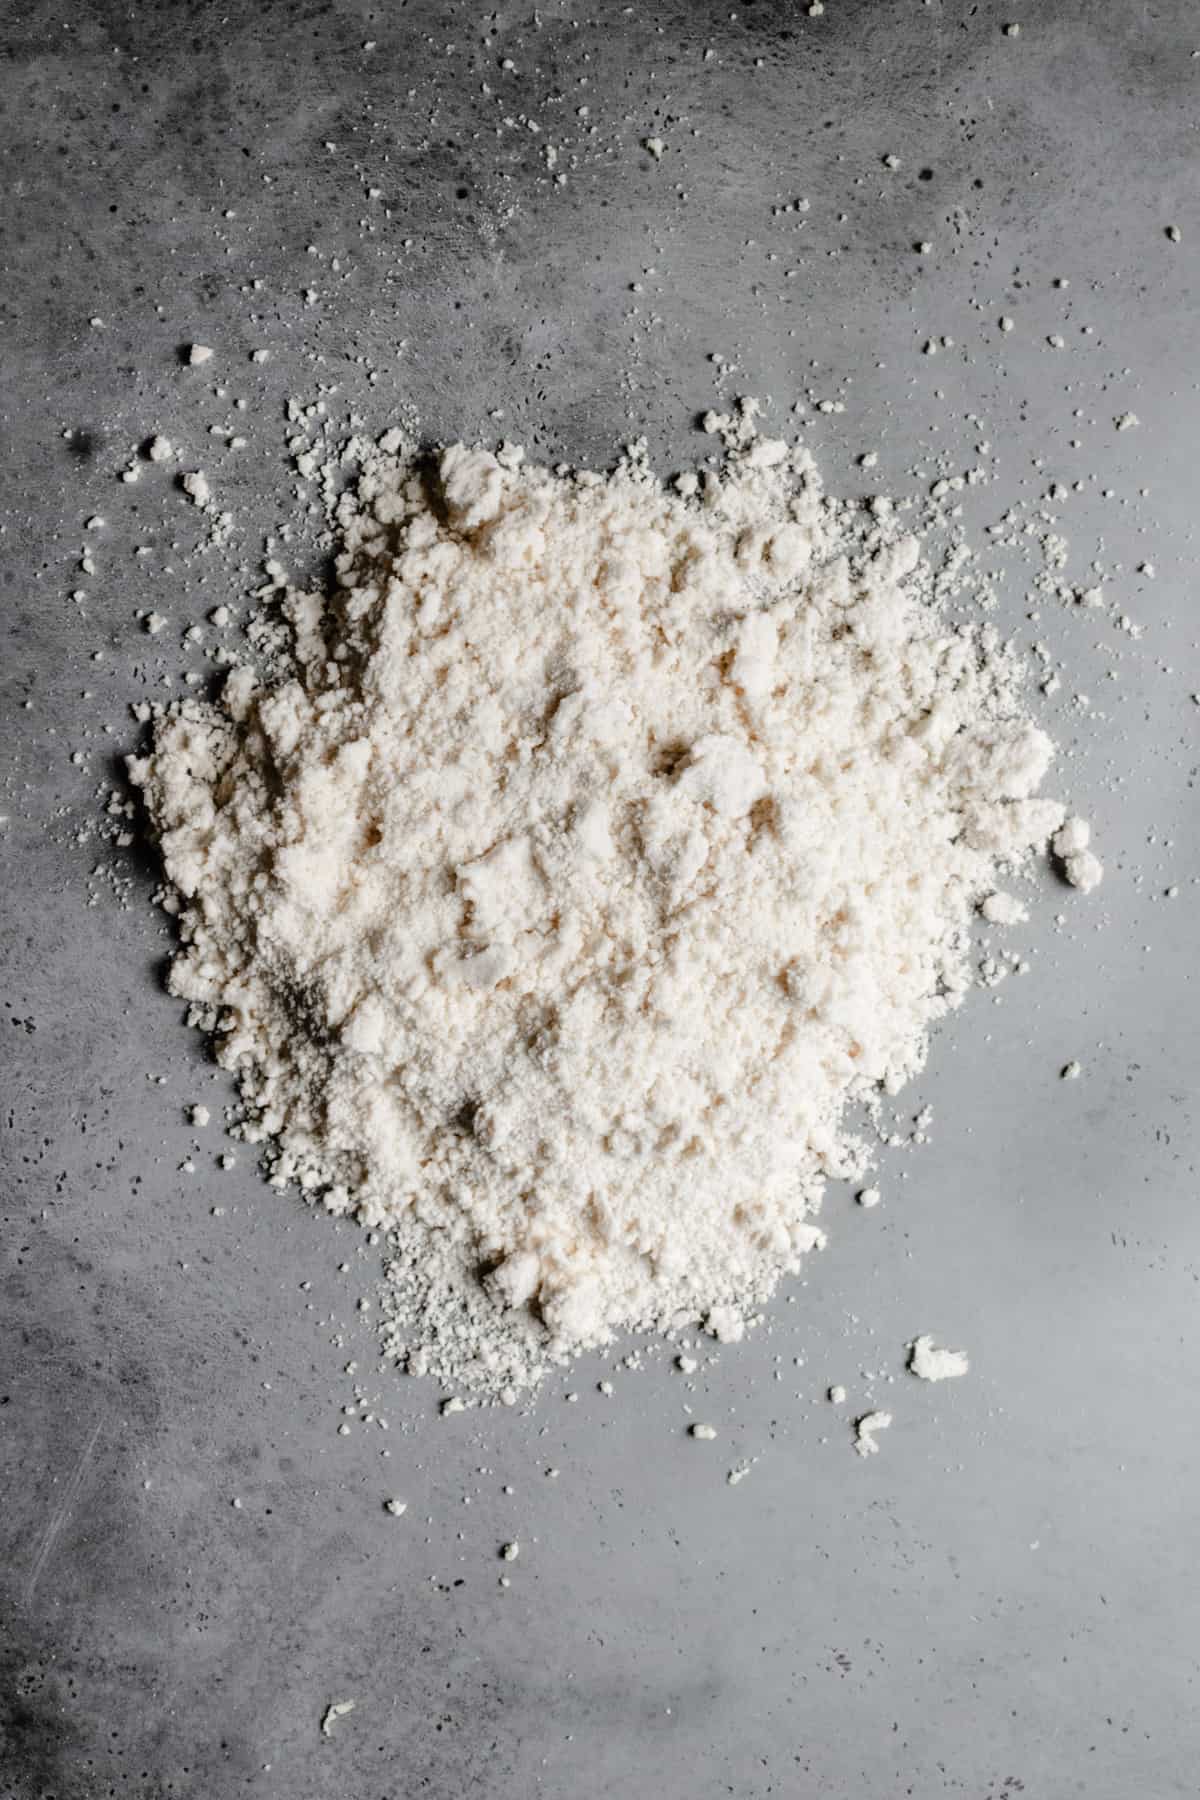
8. Bring together using your hands, DO NOT KNEAD!!!
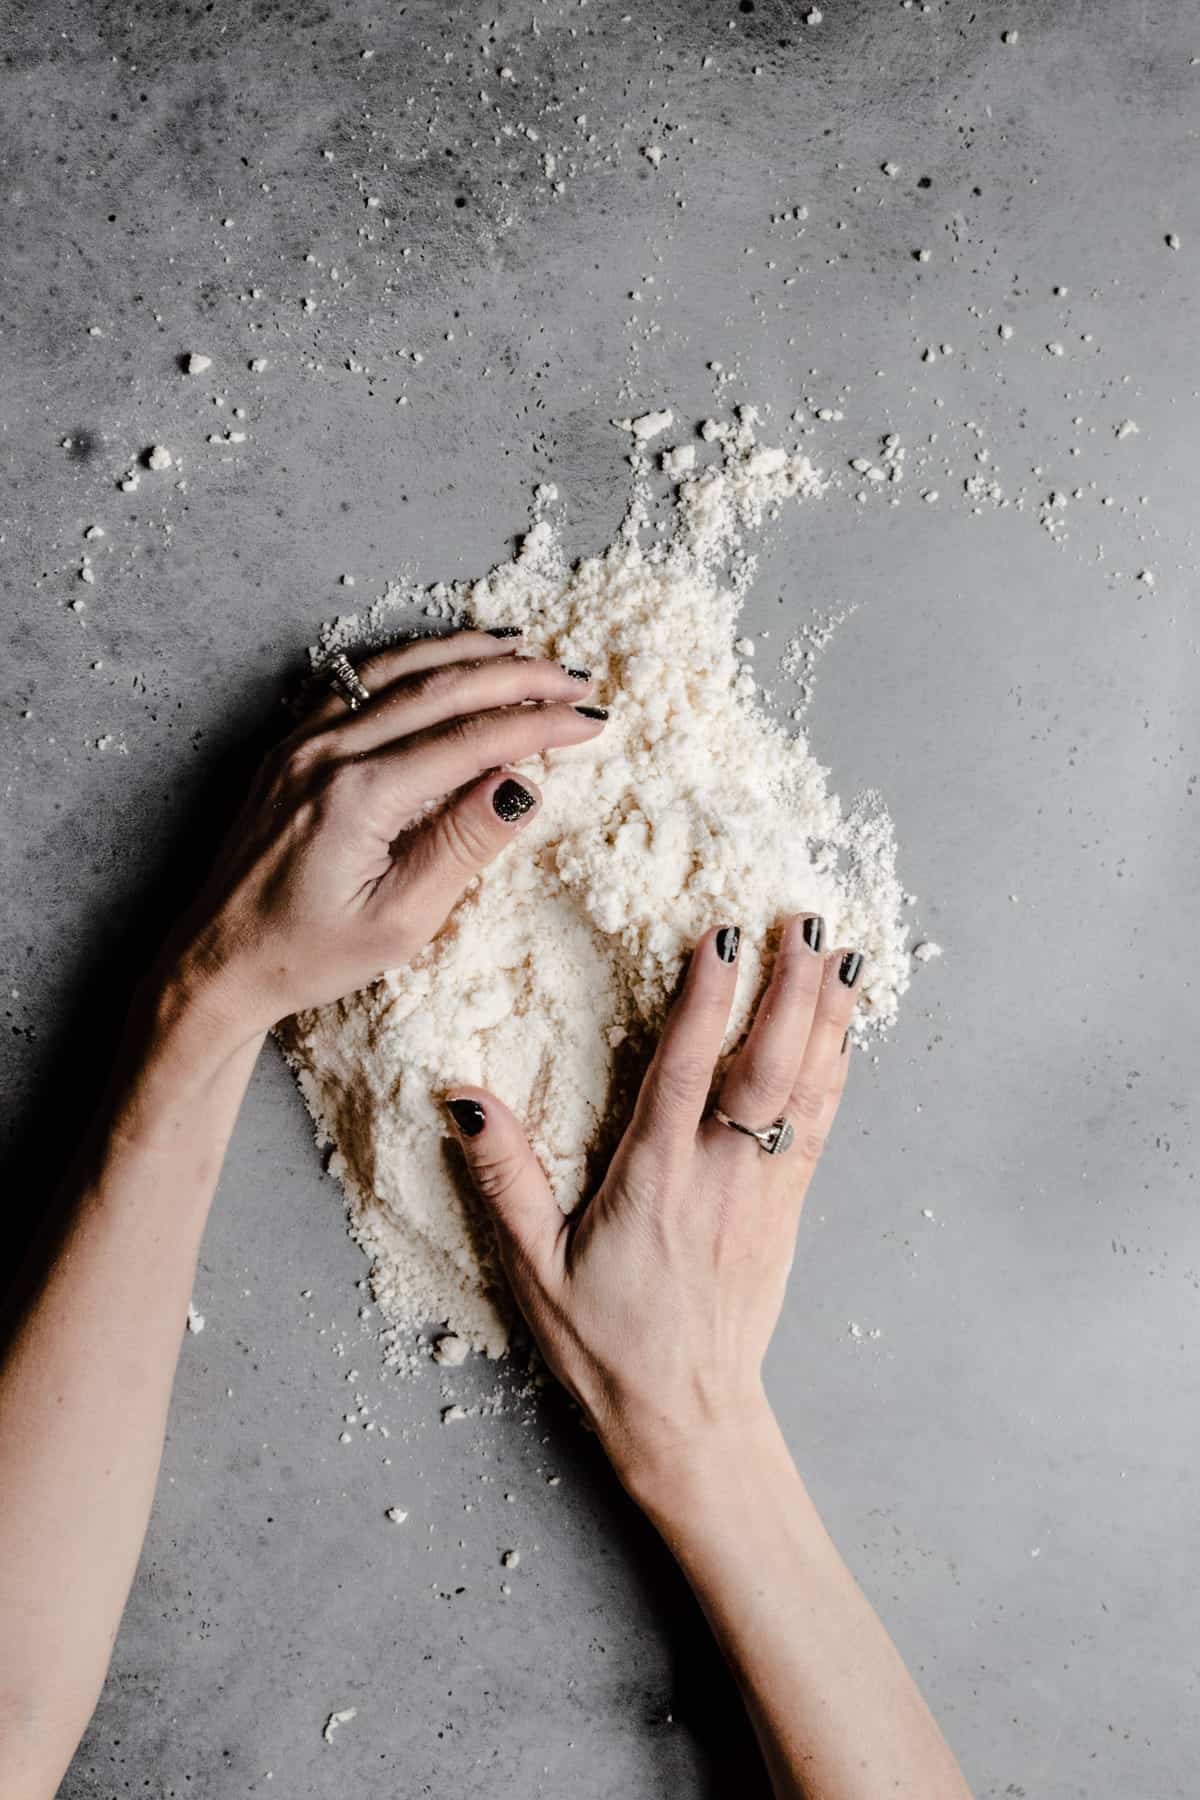
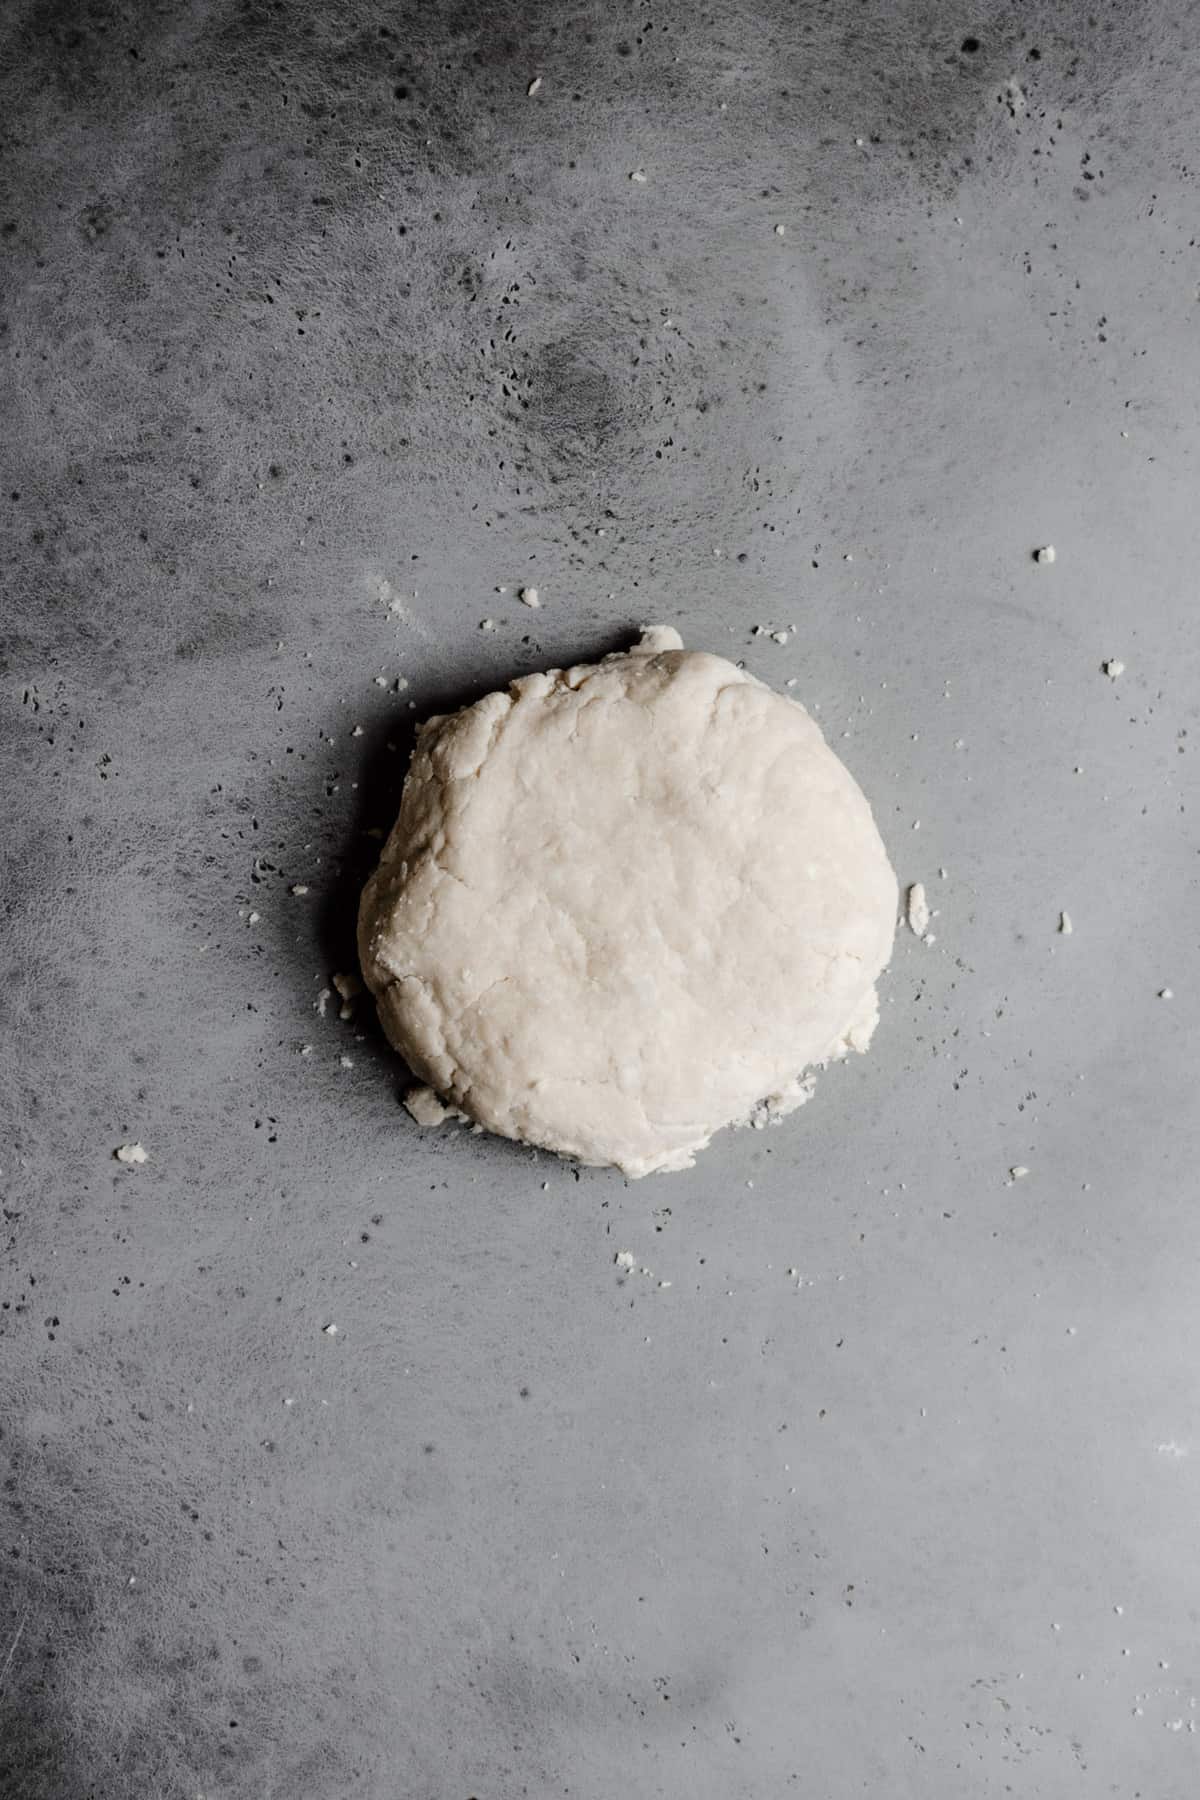
9. Form a disk, wrap in plastic wrap and let cool for a minimum of 1 hour.
Here are some more recipes you might enjoy:
One more thing…
Don’t forget to tag @OneSarcasticBaker on Instagram if you bake this recipe. Would love to see your creations!
This post contains affiliate links which means I will be paid some commission with no cost to you,
All Butter Pie Crust
Ingredients
- 9 TBS Unsalted butter, cold (128 g / 4.5 oz)
- 1 1/2 Cups Bleach flour or Pastry flour (214 g / 7.5 oz)
- 1/4 tsp Salt
- 1/8 tsp Baking powder
- 4 1/2 TBS Ice Water
- 1 1/2 tsp Apple Cider Vinegar
Instructions
- Divide the butter into two parts, 6 TBS and 3 TBS. Cut each part into 3/4" cubes. Refrigerate the larger amount and freeze the smaller amount for a minimum of 30 minutes.
- Sift together the flour, salt, and baking powder and place it in the freezer for about 30 minutes.
- Remove flour and butter from the freezer and refrigerator and have the ice water and apple cider vinegar ready to use.
- Place the flour mixture in a food processor and pulse for about 5 seconds.
- Add the larger amount of butter and pulse for about 10-15 seconds. The butter should resemble a coarse meal.
- Add the smaller amount of butter and pulse until the butter is the size of large peas.
- Drizzle in the water and apple cider vinegar and pulse for about 5-10 seconds, until the butter is the size of small peas.
- Place the dough on a clean flat surface and using your hands bring the dough together by pressing it (DO NOT KNEAD!) into a disk.
- If you would like to bake a lattice pie, divide the dough into 2/3 and 1/3 and wrap it in plastic wrap.
- Let rest in the refrigerator for a minimum of 1 hour or overnight preferably.



I was about to give up on pie crust!. I will definitely try this recipe. Thank you for helping me understand the science behind it. .
So happy to heart that Daizy, I know how intimidating pie crust can be!
¨Refrigerate the larger amount and freeze the larger amount …¨ I do not understand which one goes where
Hi Doris,
You are right, that was a mistake.
You need to refrigerate the large amount and freeze the smaller amount.
Thank you for featuring my recipe and book and listing weights. Your pies are absolutely beautiful! Just one addition: the baking powder adds tenderness during baking but aluminum based gives a bitter flavor so be sure to use calcium based such as Rumford.
THANK YOU for the amazing work you do and share, needless to say, how much it means to me. And thanks for the baking powder tip, it’s priceless and I was not aware there is such a difference. I Will definitely make a note about that.