Last updated on January 7th, 2026.
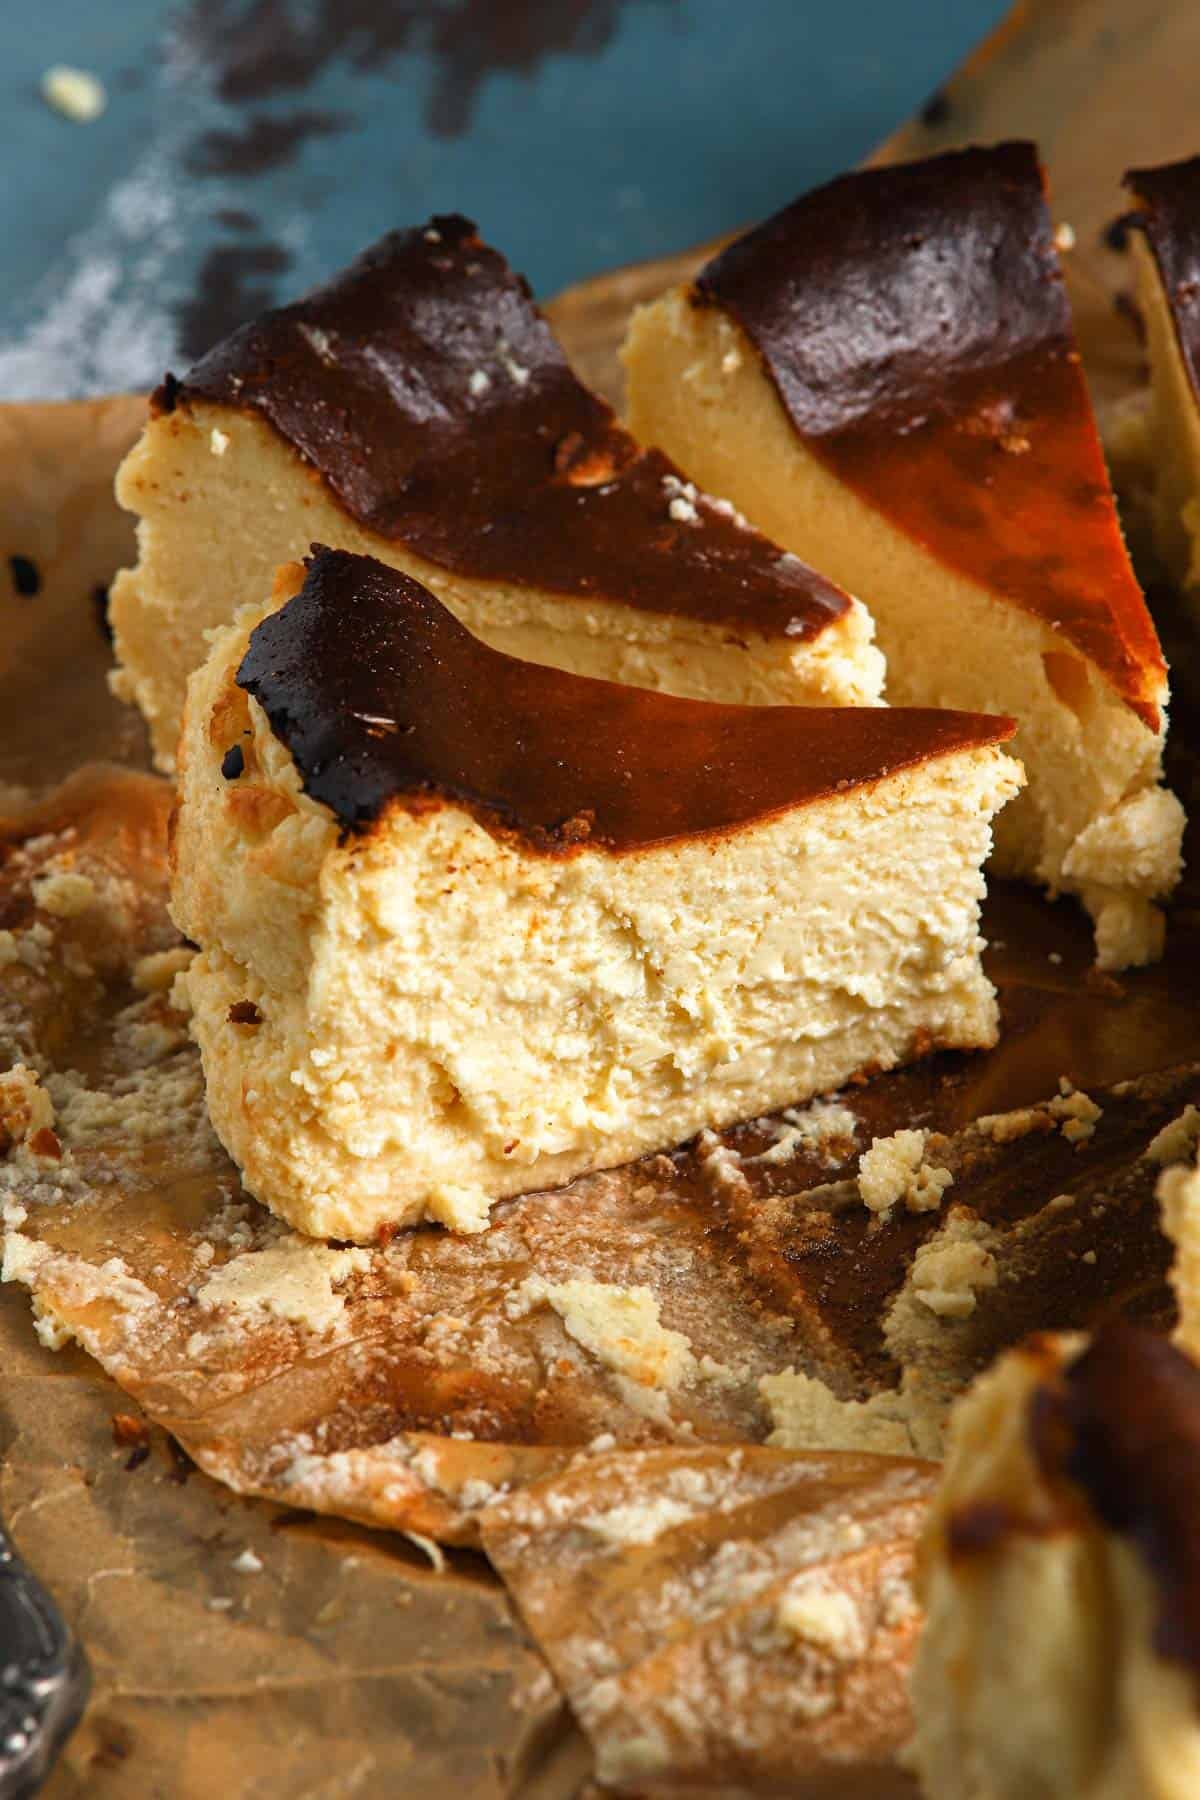
San Sebastian Cheesecake is a sweet and tangy cheesecake with a dark burnt like top and a creamy soft texture perfect for any occasion.

San Sebastian Cheesecake was introduced to the world by Santiago Rivera, the owner and chef of his bar La Viña in San Sebastian, in the Basque country of Spain. This is why this cake is known as Spanish Cheesecake or Basque Cheesecake. Unlike traditional cheesecakes, it bakes at a high temperature and without a water bath, giving it a burnt top (also known as Basque burnt cheesecake). It is characterized by its rustic and creamy, custard-like interior.
By the way, this recipe is adapted from my cookbook Baking Science. It is one of my favorite recipes from the book, right next to this Almond Cake; I chose it to demonstrate how temperature affects baking.
For more cheesy cake recipes, check out these recipes: Biscoff Butter Cheesecake, Israeli Cheesecake, and this Sponge Cheesecake recipe.
Ingredients
The complete list, including measurements, is below in the recipe card. As you can see, this recipe calls for a few simple ingredients. But to work best, ensure all ingredients are at room temperature.
- Granulated sugar.
- Flour: Use a very small amount to soak up some liquids without giving the cake a cakey texture.
- Salt
- Full-fat Cream cheese. The fat content is crucial in this recipe, so please do not substitute with slim cream cheese.
- Sour cream. It can be replaced with heavy cream, but I like it when my cheesecake tangier.
- Large eggs and egg yolks. Combining yolks with eggs makes this creamy texture and contributes to the dark, burnt-like top color.
- Vanilla extract.
Step By Step instructions
- Line your baking pan with parchment paper. Ensuring the sides are completely lined and the paper hangs about two inches above the height of the cake.
- Mix the sugar, flour, and salt in a medium bowl. In a separate measuring cup, mix the eggs, egg yolks, and vanilla extract.
- Using a stand mixer (using the paddle attachment) or an electric mixer and a large mixing bowl, beat the cream cheese until smooth. Add the sour cream and beat until incorporated.
- With the mixer on low speed, gradually add the sugar.
- Still on low speed, slowly drizzle in the egg mixture.
- Pour the cheesecake batter into the prepared pan and bake.


Tips for Baking the Perfect Burnt Cheesecake
The Pan and Preparation
This creamy cheesecake is famous for its parchment paper wrapping, which contributes to the edges’ rustic look, you can bake it in a springform pan. The baking paper is crucial for inverting the cake. So it is important to make sure you have enough extra paper to grab on.
How to Know the Cake is Done Baking
Always watch for the cake, not the timer. This burnt basque cheesecake is ready when the edges are set, but the cake giggles when you slightly shake the pan. An overbaked cake will have a curdled texture and sometimes a liquid deposit. When the cake is not baked enough, it will sink and drip when you slice it.
The good news is that, unlike most cheesecake recipes, this basque-style cheesecake gets its charm from its imperfection, so if this is the first time you are baking it, and you over or under-baked it, it is still delicious!
Cooling
The first stage of the cooling process is also the last stage of the baking process, as the cake continues to bake from the heat residue when we first take it out of the oven. So it is very important not to try to invert it or place it in the refrigerator too soon. Refrigerate the cake only after it reaches room temperature and no longer giggles.
The Color Of The Cake
Not all ovens are the same, and your cake might not bake dark if your oven runs too high or too low. The best way to know this is to use an oven thermometer and adjust the setting before baking. Pay attention to your oven’s hot spots and rack position, and consider reducing the temperature by 25F if using a convection oven.
Flavor Variations and Serving Ideas
This cake is perfectly cheesy and delicious, but also is the perfect cake to manipulate to endless flavors; here are some ideas:
- Rub 2 teaspoons of fresh orange or lemon zest with the sugar to give the cake a citrusy flavor.
- Dissolve 1-2 teaspoons of instant coffee with the vanilla extract.
- Serve a slice with a cup of this fresh compote.
- Swirl into the cake batter when in the pan melted chocolate, lemon curd, orange curd, or other fruits.
- Top the chilled cake with homemade Stabilized heavy whipping cream, and some fresh berries.
- Drizzle the cake with warm biscoff butter, Nutella, or peanut butter.
- Spread a generous serving of cherry pie filling on top of the cheesecake (the same as new york style cheesecake is served)
Storing and Yields
- Storing and freezing: Store the cheesecake in the refrigerator, covered, for up to 5 days. To freeze, allow the cake to cool completely, then gently wrap it with plastic wrap, place in a large plastic bag, or an airtight container and freeze for up to 2 months. Unwrap it and thaw in the refrigerator before serving.
- Yields: You can bake this recipe in an 8, or 9-inch parchment-lined pan or a greased spring form pan and serve 8-12 people, depending on the serving size. The baking time will vary; please see the recipe notes.
More Authentic Recipes You Might Enjoy
Torta Della Nonna, Karpatka Cake, Jewish Apple cake

San Sebastian Cheesecake Recipe
Ingredients
- 1 1/2 Cups Sugar (300g)
- 1 Tablespoon Flour (7.5g)
- 1/2 teaspoon salt
- 3 Large Eggs at room temperature
- 3 Large Egg yolks at room temperature
- 1 Tablespoon Vanilla extract
- 2 Cups Cream cheese full-fat at room temperature (450g)
- 2 Cups Sour cream full-fat at room temperature (480g)
Instructions
- Preheat the oven to 425F and line one eigh-inch pan with two pieces of parchment paper, making sure the pan is completely lined and the paper is hanging about two-inches above the pan.Alternately use a lightly greased springform pan
- Mix the sugar, flour, and salt in a medium bowl. In a separate measuring cup, mix the eggs, egg yolks, and vanilla extract.
- Using the paddle attachment, beat the cream cheese for about 30 seconds.
- Add the sour cream and mix until fully incorporated. Use a rubber spatula to scrape the bottom and sides of the bowl.
- With the mixer on low speed, gradually add the sugar.
- Still on low speed, gradually as the beaten eggs mixture.
- Use a rubber spatula to scrape the sides and bottom of the bowl.
- Pour the batter into the prepared pan and bake for 38-42 minutes over the second lower oven rack.The cake is ready when the edges are set, and the cake giggles when you slightly shake the pan,
- Remove the cake from the oven and let it cool completely before refrigerating or inverting to a serving dish.
Notes
- Using room-temperature ingredients is crucial to the smooth and creamy texture of the cake.
- Pay attention to the cake and not the timer, and know that the cake is ready when the edges are set, but the cake giggles mostly at the center and top. It will continue to bake from the heat residue as it cools.
- If using a nine-inch pan, reduce baking time by 5-8 minutes.
- To flavor the cake, rub the sugar with citrus zest, add some instant coffee, or swirl melted chocolate or fruity curd into the cake batter.
- Store the cake covered, or in an airtight container in the refrigerator for up to five days.
- To freeze, let the cake cool to room temperature, and gently wrap it with plastic wrap, and freeze for up to eight weeks. When ready, allow it to defroze in the refrigerator the night before.