Last updated on July 6th, 2026.
If you grew up in Israel, there’s a very good chance this tea biscuit cake made an appearance at every birthday part, holiday, or family gathering. My version brings together layers of tea biscuits and a light vanilla cream into a melt-in-the-mouth dessert that is as nostalgic as delicious. And the best part os that is comes together with no over, and very little effort.

What is an Israeli Biscuit Cake?
This cake is an irreplaceable part of my childhood second only to this Krembo Recipe. To this day, every bite takes me back to a time when cake was the only thing that mattered, earning its place of honor in my Jewish Desserts Collection.
Israeli biscuit cake, also known as “Ugát Bisc-vi-Tim,” is a nostalgic dessert that became a favorite during the hot long hot days of summer, or as a quick treat that wraps up a hectic week. Its true beauty lies in its simplicity. Its a no bake dessert made of crisp tea biscuits layers soaked in milk (or coffee) in between thick layers of a light creamy filling. Some might call it the Israeli Tiramisu, and while I like the romanticization, the two could not be more different, and its time for you to make the call.
Ingredients Checklist
There are many versions to this cake, and it took me a while to come up with one that is easy, foolproof and holds all of the classic flavors. The secret is in the ingredients:
- Petit beurre biscuits. Any brand works (classic or vanilla flavored), including Kedem, which is easily found in most grocery stores in the kosher aisle. Osem brand is my favorite because it holds the milk well without getting too soggy. And yes, you can use digestive biscuits and even graham crackers, but I do not recommend them. The cake is named after the petit beurre biscuits, and it does make a difference. I crumble some extra biscuits on the top of the cake.
- For the filling: Vanilla instant pudding not only thickness the filling into a sliceable texture, it is also where all the flavors are coming from. Whipped Heavy cream, adds volume and the light airy texture, and sour cream add the rich creamy texture while balances the sweetness coming from the pudding and biscuits.
- Vanilla instant pudding is how the cake gets its unique nostalgic signature flavor, but if you are not a fan, replace it with powdered sugar and vanilla bean. See the recipe card for exact measurements.
- Optional: Browned milk powder to add some deep buttery flavor, and helps stabilize the filling.
Make (don’t bake) The Cake
This cake is simple and straight forward, I always start by making the filling, then move on to the fun part where we assemble the cake in an ice-box cake style.
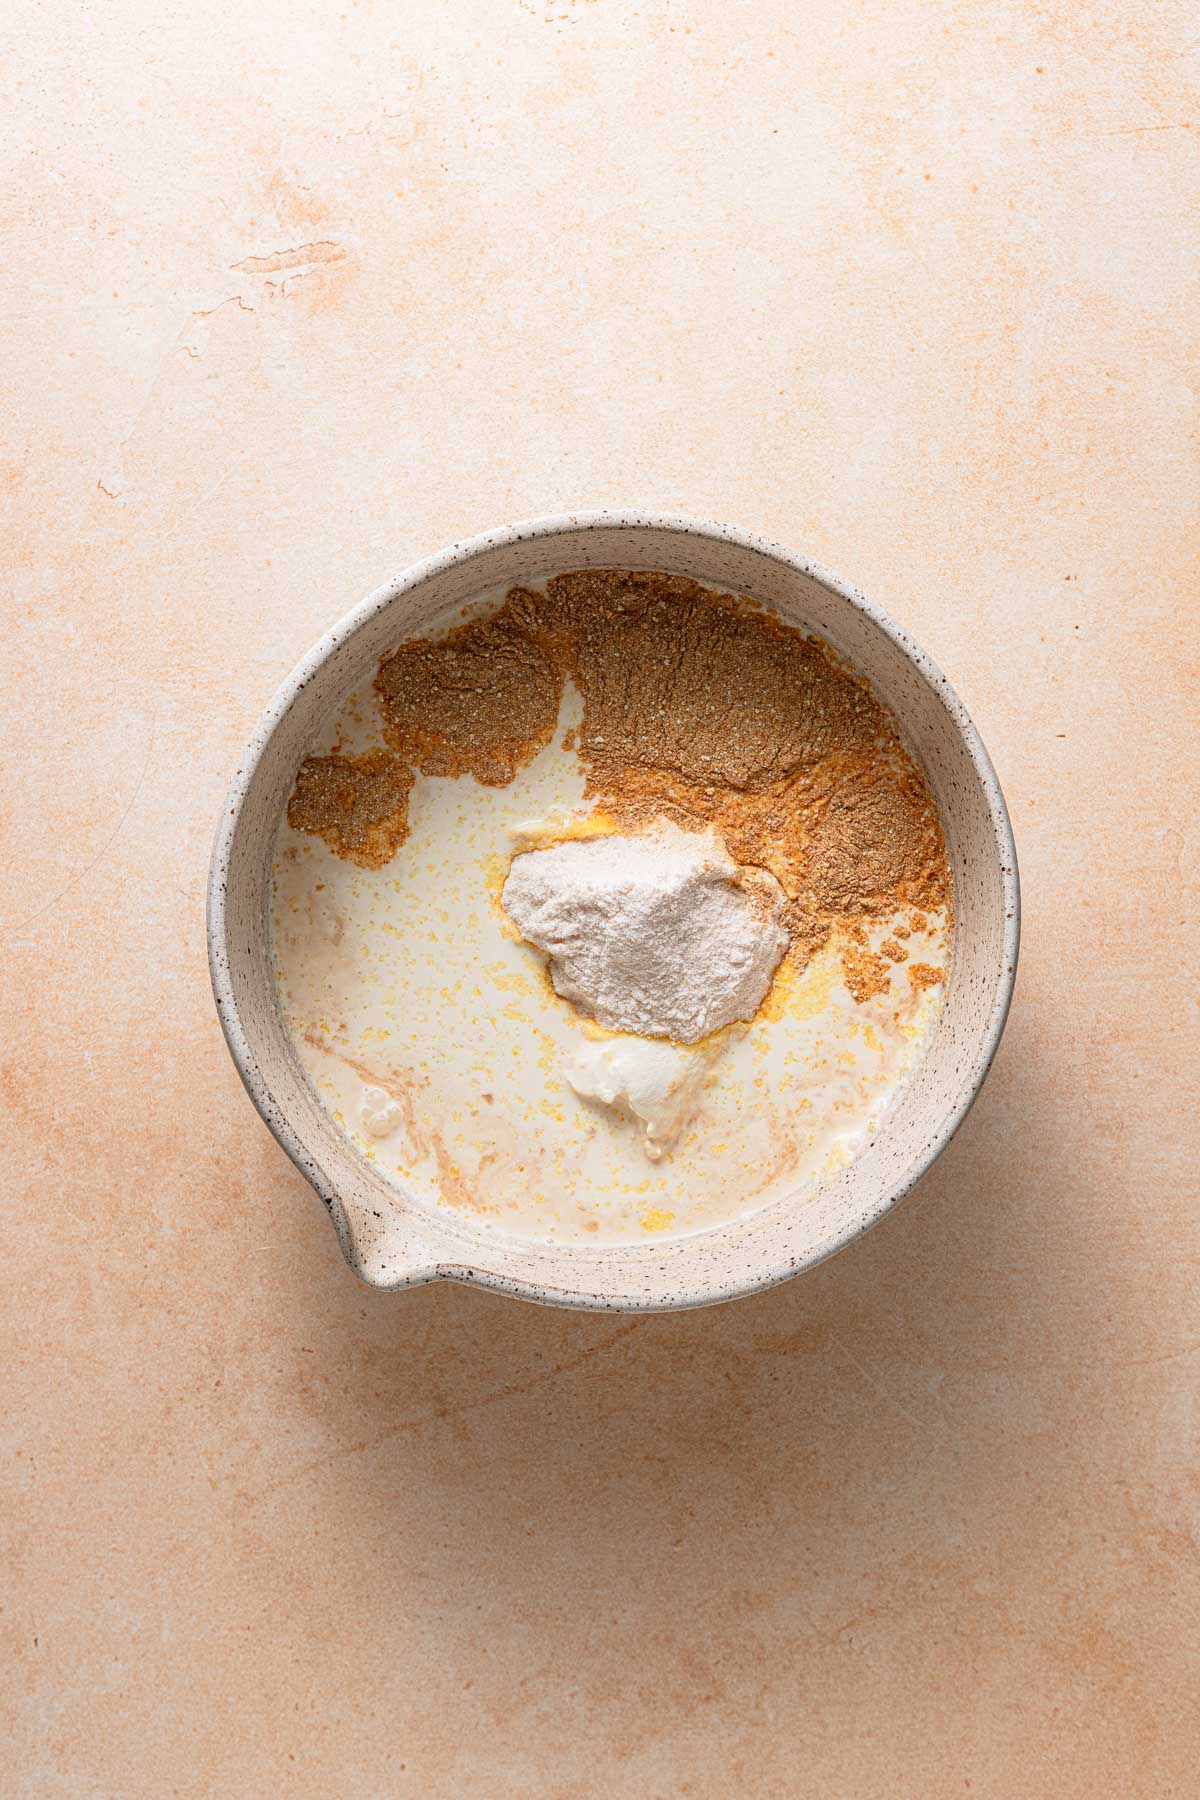
Step 1: Make the filling
- The ingredients should be as cold as possible, in this recipe, warm temperature ingredients will not thicken.
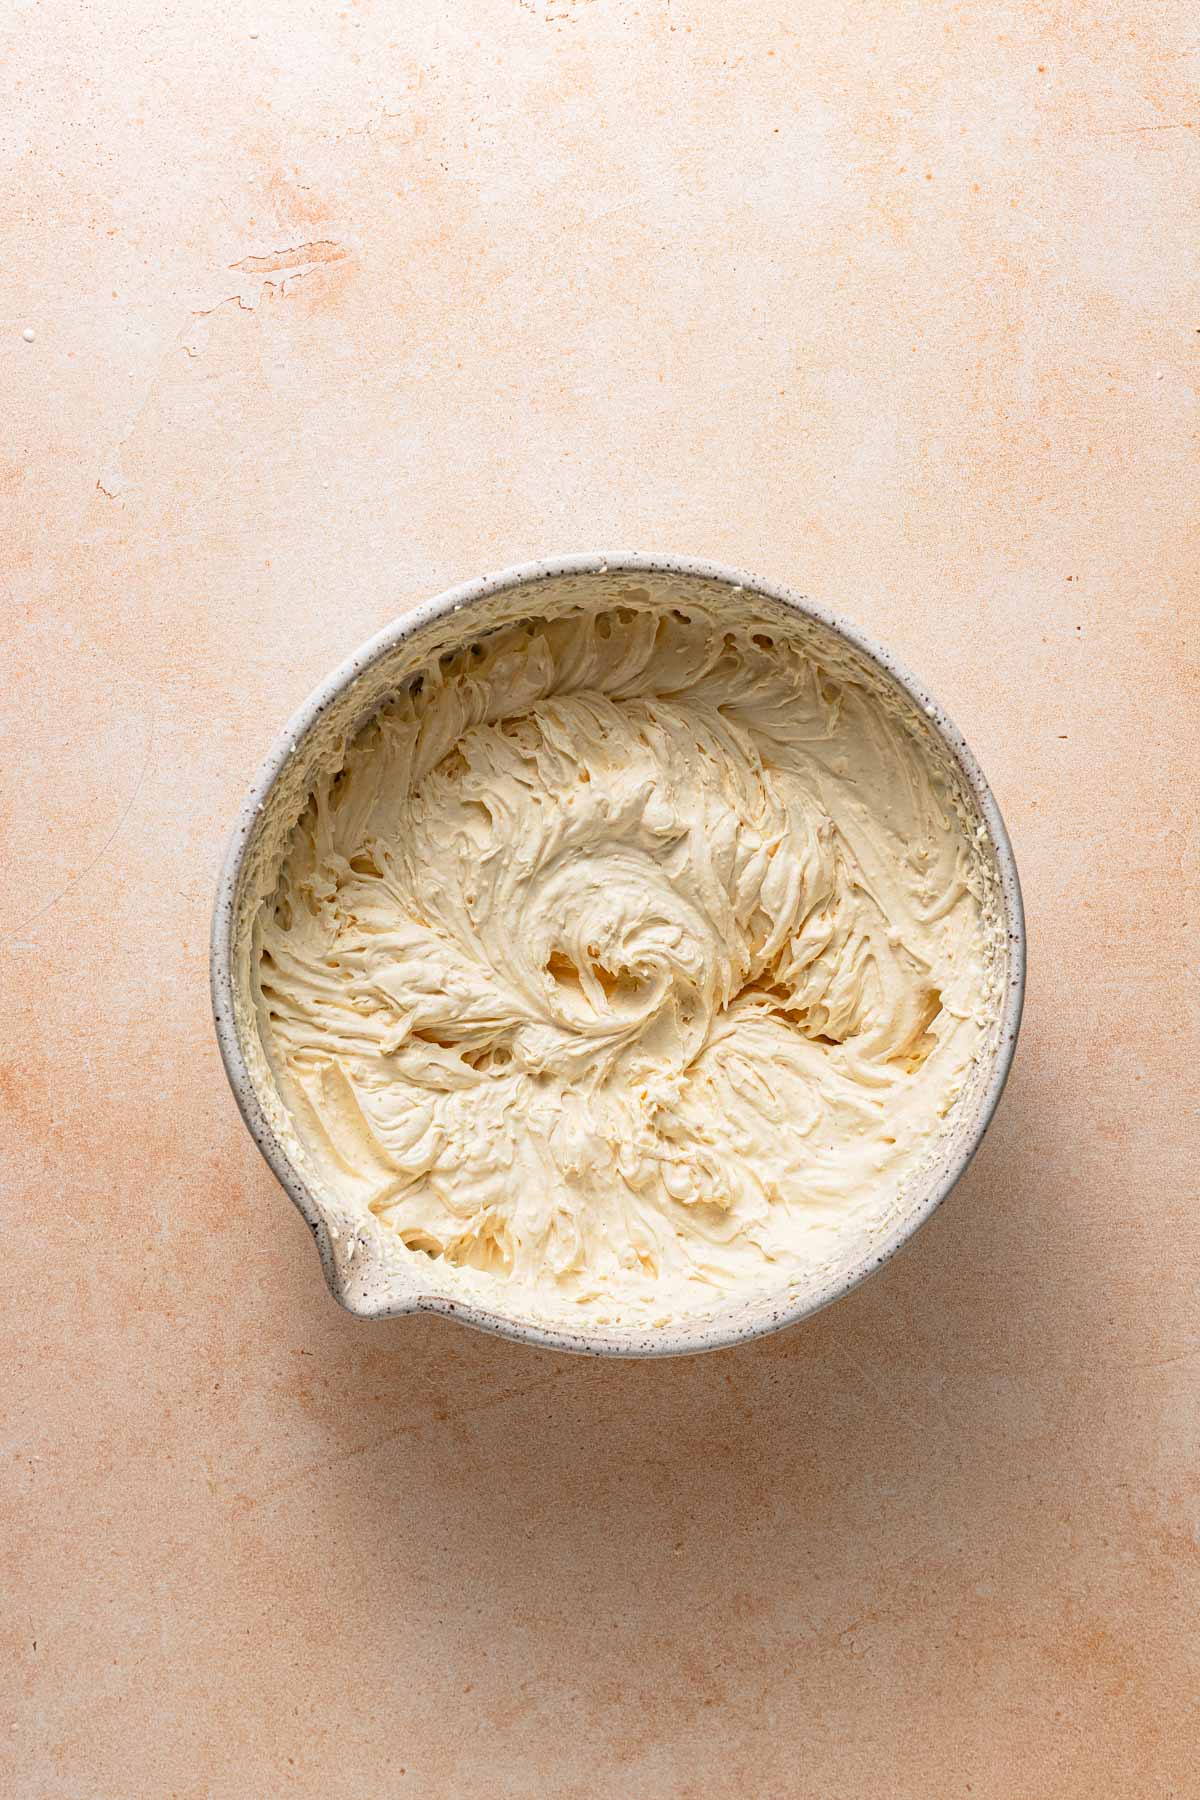
- You can use a stand mixer, or an electric mixer, either way, start with low speed and gradually increase the speed. It is the best way to prevent cream not to go all over your kitchen counter.
- Refrigerate the filling until use, and up to the night before.
Step 2: Assemble The Cake
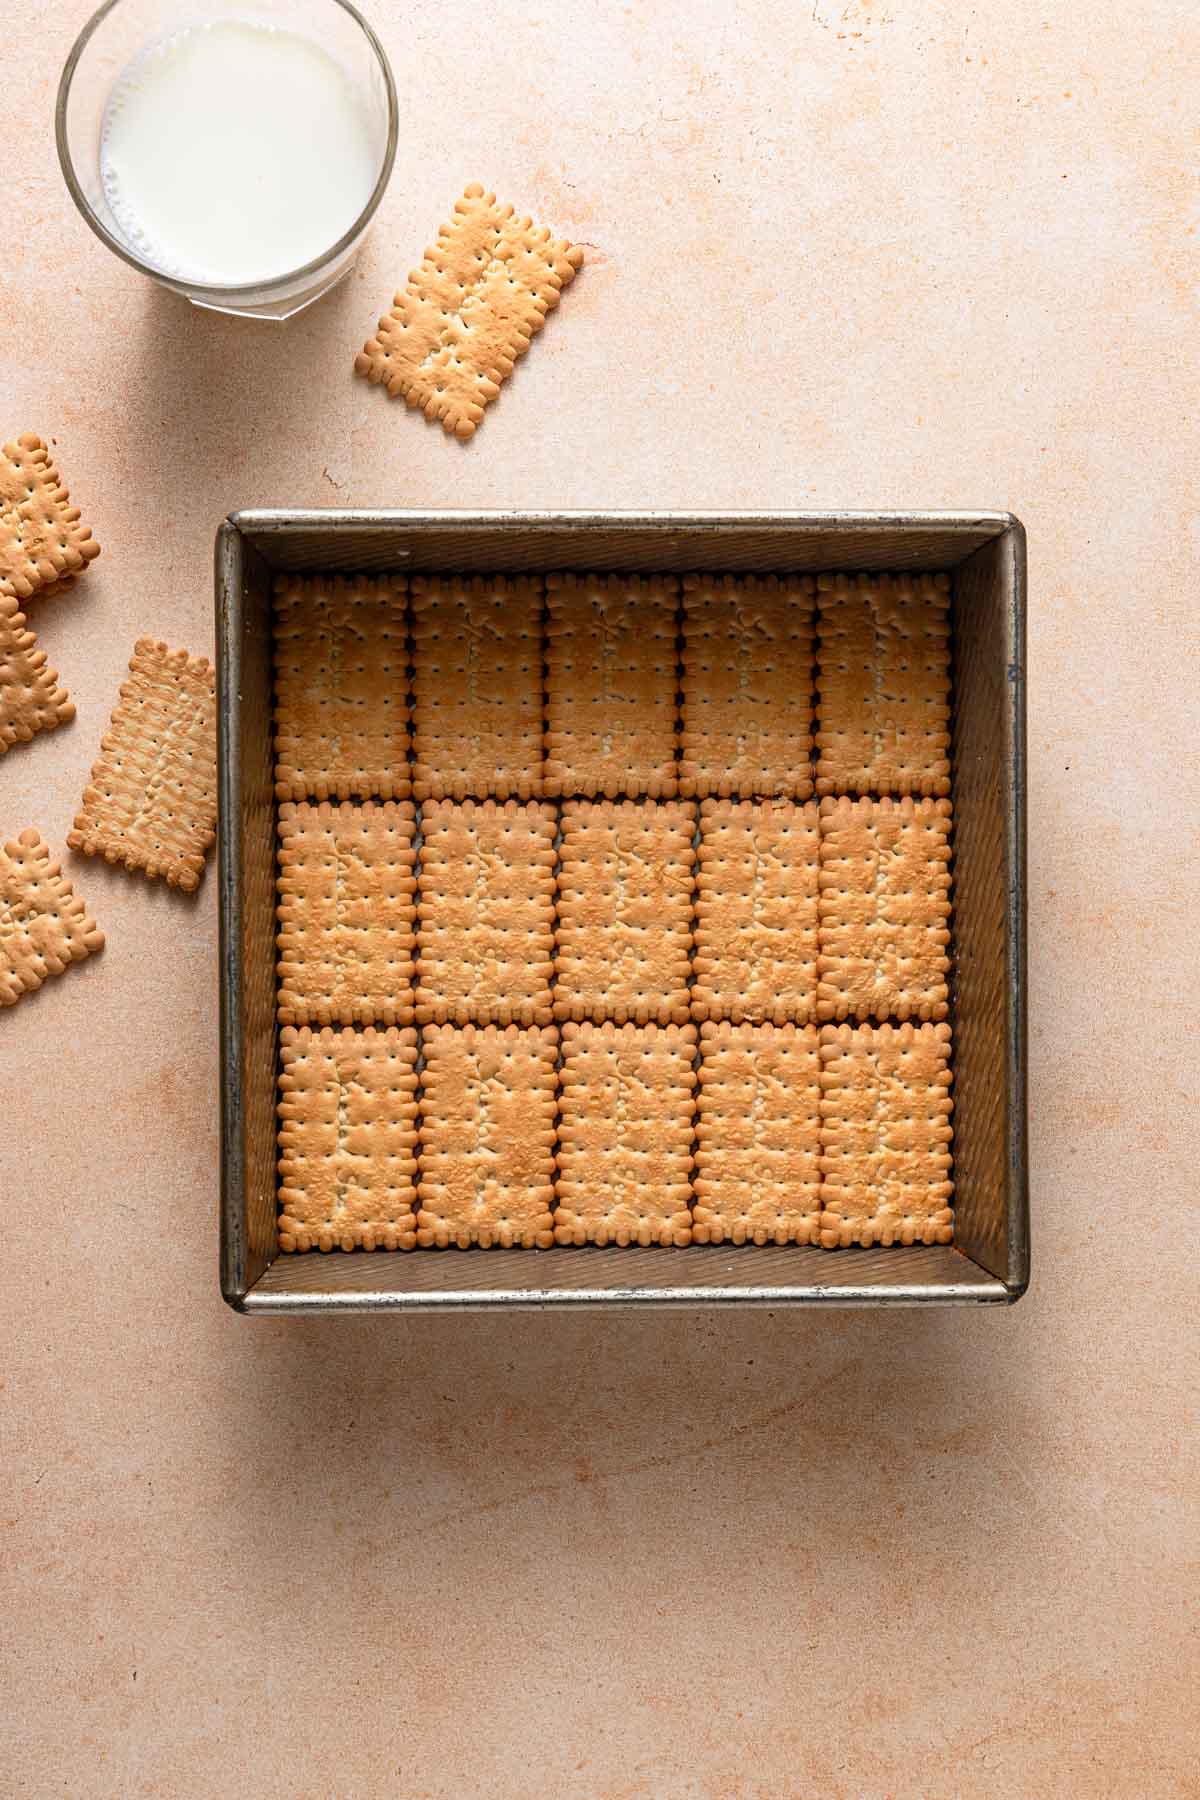
- Use very cold milk, and only dip the biscuit for 1-2 seconds, as they tend to get soggy fast and break in the milk.
- If you need, break the cookies to fit the pan.
- If you do not have a microwave or are new to making ganache, I recommend using a double boiler.
Plan ahead because this cake needs a few (at least four) hours to set.
Storage
Cover the cake and store it in the refrigerator for up to five days. To freeze, place the cake (or leftovers) in an airtight container and freeze for up to four weeks. When ready, place the cake in the refrigerator the night before.
Yields and serving options
You can use an eight-inch square pan or a springform pan if you wish to show off the beautiful layers from the sides of the cake. Another option is to use an eight or night loaf pan. If you wish to double the recipe, use a 13×9-inch brownie pan.
This recipe typically yields about 10-12 servings, depending on the size of the dish and the thickness of the layers. It’s perfect for family gatherings, potlucks, or simply as a treat to enjoy over a few days.


Israeli Tea Biscuit Cake (petit beurre)
Ingredients
- 3/4 Cup (180g) Sour cream
- 2 Cups (480ml) Cold heavy cream
- 1/2 Cup (90g) Instant vanilla pudding mix
- 2 Tablespoons Browned milk powder, optional
- 2 teaspoons vanilla extract
- 1 Cup (240g) Cold milk
- 40-60 Petit beurre biscuits (about 2 packages)
- 1 Cup (170g) Chopped chocolate
- 1/3 Cup (80ml) Heavy cream
Instructions
- Measure the sour cream, heavy cream (180g), instant pudding (90g), dry milk (2 Tablespoons) (if using), and vanilla extract (2 teaspoons) in a large mixing bowl. Use an electric mixer or the whisk attachment until you have a thick creme.
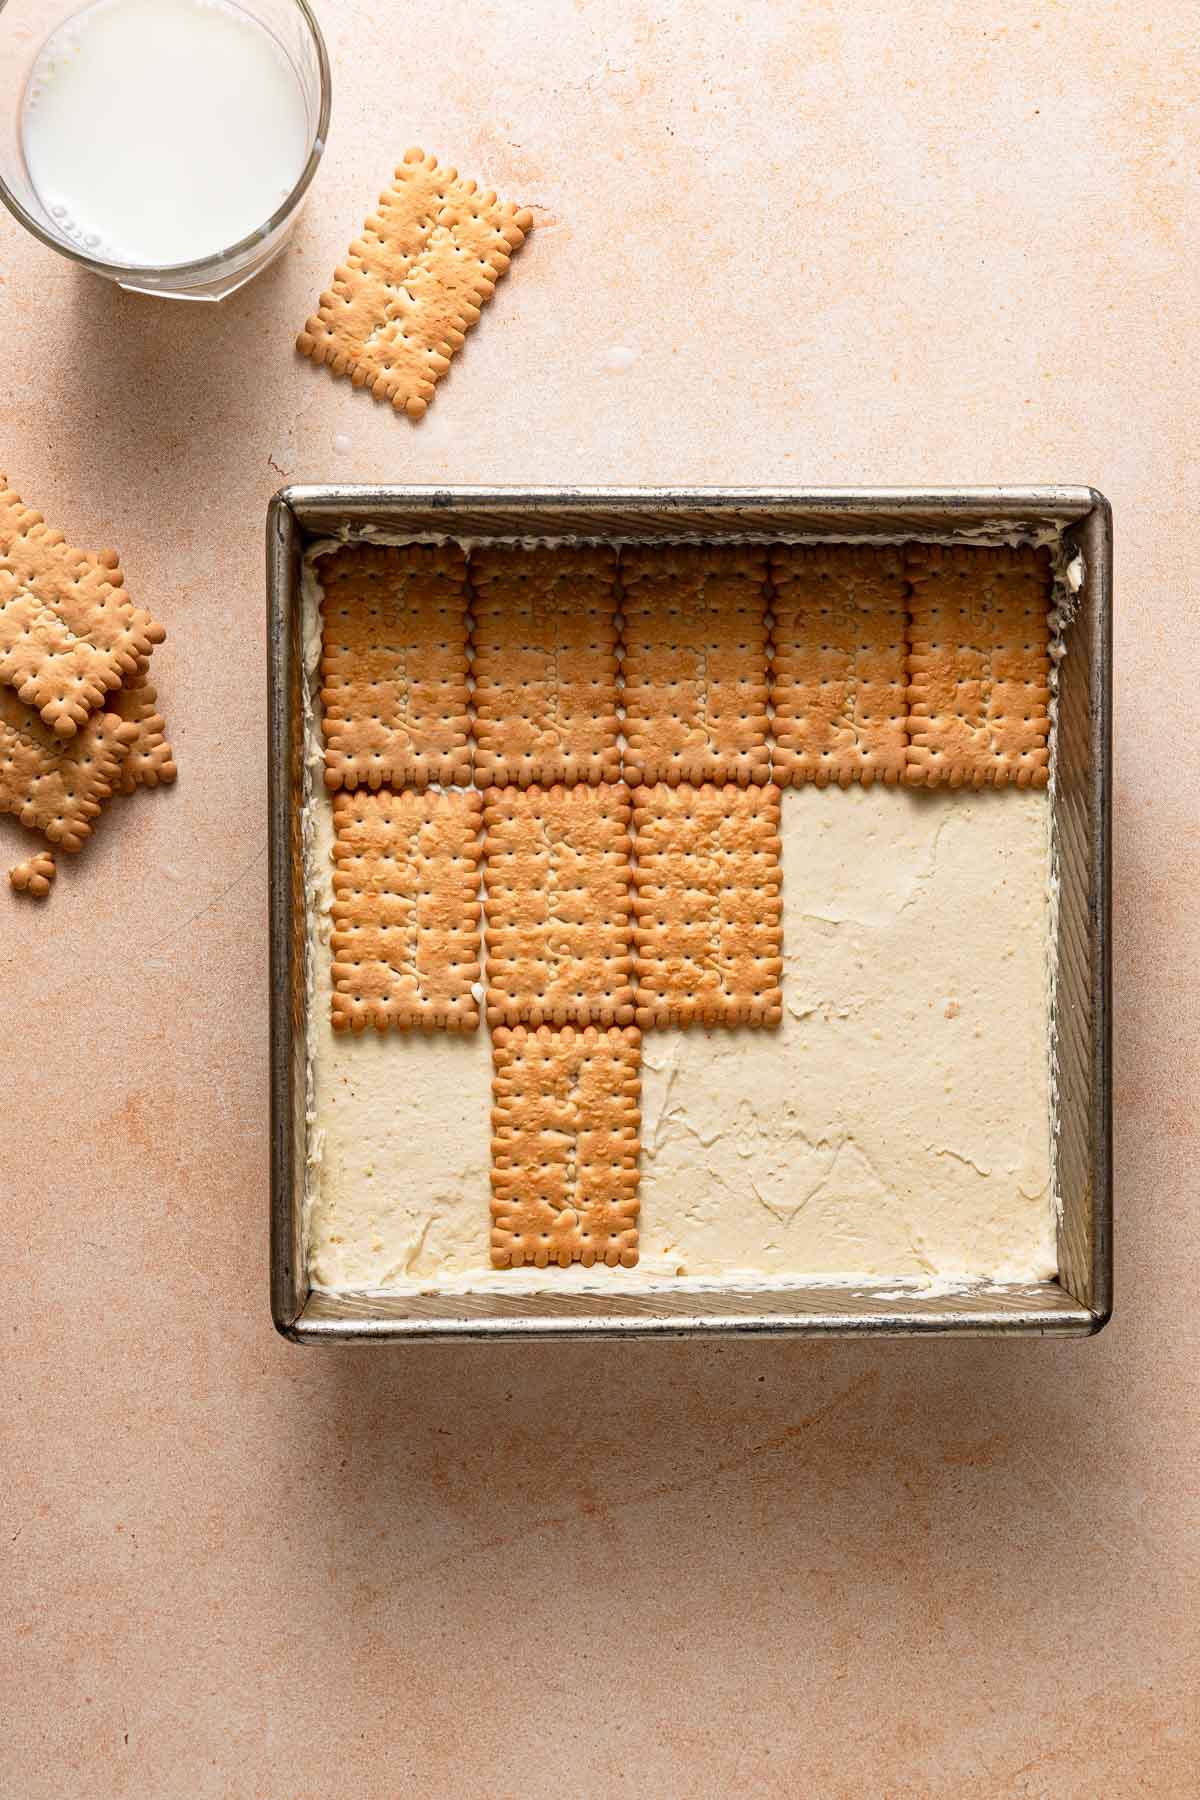
- Dip the tea biscuits in the cold milk (240ml) and line them in an even layer over the bottom of your serving dish.
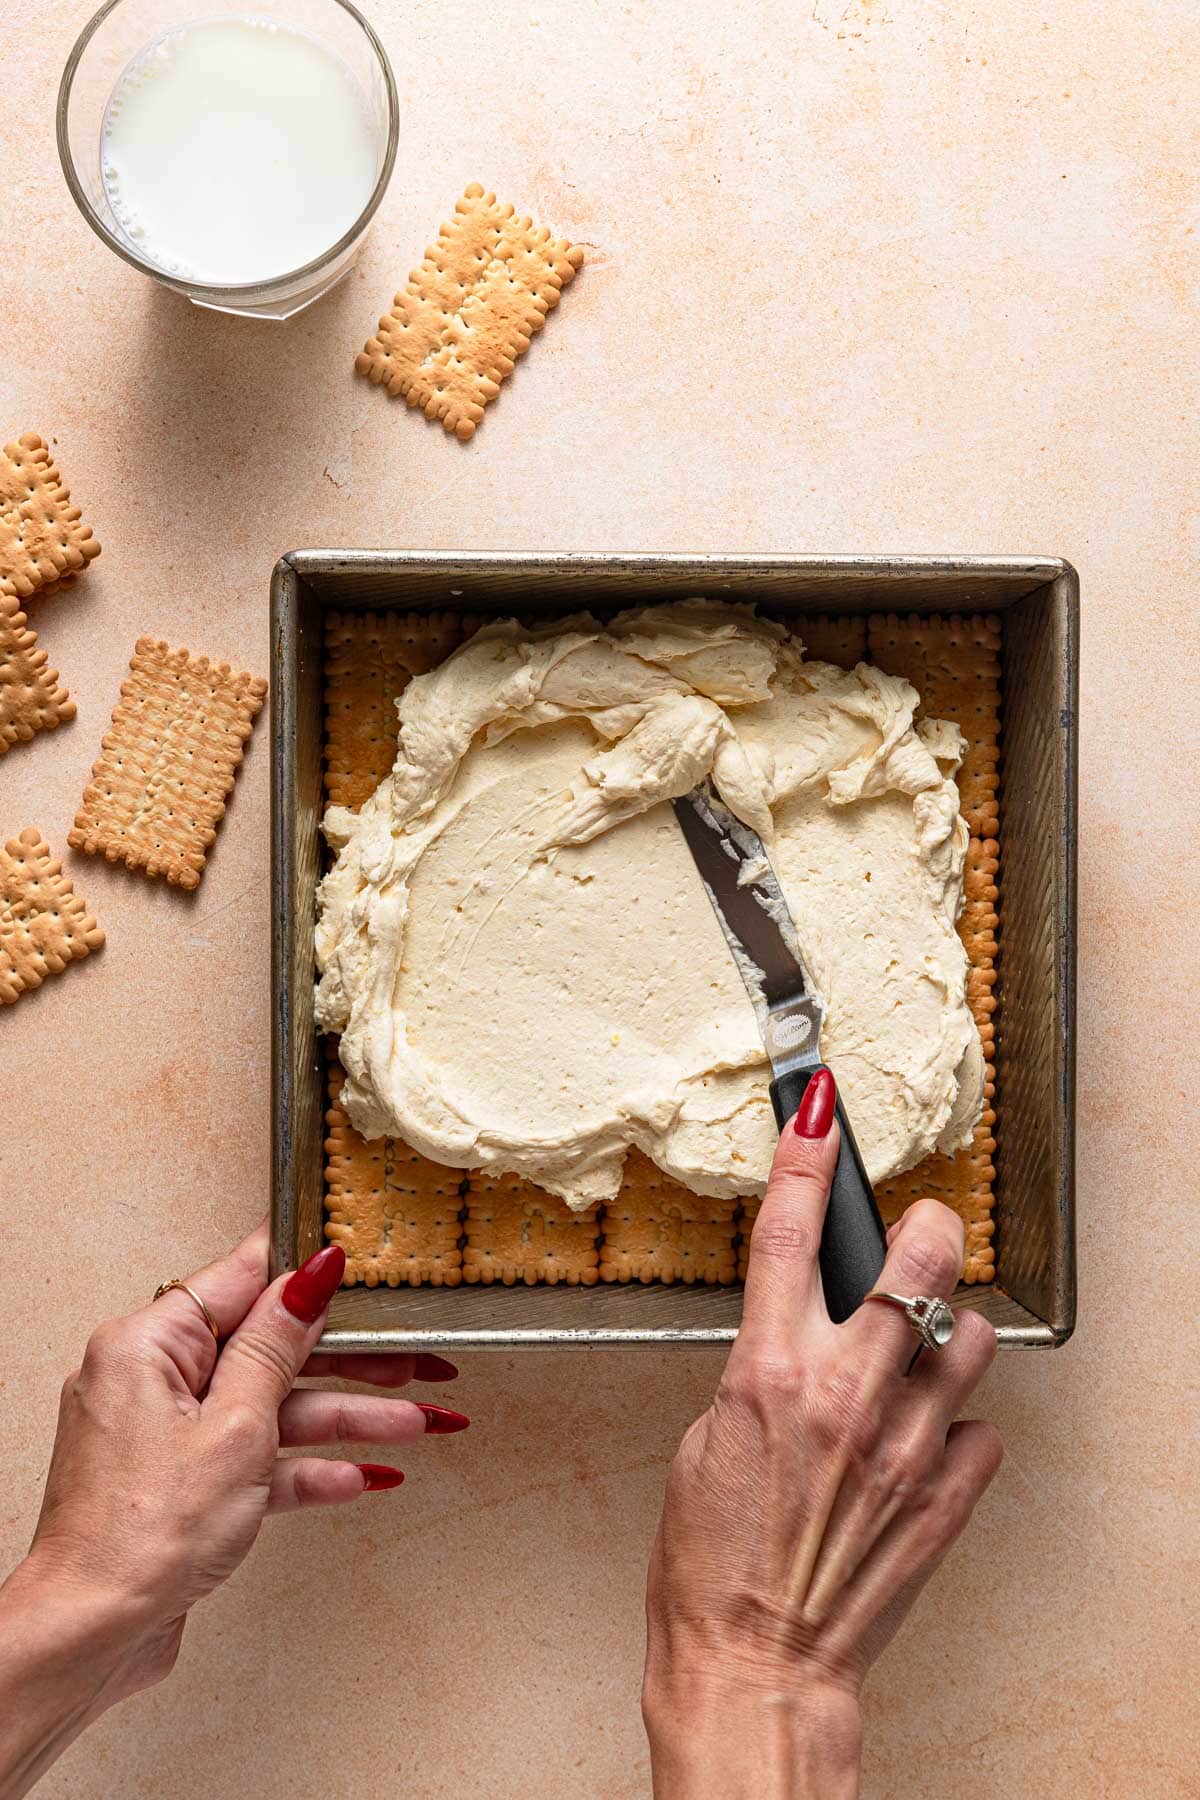
- Spread half of the cream over the cookies.
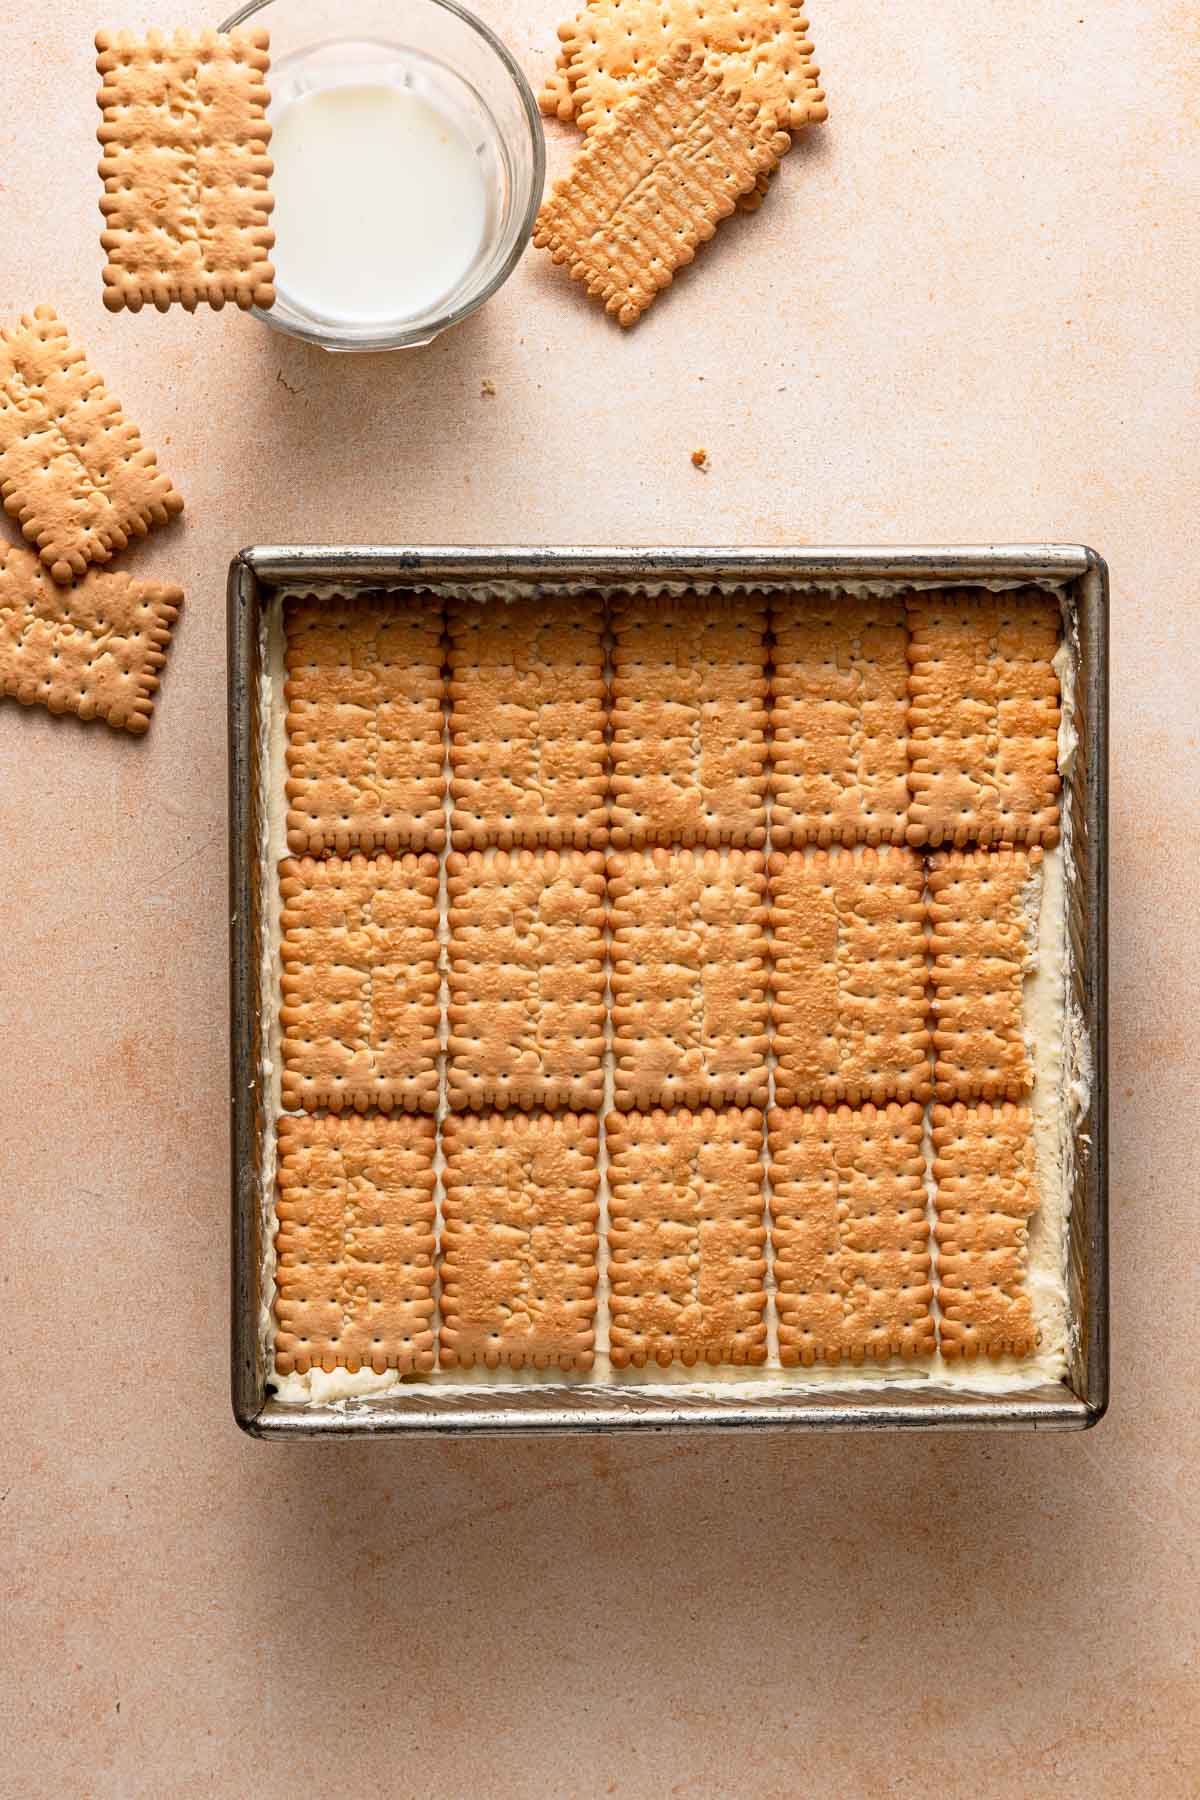
- Place another layer of milk-soaked biscuits over the cream, then spread the rest of the cream.
- Top with a third layer of milk-soaked cookies.
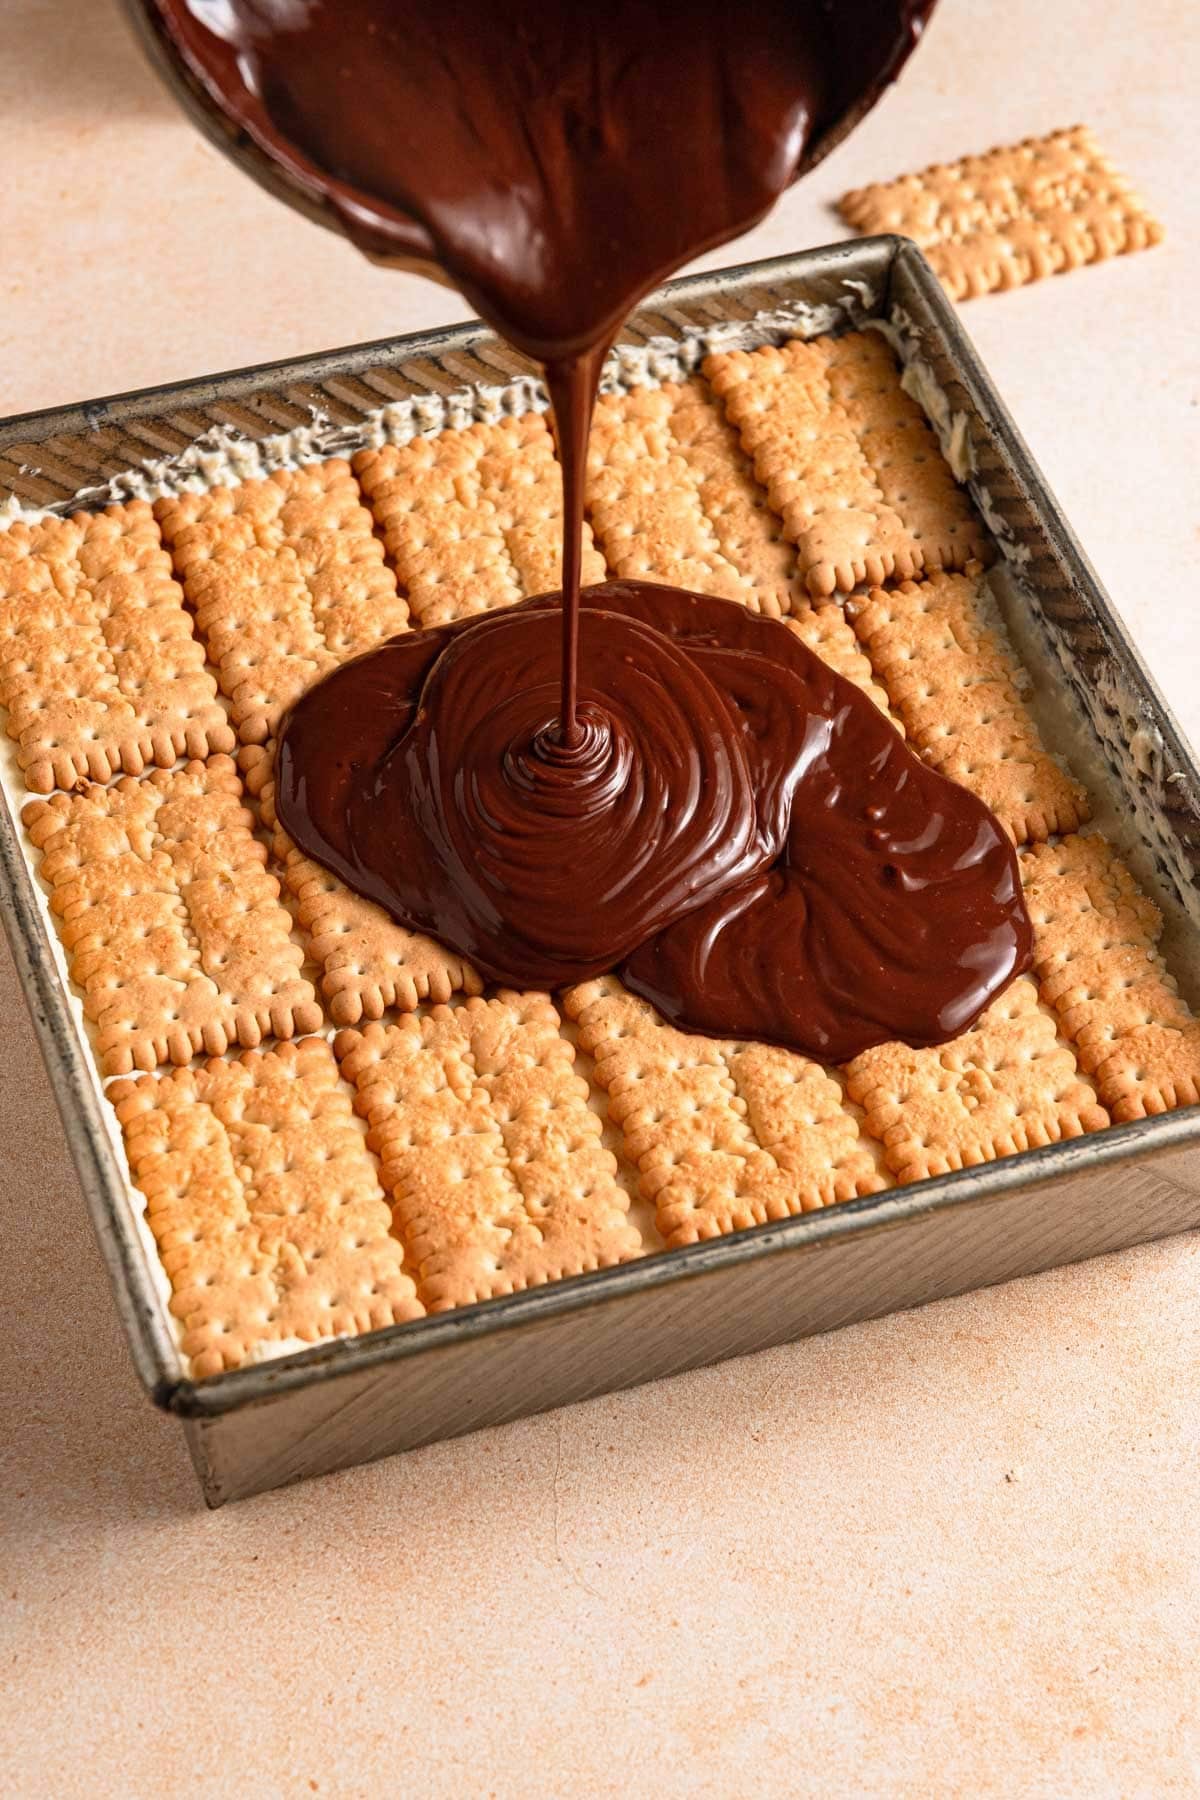
- Place the chopped chocolate (170g) in a medium bowl and pour over the heavy cream (80ml).
- Warm in the microwave (or over a double boiler), using 15-seconds increments warm the chocolate 2-3 times, stirrig between each time until the chocolate has melted.
- Gently stir until you have a smooth chocolate ganache.
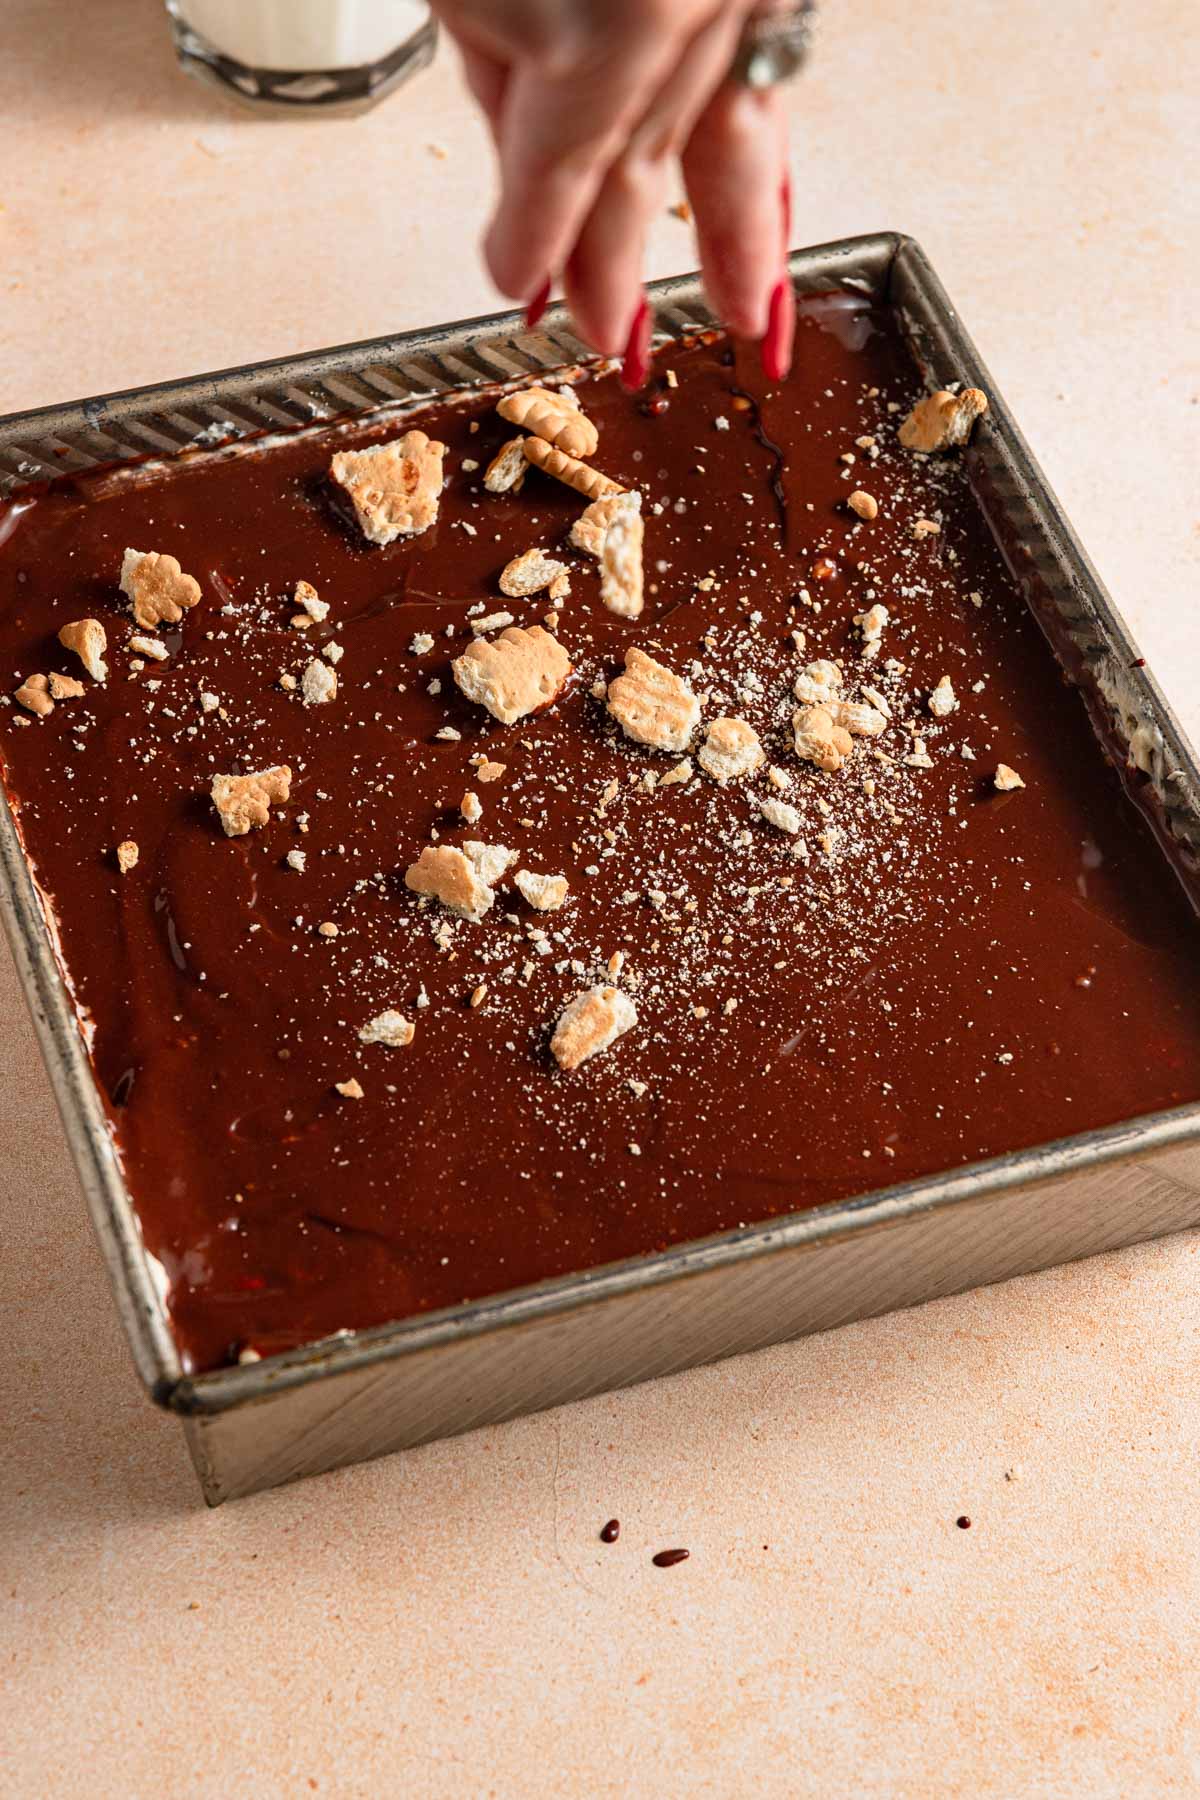
- Pour the ganache over the top of the cake, sprinkle with crushed cookies, and refrigerate for a minimum of four hours.

Can browned milk powder be made by gently browning dried milk powder. This recipe looks Devine but I want to use all the ingredients listed to be a true Israeli dessert. Thank you in advance
Yes that is exactly what it is. I have a blog post about it https://www.onesarcasticbaker.com/brown-milk-powder/.
My mother lived in Israel for 12 years in the1930’s. She made a dessert that I loved – biscuits dipped in wine, and placed in a butter and cocoa mix. She used a pie place for this. She froze it and I loved it. I know this can’t be the whole recipe , but I can’t find anything like it. Any thoughts?
Hi Sara!
My friend actually makes her biscuit cake with wine, and as far as I know the filling is instant pudding. The chocolate topping is made with melting sugar, cocoa powder and butter over the stove then pouring it over the top layer of the cake. Does that sound right?
This is a very easy to make and delicious recipe. I made it last week for a family dinner and everyone loved it and asked for a second piece.
What can you substitute in Israel! for Sour cream, heavy cream and powdered milk?
Hi Vita, you don’t need to substitute, Israel has all these ingredients Sour cream = שמנת חמוצה, heavy cream = שמנת מתוקה להקצפה, and milk powder = אבקת חלב (but you can skip it if you can not find it. Hope this helps.
This is a fantastic recipe, I made it several times and it gets rave reviews every time. Easy to follow, fast and very unique.