
Last updated on July 22nd, 2026.
My Honey Cookies are a childhood treasure, so tender they melt-in-the-mouth, slightly crumbly, and not only sweetened with honey but also taste like it. Made with simple ingredients, this delicious treat is perfect for any occasion.

A Recipe from the Land of Milk and Honey
This is the second recipe I have contributed to the Bake From Scratch Cookie Holiday Edition, along with this Strawberry Jam Cookies Recipe.
There are tons of bakery-style cookie recipes to choose from, but these are the perfect Honey Cookies For Rosh Hashanah I serve every year along with this moist Honey Cake for Rosh Hashanah.
In Israel they are sold in large bags in every local market, and it took me about quite a few tests to crack the code of the original recipe. They are so delicious and unique, I bake them year-round.
The Secret Ingredient
Like the classic Ginger Bread Cookies, classic honey cookies are chewy, that’s because honey and molasses unlike sugar, do not crystalizes. But when we use this ingredient things changes:
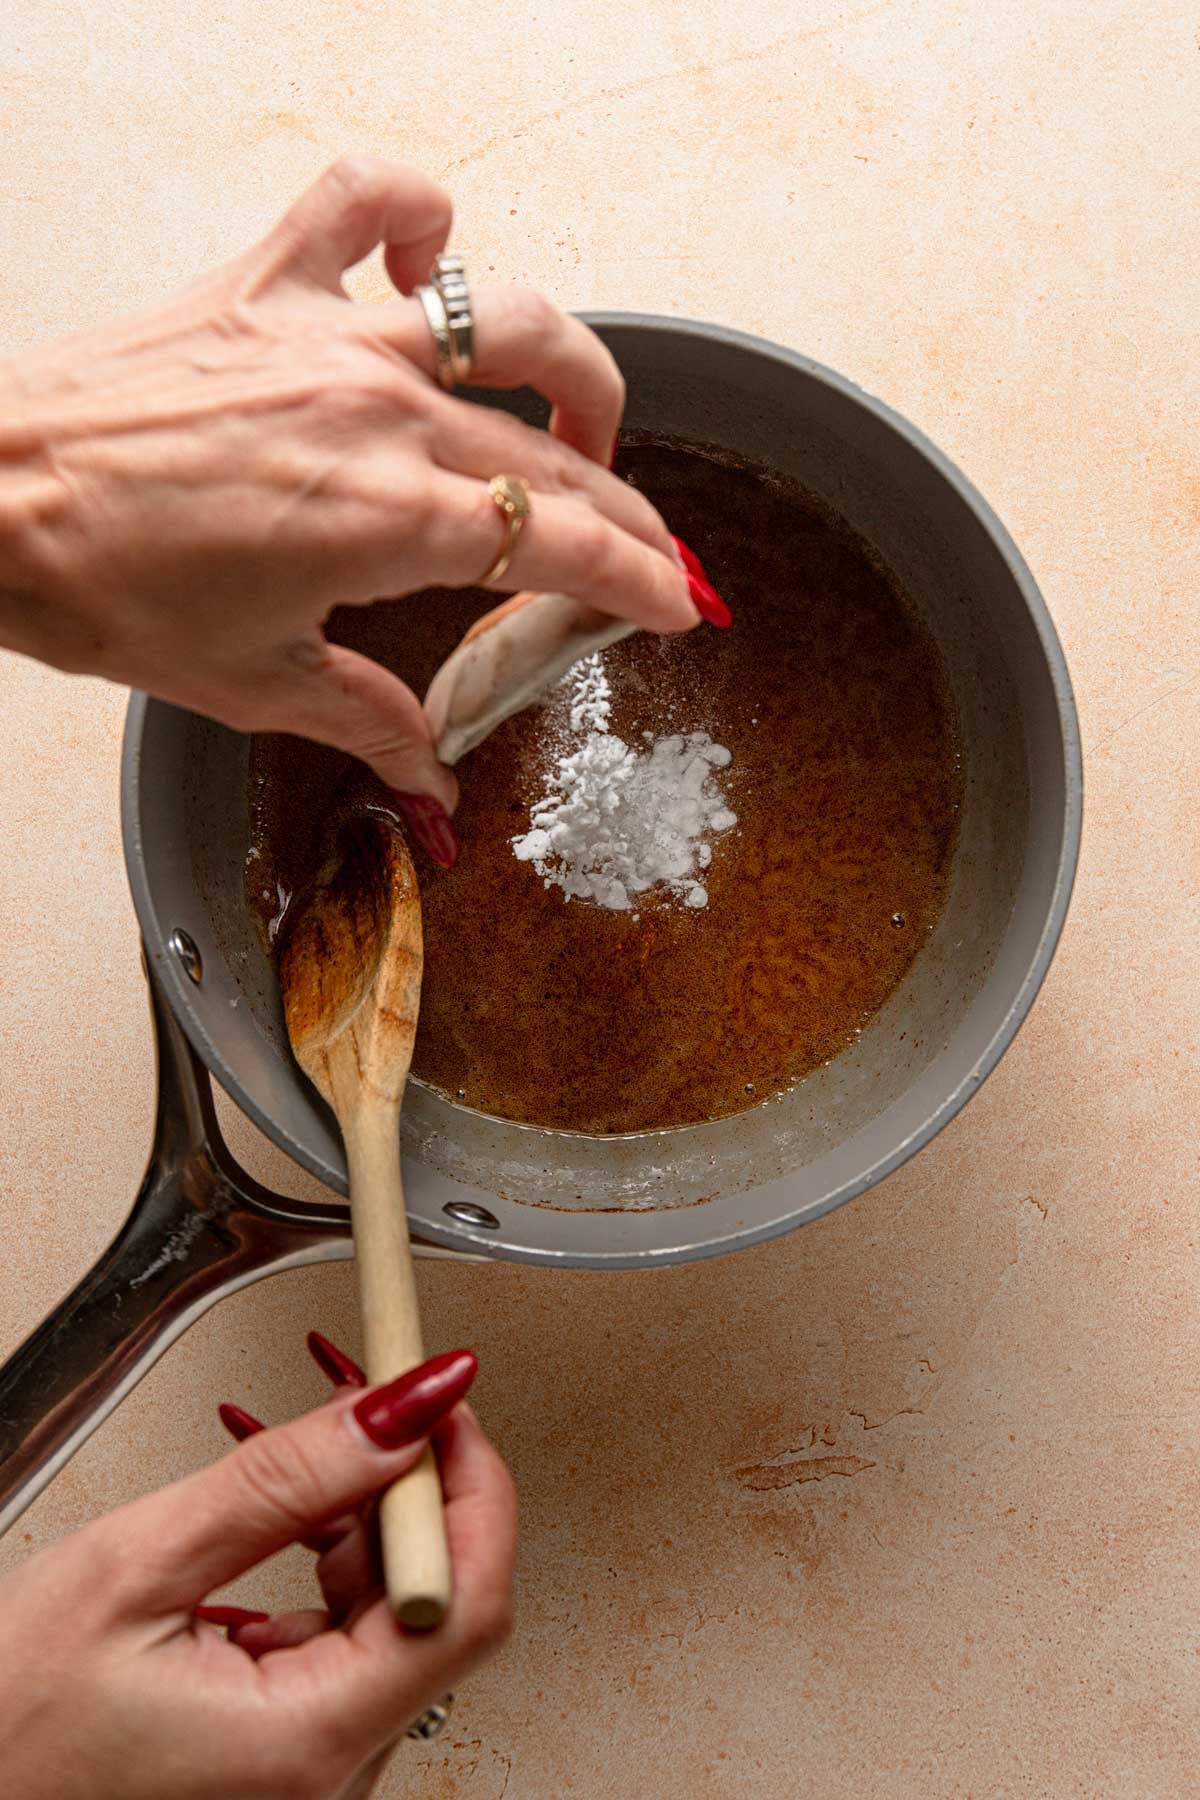
- Baking Soda. The baking soda is added to the warm honey to neutralize some of its natural acidity. This small step encourages the sugars in the honey and brown sugar to crystallize as the cookies cool. The result is the classic Israeli Jewish honey cookies texture: delicate, crumbly, and melt-in-the-mouth rather than soft and chewy.
Let’s Bake
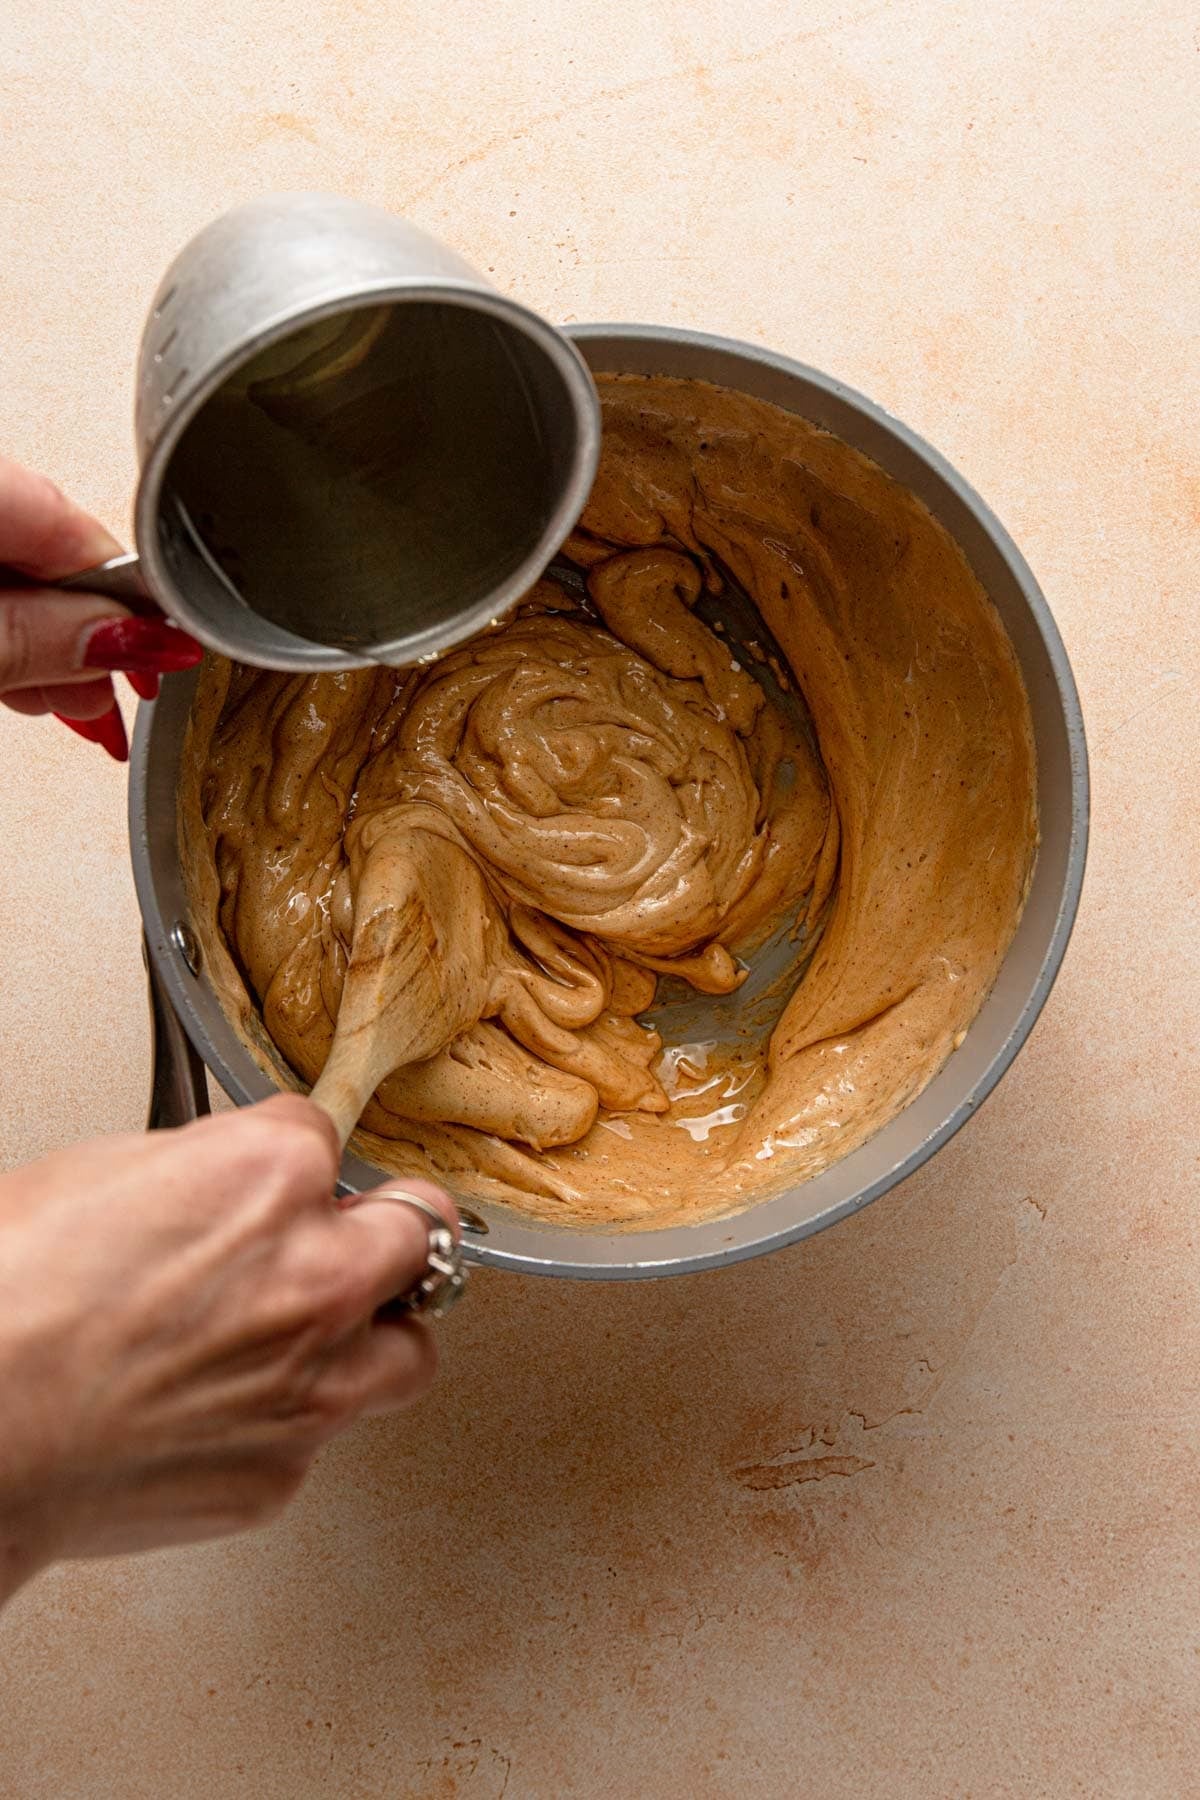
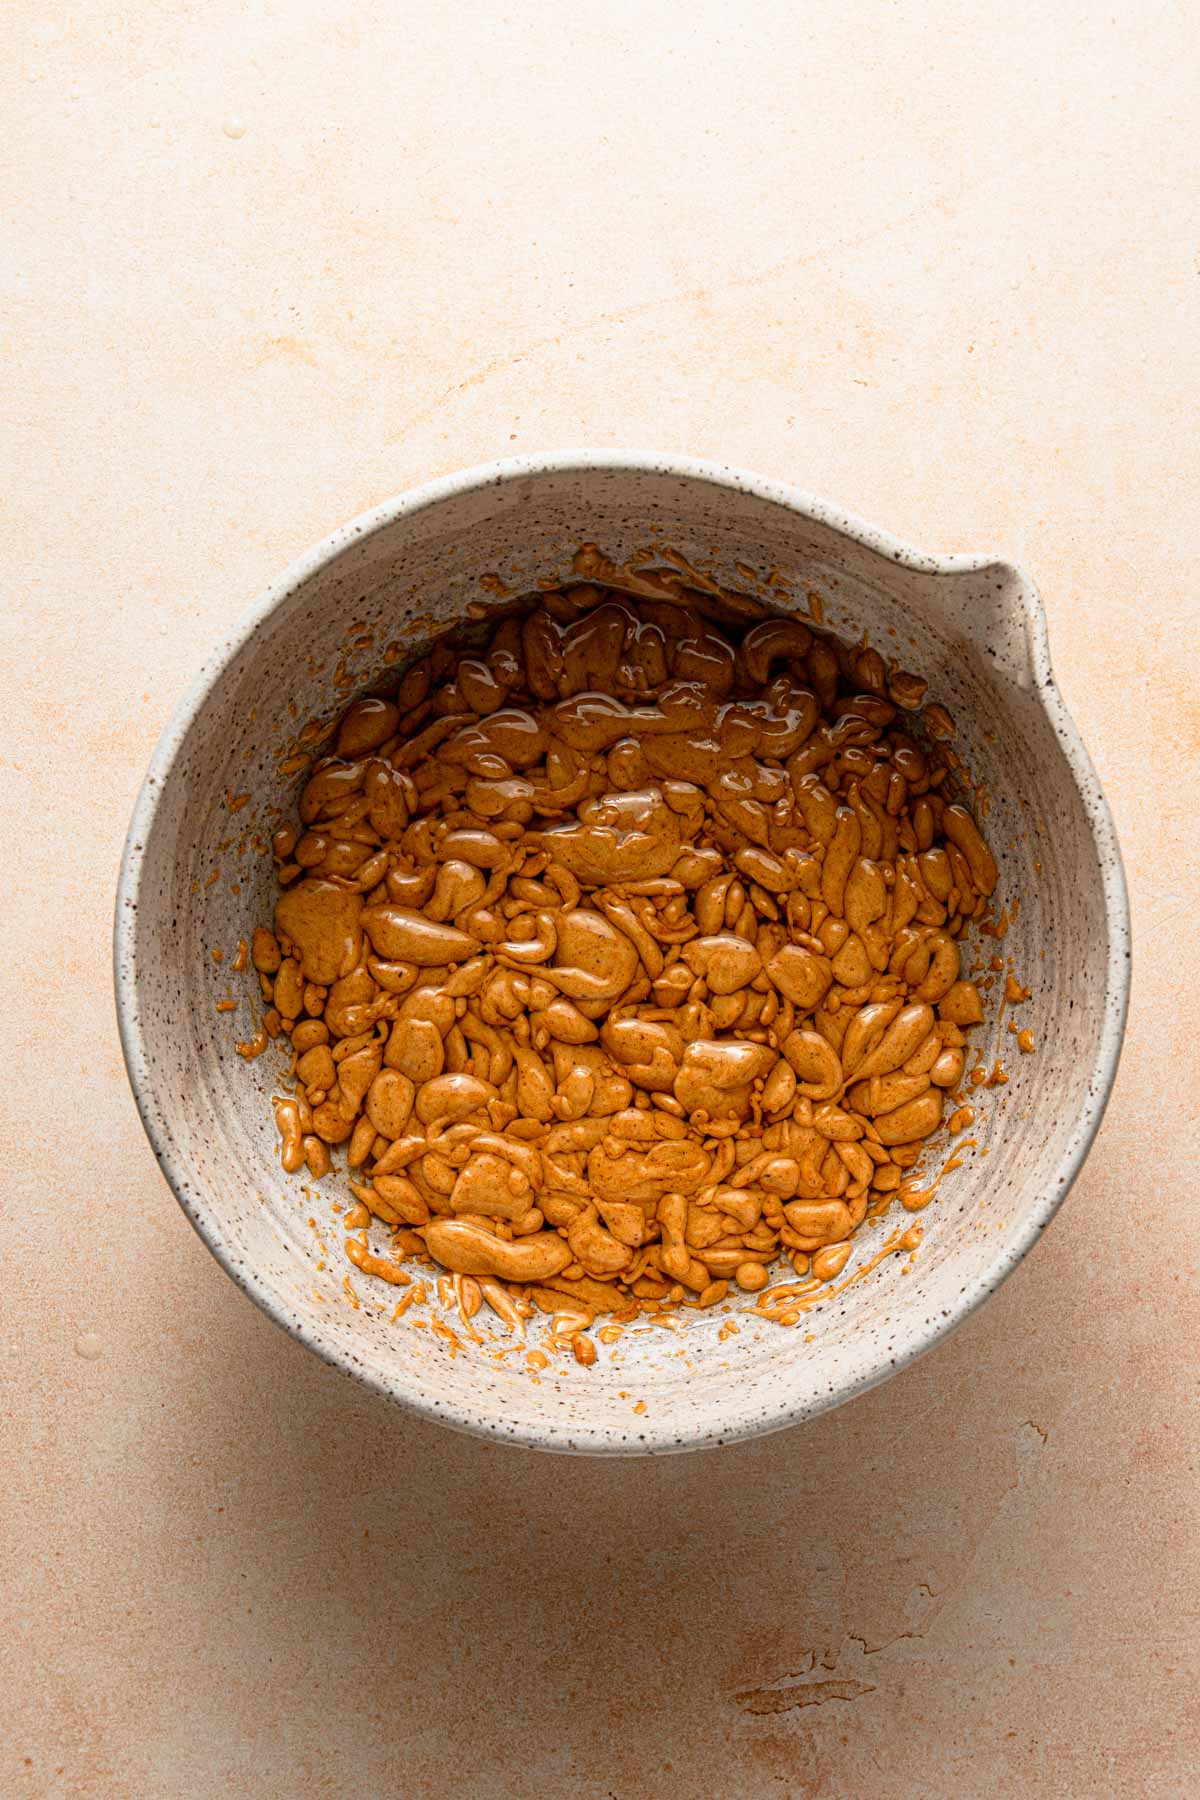
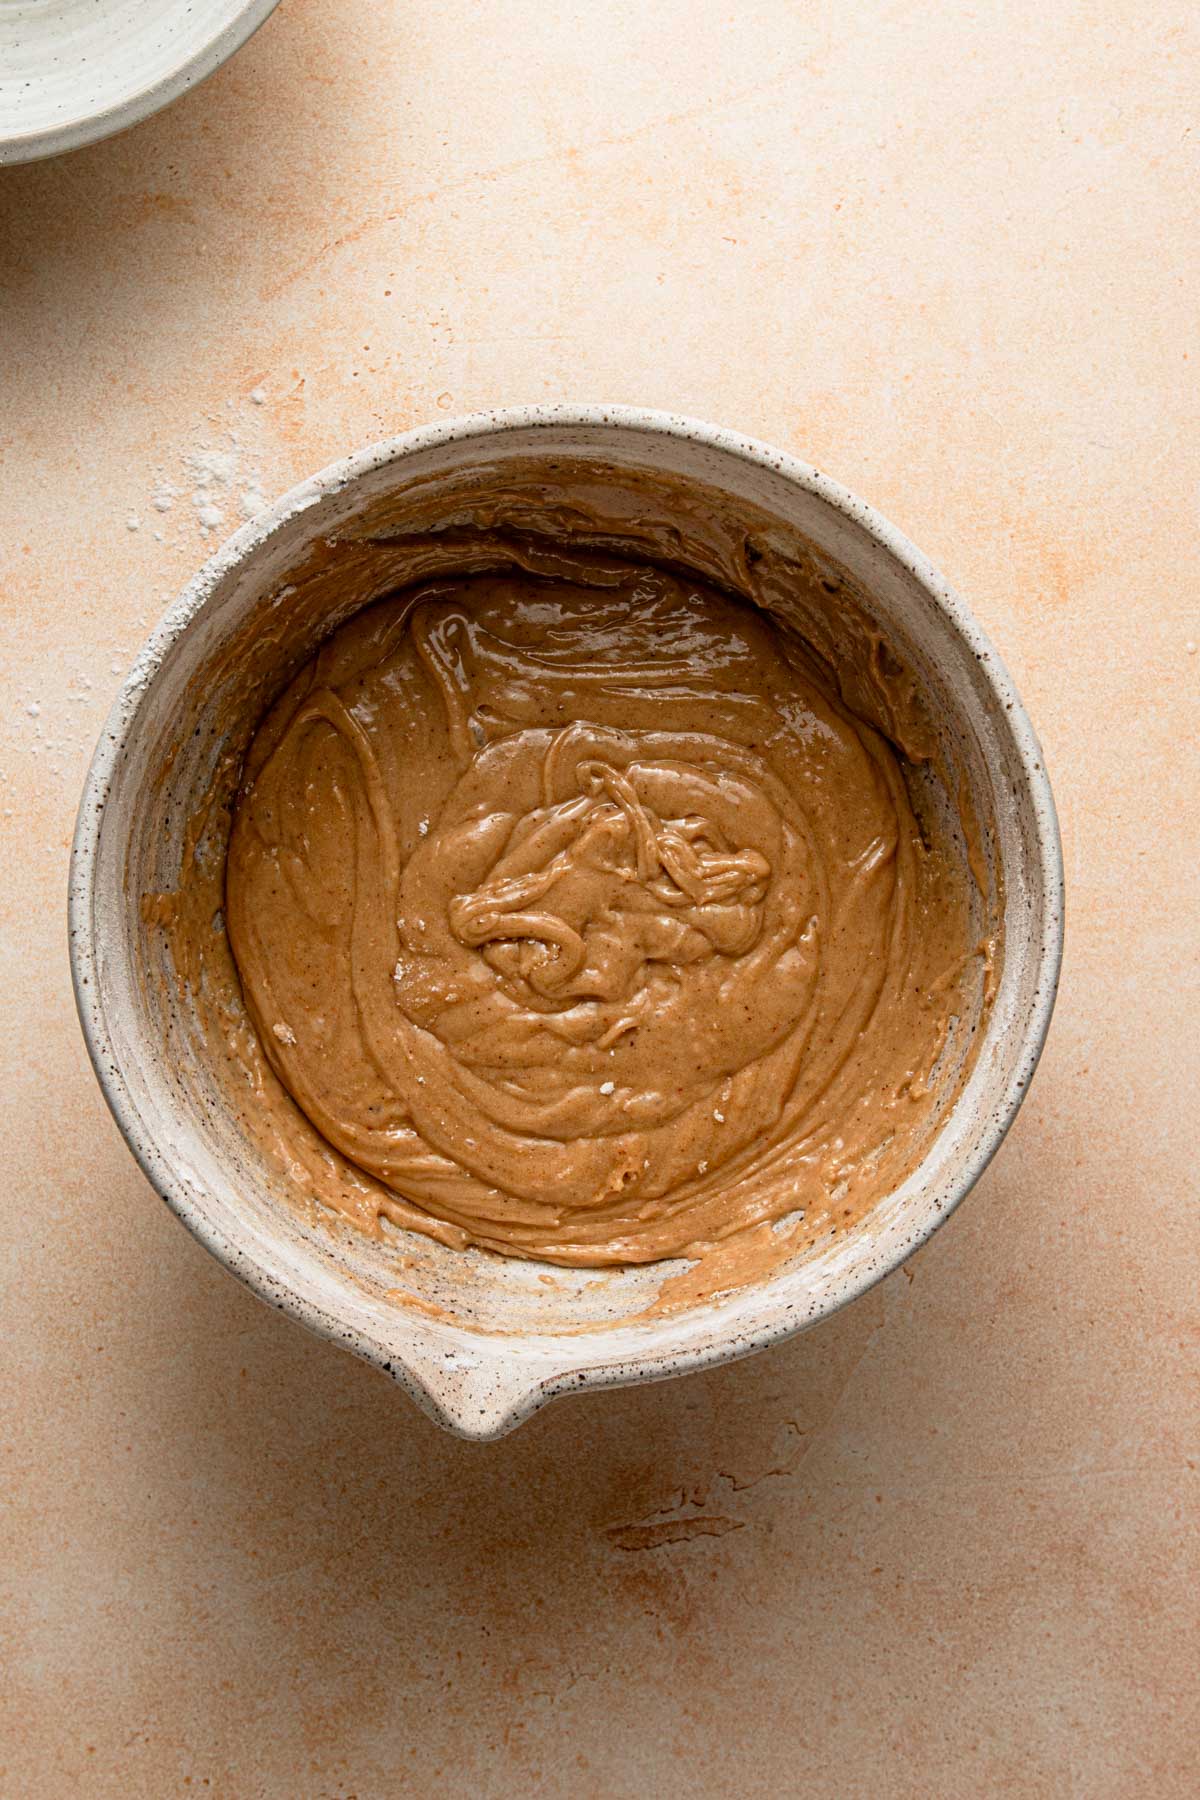
Before you start: this is somewhat of an advanced recipe, but while testing it, I made it a point to make the process as easy and user-friendly as possible. What I learned is that even when the dough looks like a sticky mess, the cookies still bake into a beautiful golden treat.
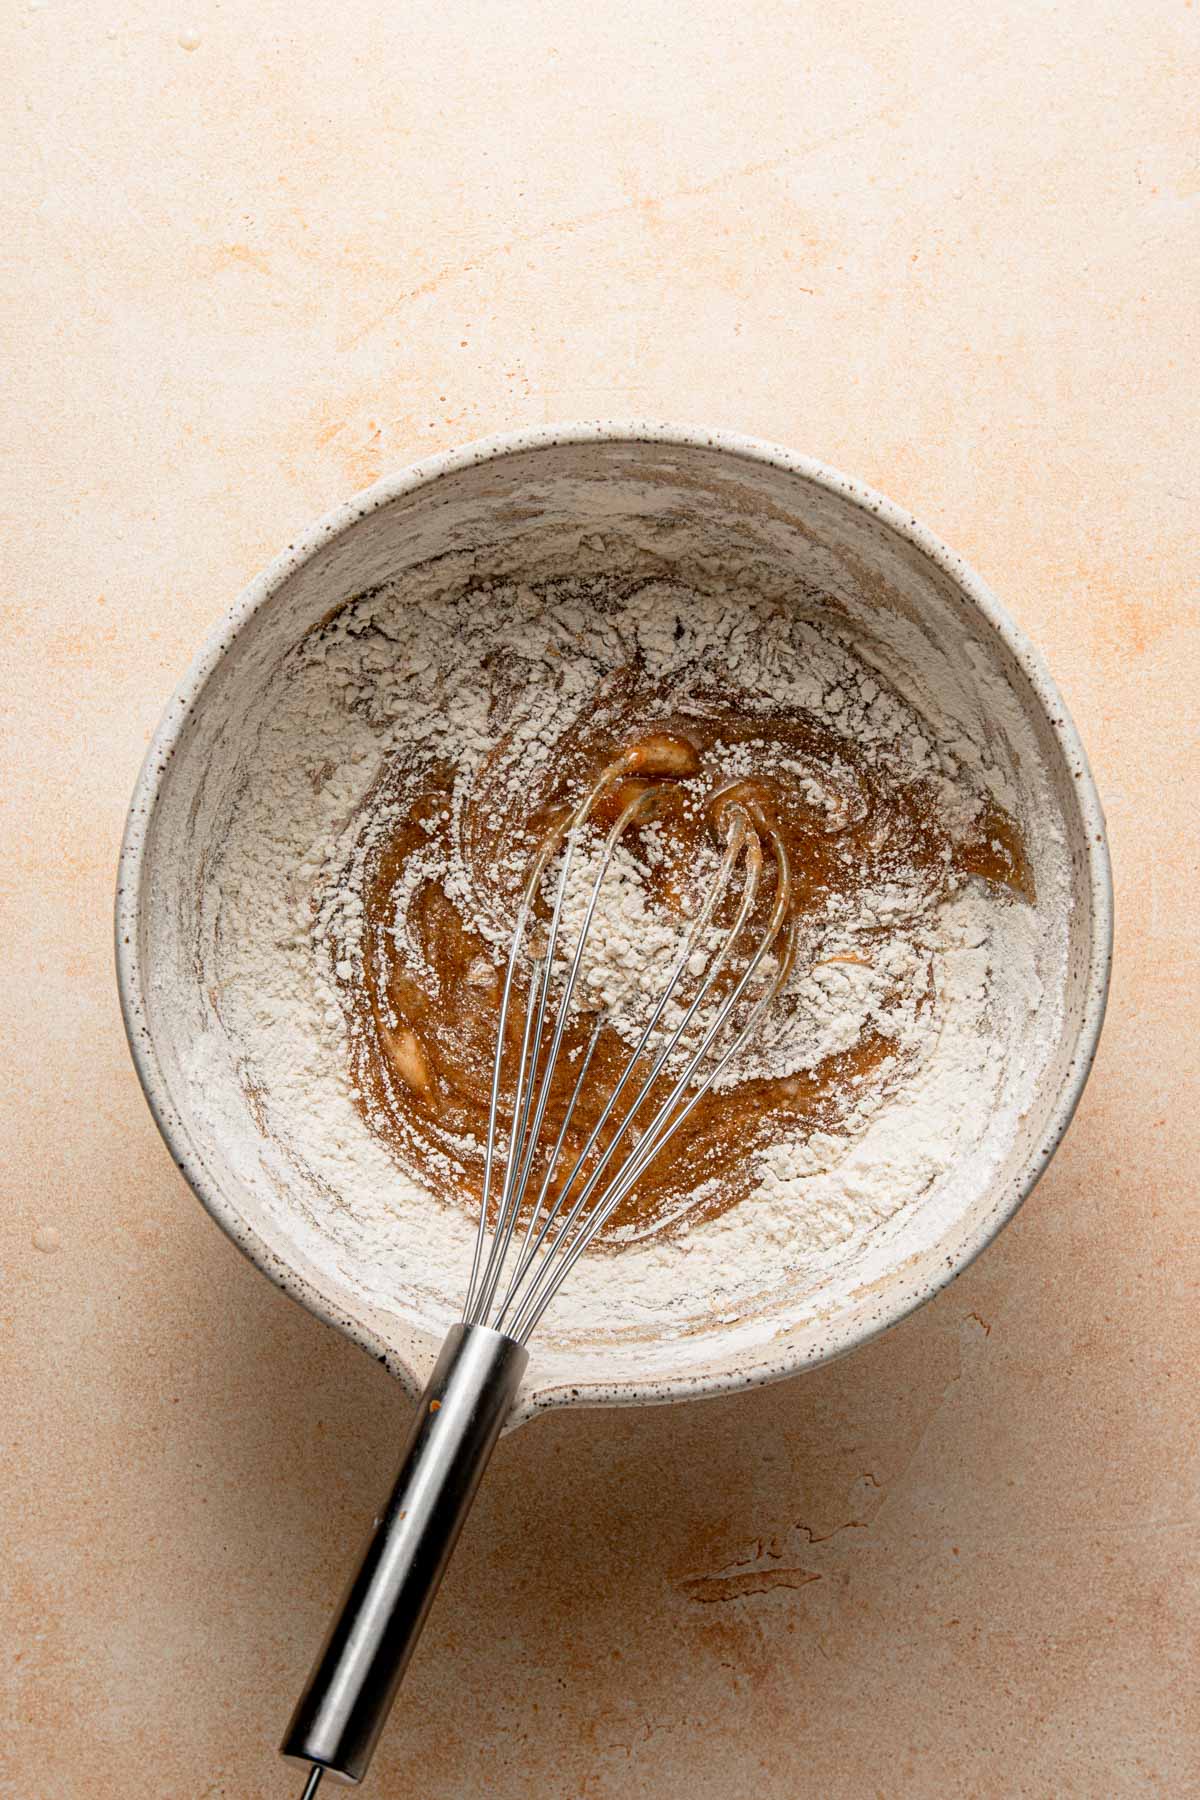
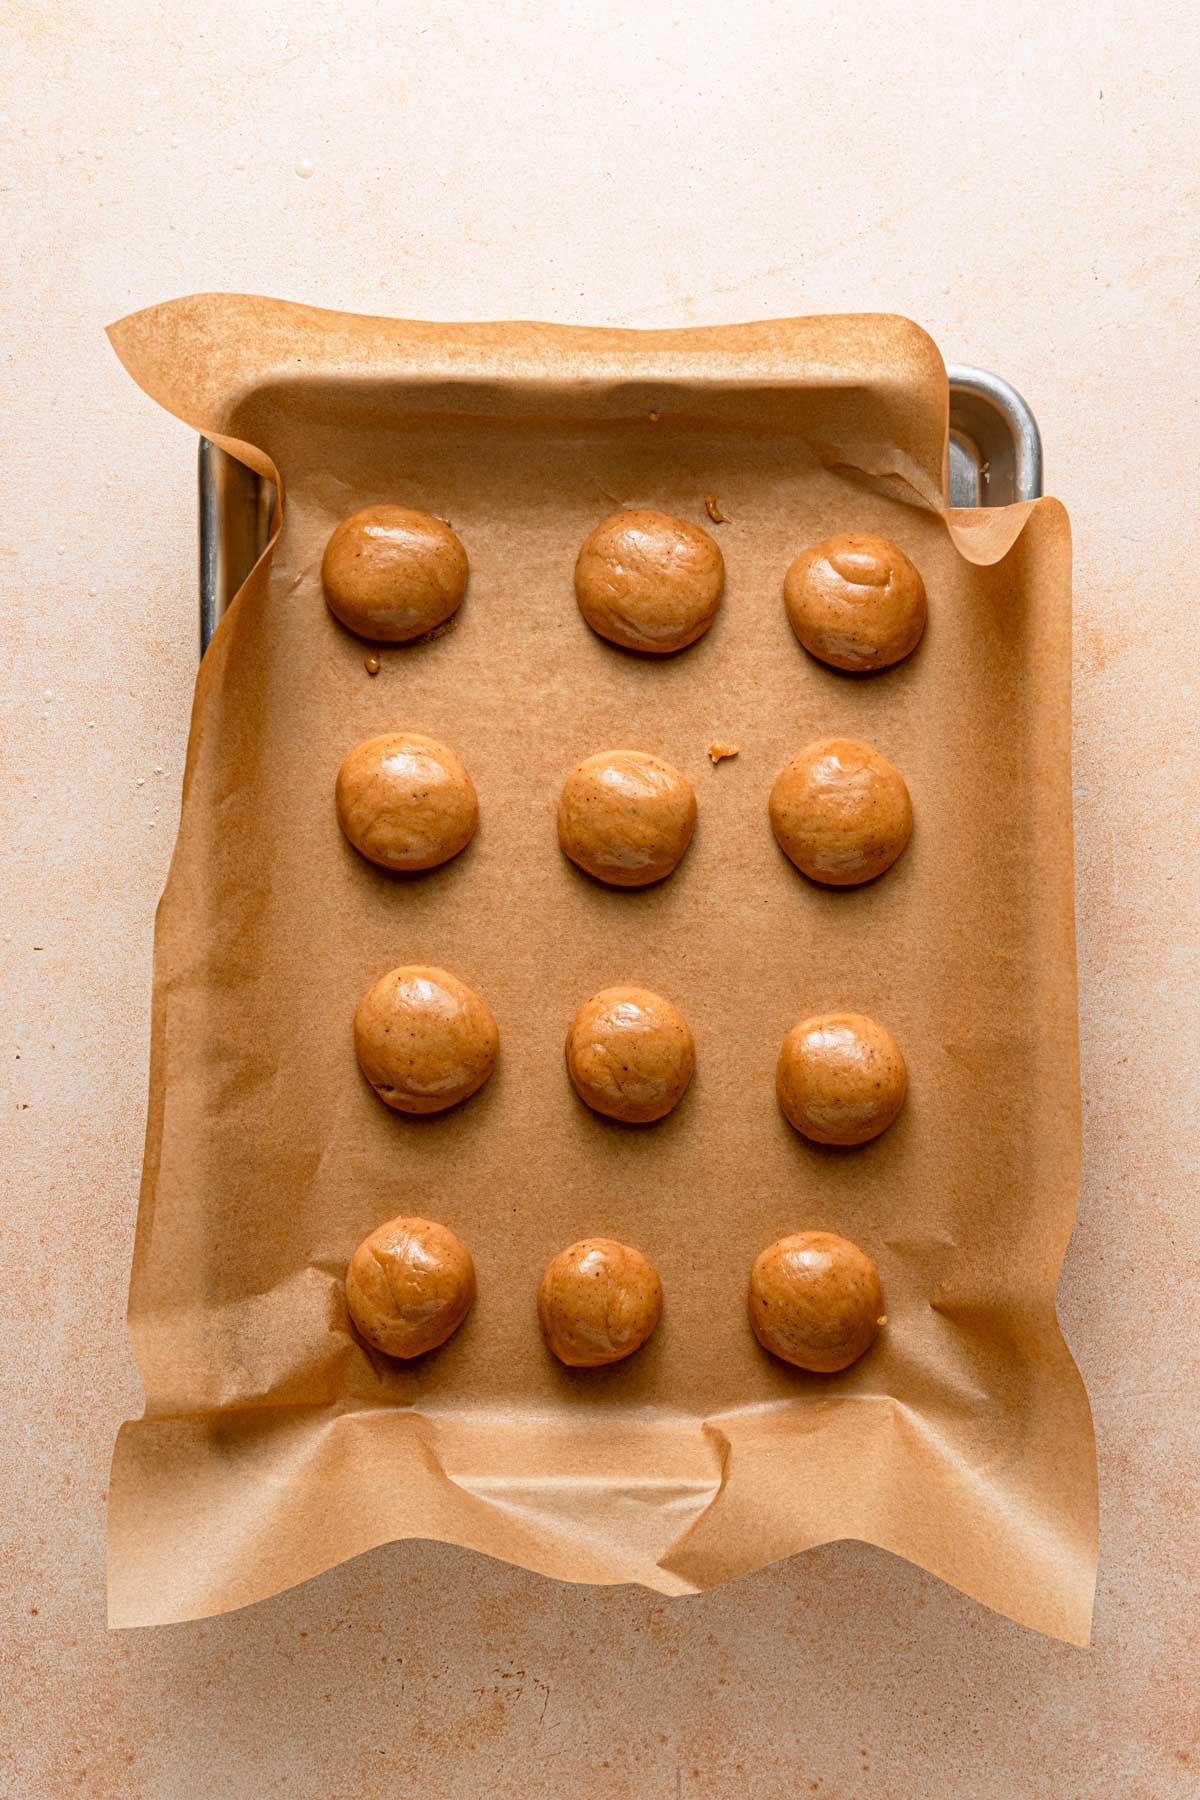
Please read my tips and notes I included with the step-by-step images for a visual cue:
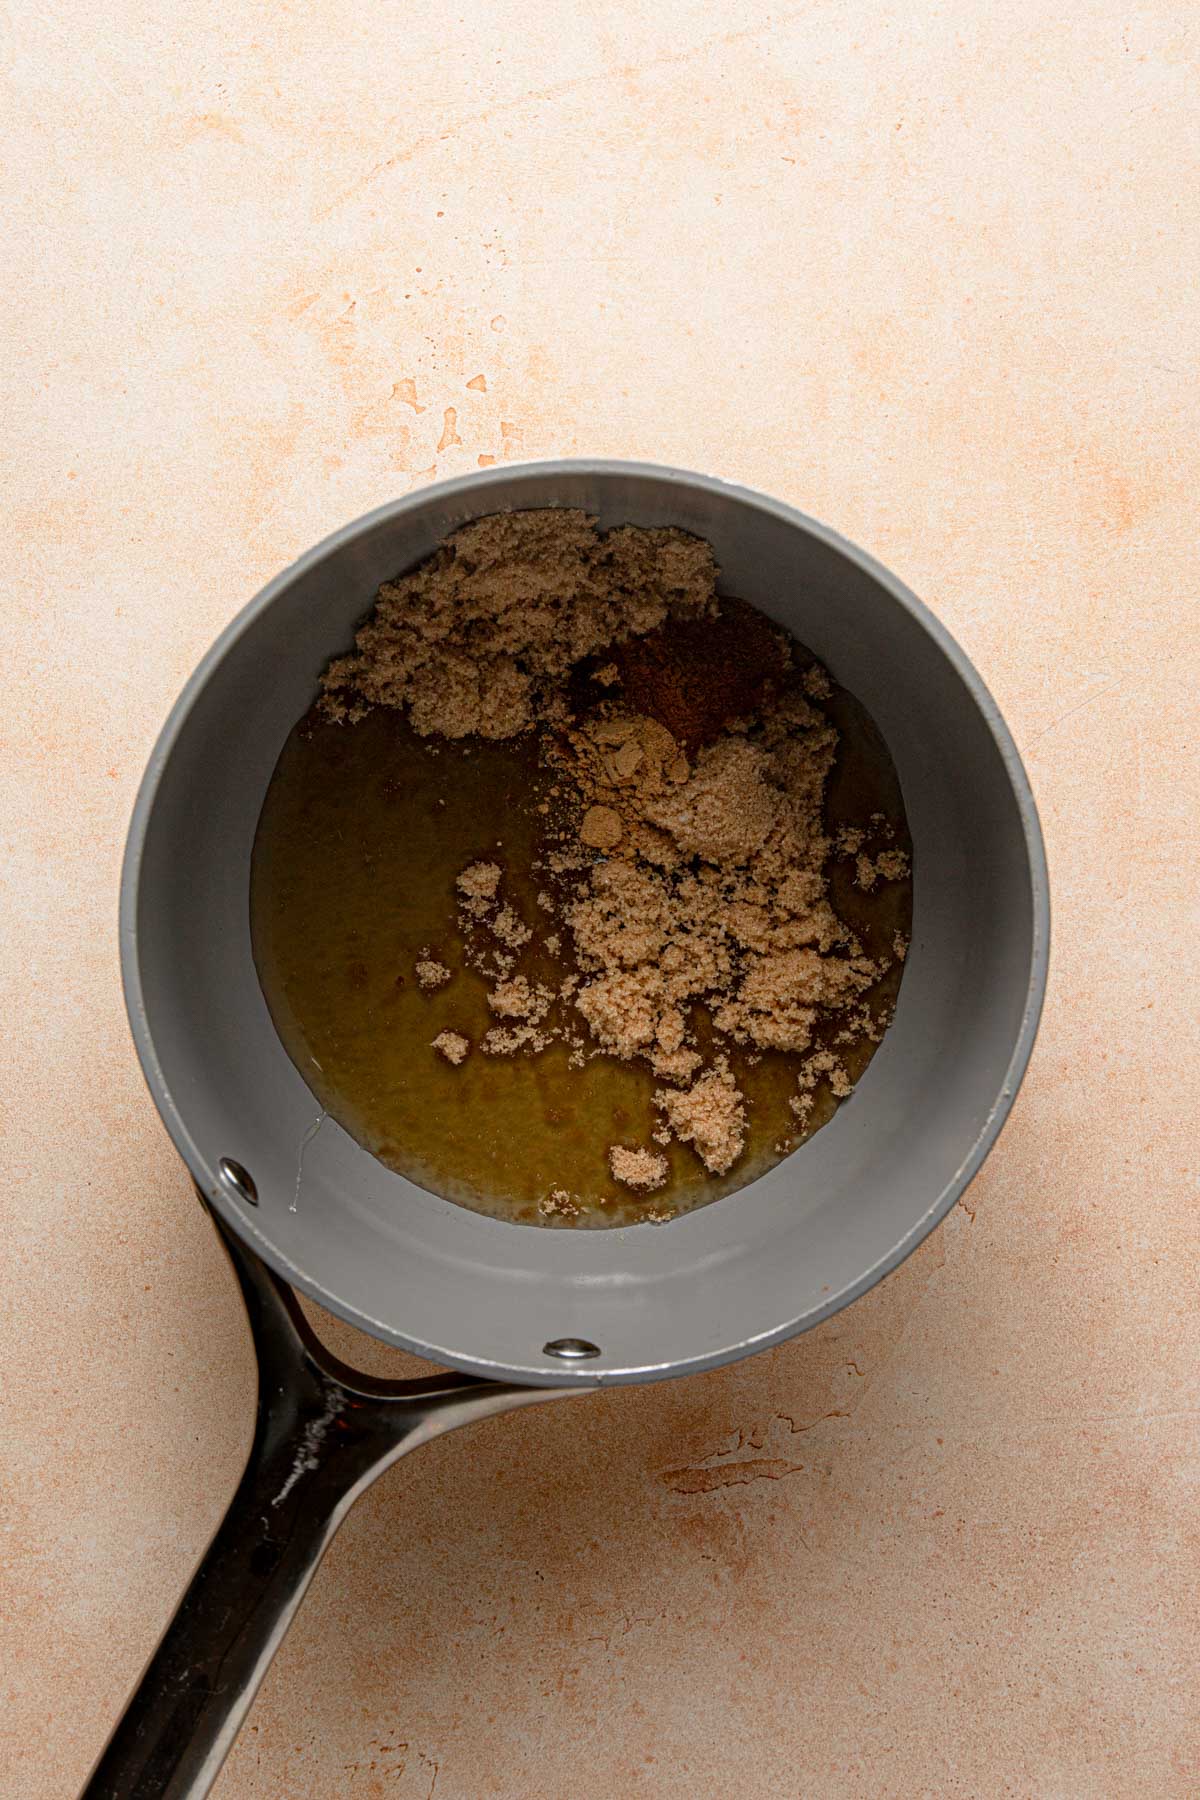
- If you don’t have a candy thermometer, cook the honey over medium heat for 2-3 minutes while stirring. The honey is ready once you notice it is slightly darker, if you have a doubt or you feel nervous, remove it from the heat after 2 minutes.
- Avoid over cooking the honey before adding the baking soda. The longer we cook the honey mixture, the more water will evaporate and we risk the mixture to be too sticky.
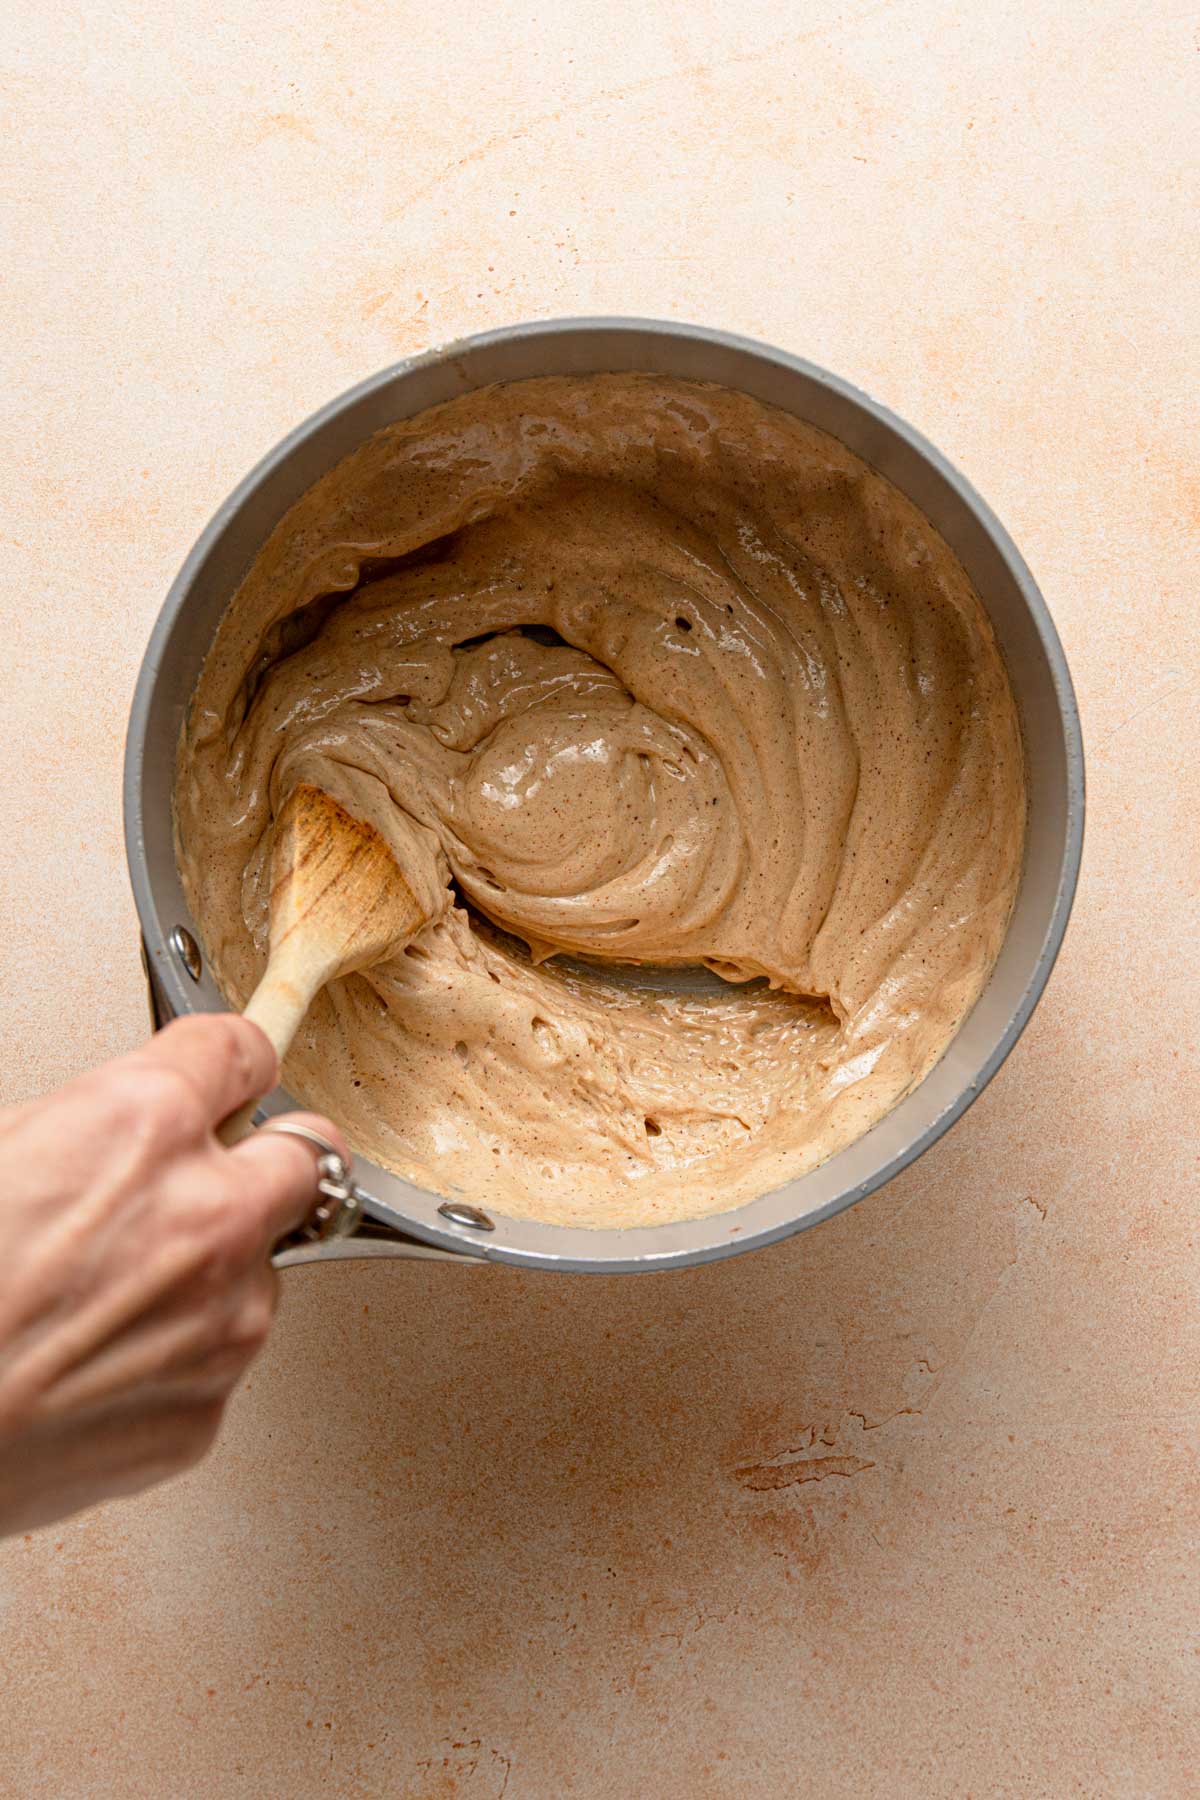
- The mixture sticks to the bowl. So make sure to stir occasionally and use a whisk to scrape the bowl more efficiently. You can use a hand mixer to whisk in the egg.
- The cookies cracked during baking. Not an issue at all, it happens sometimes, and you can always find some cracked cookies even in the store-bough bags. It adds a beautiful rustic look and does not remove from texture or flavor of the cookies.
- Dough Consistency: If your dough seems too sticky, refrigerate it for about 30 minutes before shaping and baking. This will make it easier to handle and shape.
Precision is key in this recipe: Too much honey, sugar, oil, and not enough flour will result in flat cookies. Too much flour or insufficient honey, sugar, and oil will result in dense cookies that don’t spread.

Coating The Cookies
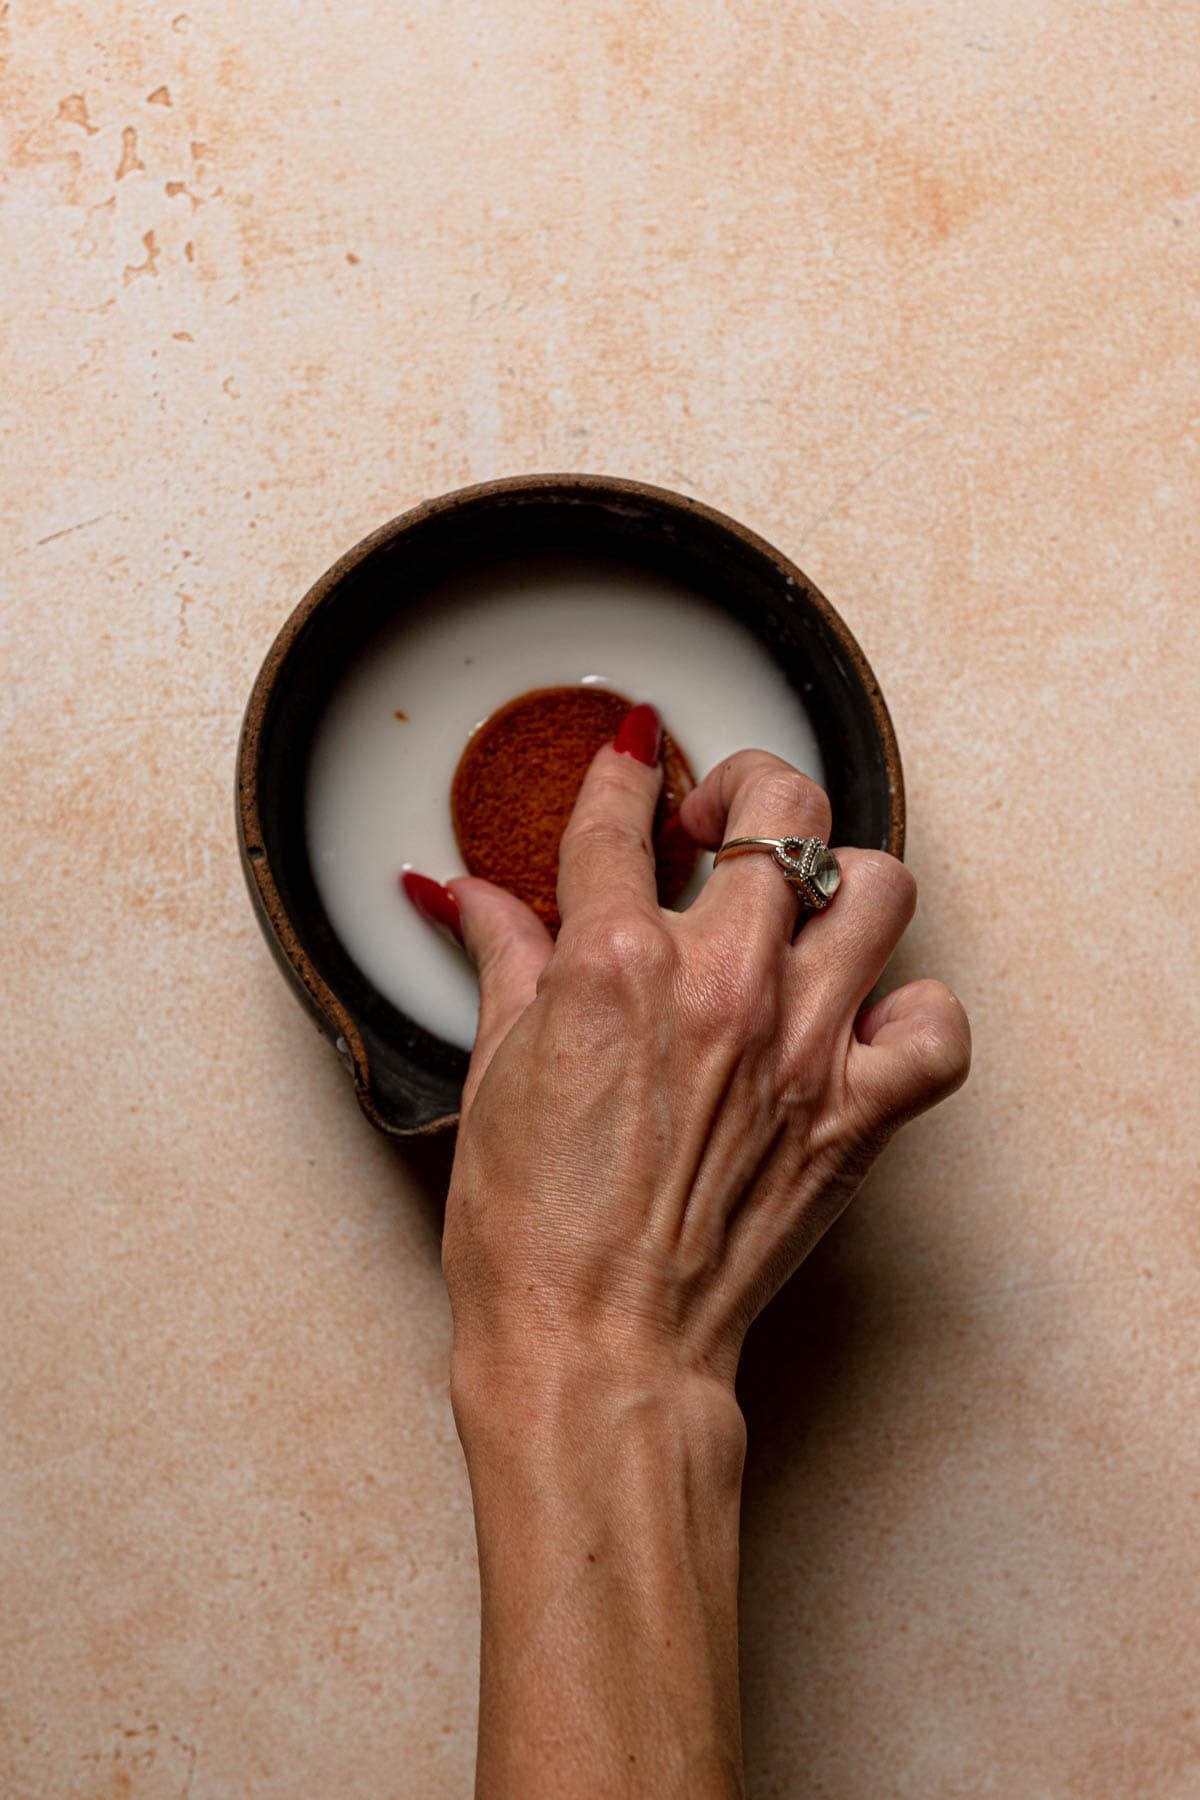
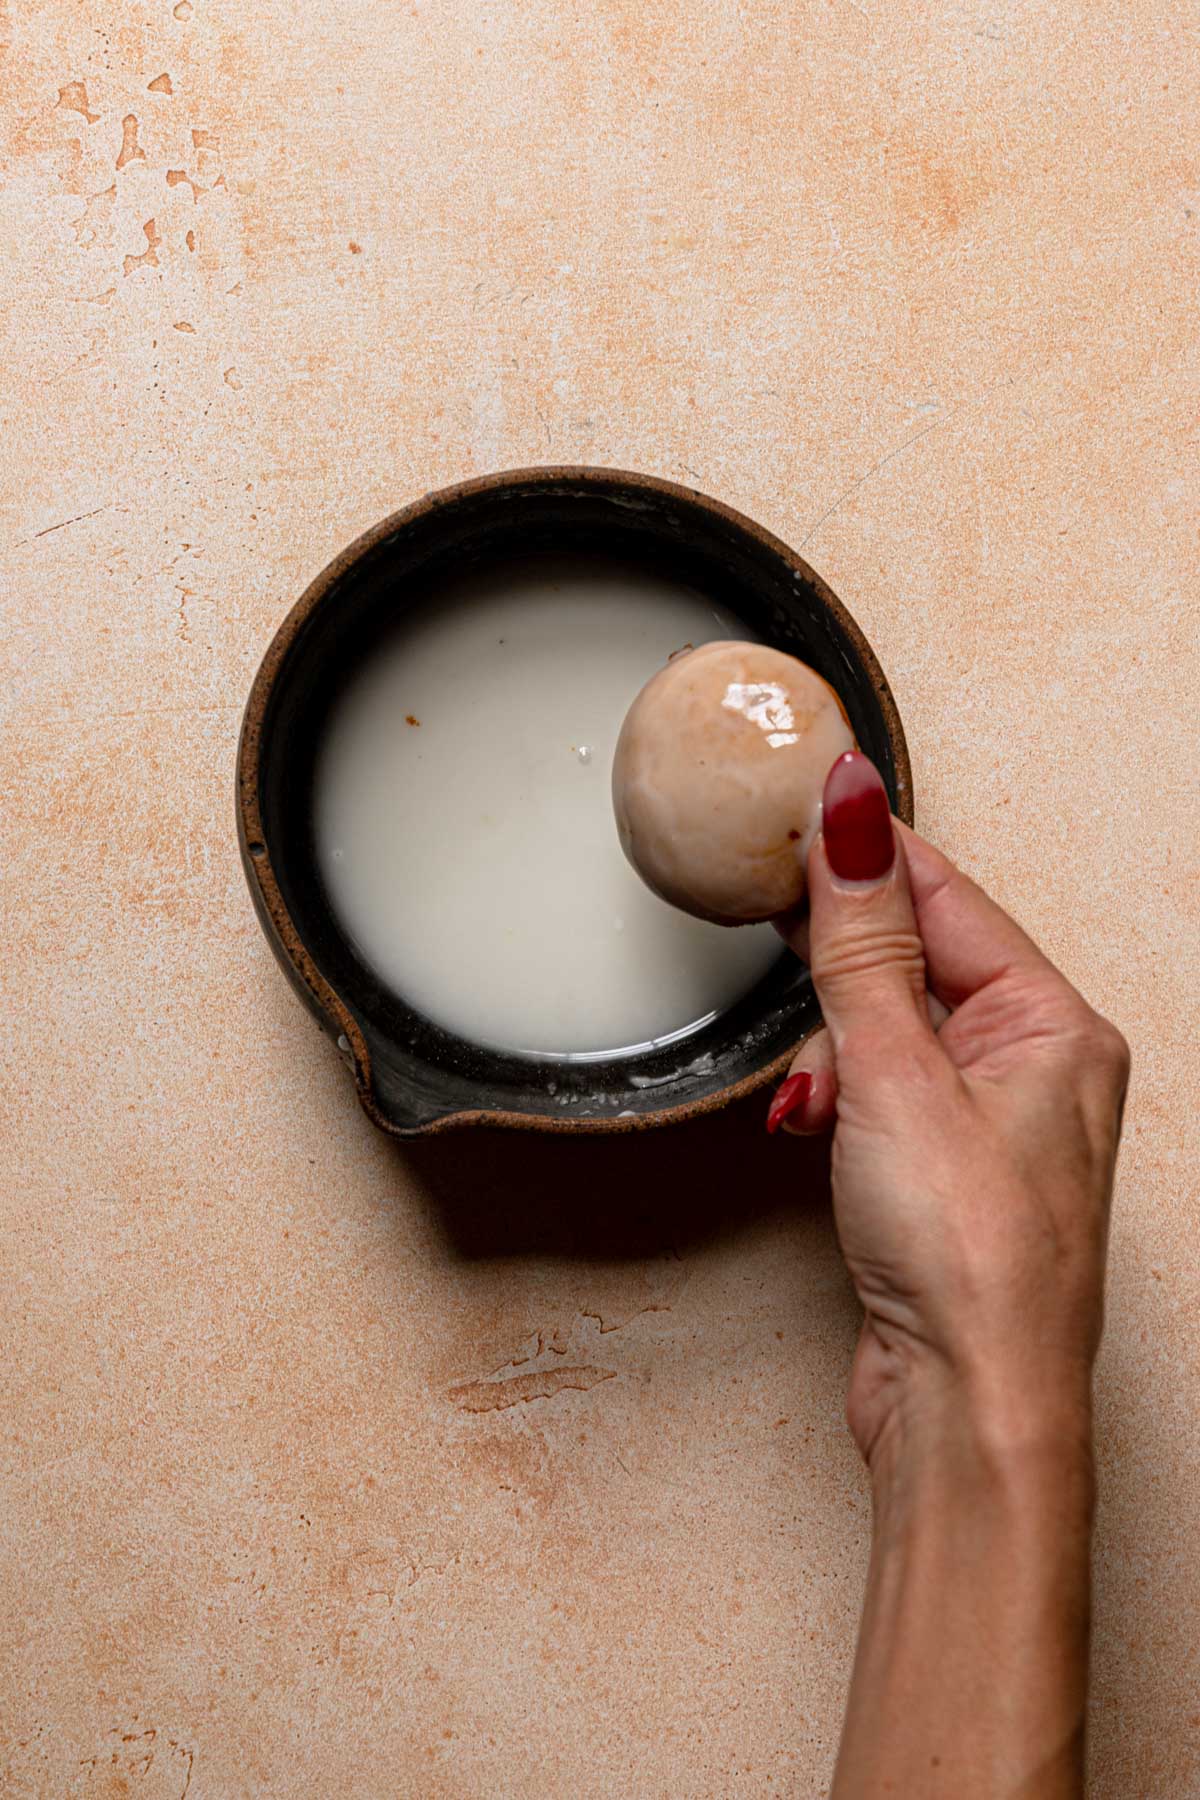
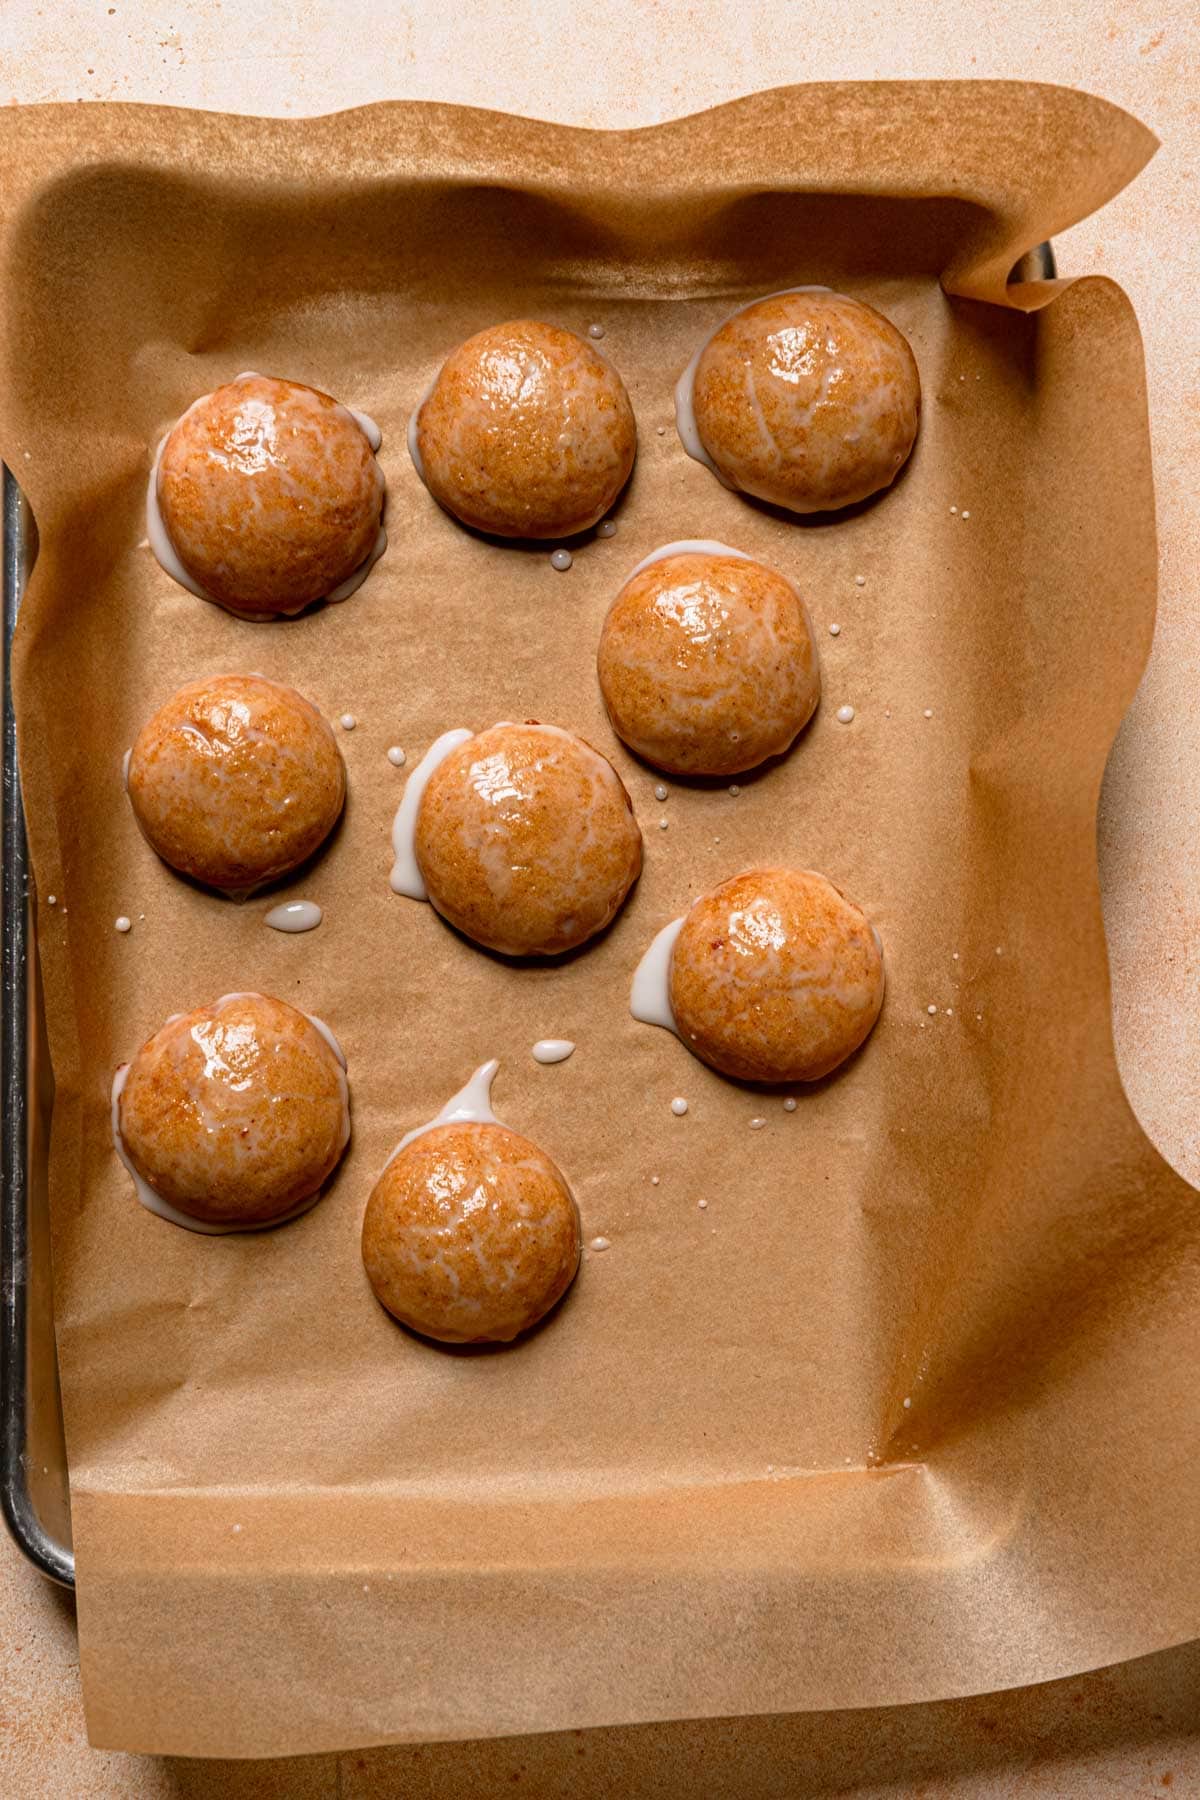
Coating the cookies are the classic move, and this is when your personality can shine. What I mean is that you can adjust the thickness of the glaze from very thin nearly invisible, to a thick white coat.
Make Ahead and Storage
These cookies a perfect make ahead holiday cookies:
- Make Ahead: You can prepare the dough ahead of time and store it in the refrigerator for up to 3 days. When ready to bake, allow the dough to come to room temperature for 10-15 minutes before shaping and baking.
- Storage: Once baked and cooled, store the cookies in an airtight container at room temperature for up to a week. For longer storage, you can freeze the cookies in a single layer on a baking sheet and then transfer them to a freezer-safe bag or container for up to 3 months.


Melt-In-The Mouth Spiced Honey Cookies
Ingredients
- 1 3/4 Cup (200g) Bleached all-purpose flour
- 1 teaspoon Baking powder
- 1/2 teaspoon salt
- 1/4 Cup (80g) Honey
- 1/3 Cup (70g) Light brown sugar
- 1 1/2 teaspoon Cinnamon
- 1/2 teaspoon Ground ginger
- 1/8 teaspoon Clove
- 1/4 teaspoon Baking soda
- 1/2 Cup (120g) Canola oil
- 1 Large Egg at room temperature
- 1 Cup (120g) Powdered sugar
- 1-4 Tablespoons Water
Instructions
- Sift the flour (200g), baking powder (1 teaspoon), and salt (1/2 teaspoon) in a medium bowl.
- Pour the honey (80g) into a medium-sized saucepan and add the brown sugar (70g), cinnamon (1 1/2 teaspoon), ginger (1/2 teaspoon), and clove (1/8 teaspoon).
- Place the saucepan over the stove, medium heat, and cook until the mixture reaches 260F (126C), about 2-3 minutes, occasionally stirring. Have the baking soda (1/4 teaspoon), oil (120ml), and a whisk (or a wooden spoon) close by.
- Remove from the heat and add the baking soda as you vigorously stir.The mixture will lighten in color and will seem slightly thicker.
- Slowly drizzle in the oil as you stir.
- Pour the mixture into a large bowl and set aside to cool for 5-7 minutes, stirring 3-4 times. The mixture will look broken, but that's ok.
- Mix in the egg and stir until you have a smooth, dark brown mixture.
- Gradually mix the dry ingredients into the honey mixture, then cover the dough with plastic wrap and refrigerate for 30-60 minutes.
- Preheat oven to 350F (180C), and line two baking sheets with parchment paper.
- Measure 1-2 tablespoon of the dough, then roll it between the palms of your hands and place it over the prepared cookie sheet.The larger the cookie balls are, the more the cookies will spread.
- Bake for 12-14 minutes, until the cookies are puffed and the bottom is medium golden brown.
- The cookies are ready when puffed and golden brown at the bottom. For a more crispy texture, bake for an extra 2-3 minutes. Remove from the oven and let the cookies cool completely.
- Mix the powdered sugar with the water until smooth, then dip the top of the cookies into the glaze. Set aside to dry.


Hi Dee, I`m Juan Di Martino, From Argentina. Let me thank you for all your recepies you share. Not all of them, but every single recipe I have tried, they were perfect.
Thank you again.
Very nice to meet you Juan, and thank you so much for taking the time to write these encouraging words! It means the world.
Hi, so unfortunately this recipe doesn’t work at all. We tried it two times, exactly as written. Both times we ended up With a rock hard ball of sugar and a puddle of oil.
These honey cookies look absolutely delicious! I love that the recipe lets the natural sweetness of honey shine while creating such a soft, tender texture. The detailed instructions and baking tips make it feel approachable, even for beginner bakers. I can already imagine how wonderful these would smell fresh out of the oven. Thanks for sharing such a beautiful recipe—I can’t wait to give it a try!