Last updated on November 21st, 2025.
This soft, fluffy, tender and buttery Vanilla Bean Cake is perfect for any and all celebrations, wether its a birthday, anniversary, or just a sweet, casual dessert to satisfy your sweet tooth. The recipe is made using the two stages method: mix the butter and oil into the flour, then add the rest of the ingredients.
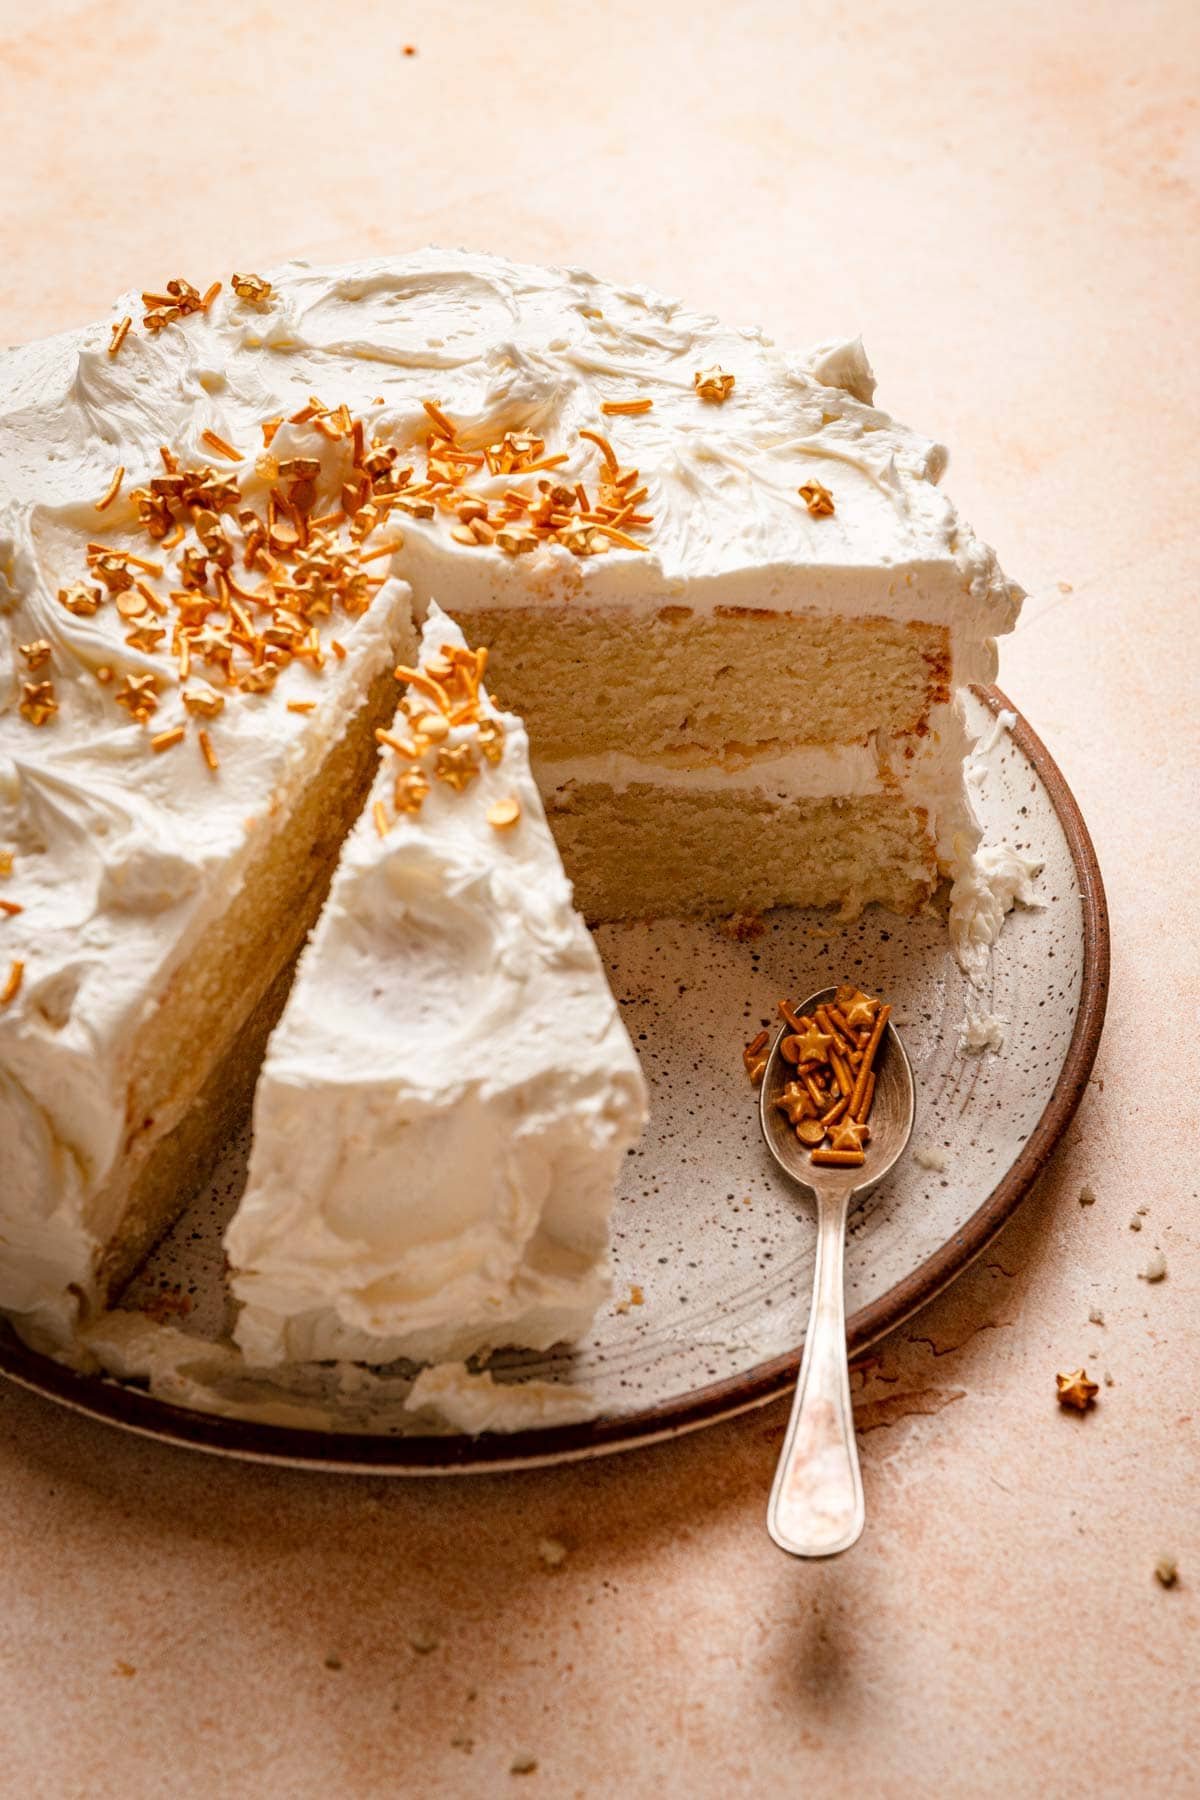
This cake is my version to the “little black dress”. I’m not always in the mood for Instese Chocolate Cake, so I bake this cake when ever I need something easy, yet impressive, delicious, and classic enough to please all crowds. Vanilla bean is one of those under rated ingredients that takes you way back to nostalgic times when cake and sprinkles were are magical as rainbows and unicorns. The cake filled and frosted with Swiss Meringue Buttercream giving it another layer with creaminess and a celebratory look.
Key Ingredients
The complete recipe including measurements can be found below in the recipe card. Here is a recap on what makes this cake so unique and delicious.
- Cake Flour. Cake flour is high in starches and lower in protein, so it gives us a taller cake with a more tender crumbs. If you do not have cake flour, use bleached all purpose flour.
- Unsalted butter and oil. I love using both oil and butter: only butter can taste like butter, and oil is in liquid form and easily coats the dry ingredients making it the best way to add an extra layer of moistness.
- Heavy cream. This is a celebration cake, and the cream adds a unique and sweet flavor and texture, that is as unique and impossible to replace as the butter is.
- Apple Cider Vinegar. Just one tablespoon to balance the sugar and make sure the cake is not too sweet. It also reduce the baking time, which means the cake bakes less and obtain more of its moisture. I talk more about this in my cookbook Baking Science.
- Vanilla Bean. It is the star of the show, and what will give the cake its beautiful speckels and homey fragrant and flavor. Scraping a whole vanilla pod makes a big difference in flavor and smell, but you can use vanilla bean paste as well.
Make The Cake
This is a super simple recipe that uses the reverse method: we cut the fat into the flour, then add the liquids and eggs. And that is it. Below are step by step images for a visual gaudiness, please carefully read the my tip for best results:
- Make sure all of the ingredients are at room temperature. If cold, the mixture will not blend well and you’ll end up with a chewy, short cake.
- If baking a layer cake, do not grease the sides of the pans, instead grease the bottom and line it with parchment paper. When we greased the sides of the pan, the edges of the cake collapse towards the center when the cake cools. When un-greased, the cake cake cling on the sides of the pan and get a tall sharp edges. Once the cake is baked and chilled, run a sharp knife around the edges.
Layering and Decorating the Cake
I want you to feel confident when you layer and frost the cake, then present it pride. You do not need to be a professional cake decorate for that. All you need is an offset spatula (or a butter knife), and a spoon:
- Place one layer on your serving dish. I like to place it top down for a smooth even surface.
- Top with 1/2-3/4 cup of the frosting and smooth it using the spatula.
- Top with the second layer.
- Use the spatula to frost the top and sides of the cake with a thick layer of buttercream.
- Gently press the back of a spoon to create half-circle shapes, then lift it away. Top with sprinkles or fresh fruit.
Yields
This cake can be baked as two 8-inch layer cake, enough for 10-12 people, or one 13×9-inch sheet cake enough for 12-16 people. Of course the sizes of the slices will make the difference.
Store and Make Ahead
The cake, frosted or not, shout be served at room temperature. The cake should stored at room temperature for up to 48 hours depending on the type of buttercream and filling you are using. If using a perishable frosting like whipped cream or cream cheese, then refrigerate the cake.
To make ahead: bake the cake, then gently wrap it in plastic wrap when it is slightly warm. Place in a plastic bag and freeze for up to four weeks. When ready, remove from the freezer and unwrapped, allowing it to reach room temperature.

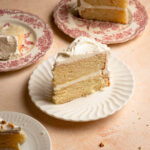
Moist and Tender Vanilla Bean Cake
Ingredients
GF Vanilla Bean Cake
- 3 Cups (360) Cake flour
- 2 teaspoons Baking powder
- 2 Cups (400g) Granulated sugar
- 1 cup (225g) unsalted butter at room temperature cut into 1/4-inch pieces.
- 1/4 Cup (60ml) Vegetable oil (I used canola)
- 1 1/2 Cups (360ml) Heavy Cream at room temperature
- 3 Large Eggs at room temperature
- 1 1/2 Tablespoons Vanilla bean paste
- 1 Tablespoon Apple cider vinegar
Buttercream
- 1 Recipe Swiss meringue buttercream
Instructions
Make the cake
- Preheat oven to 340F, grease the bottom of two 8” square pans and line the bottom of the pan with parchment paper.
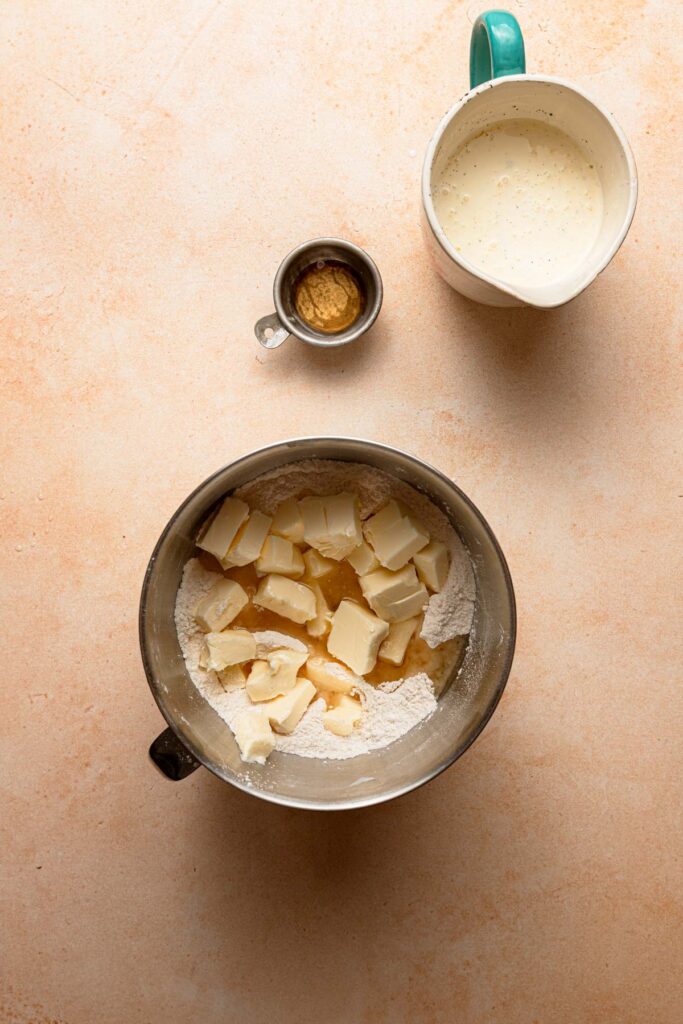
- In a large measuring cup, pour the heavy cream, eggs, vanilla paste, and apple cider vinegar mix to incorporate.
- In a bowl of a standing mixer, measure the flour, baking powder, and sugar. Use the paddle attachment to mix the ingredients on low.
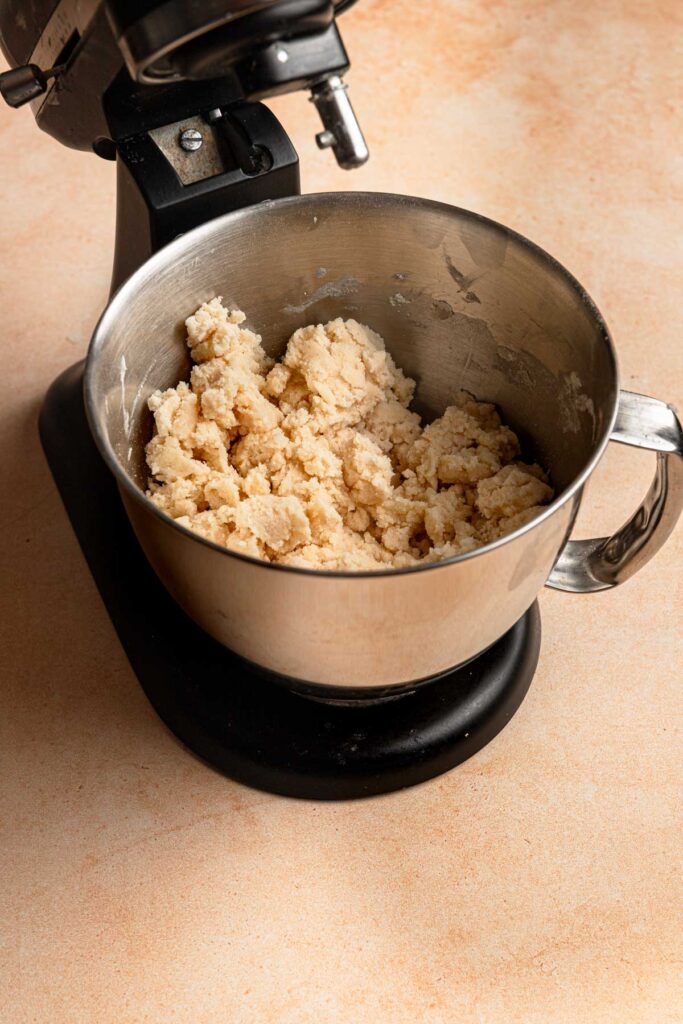
- Stop the mixer, then add the oil and butter, then mix on low until the butter and oil have been incorporated into the dry mixture and you have a moist mixture that resembles wet sand.
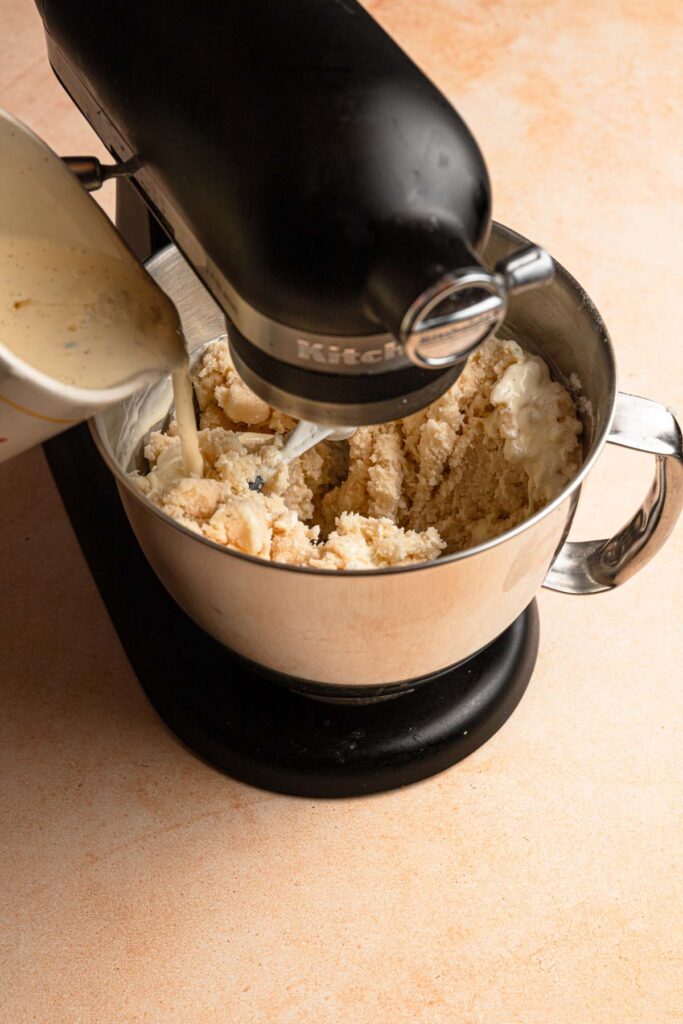
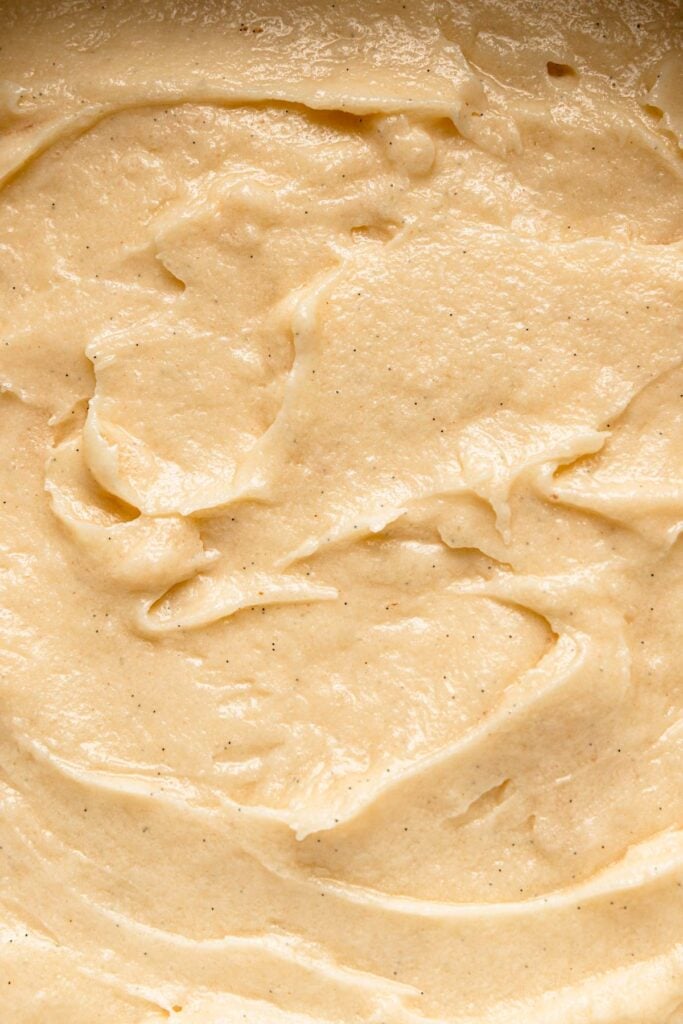
- With the mixer on medium-low speed, pour the wet mixture into the flour mixture and mix until the ingredients are well combined, and you have a thick batter.
- Divide the batter between the greased pan (each about 750g) and bake for 33-37 minutes or until a toothpick comes out with a few moist crumbs from the center of the cake.
- Remove from the oven and let cool completely before decorating.
Layering and frosting the cake
- Invert the cakes from the pan and place once layer on your choice of a serving plate.
- Top with 1/2-3/4 cup of the buttercream and spread it using a an off set spatula into an even layer.
- Top with the second layer of cake.
- Mount the top of the cake with more buttercream, then use an offset spatula to frost the top and sides of the cake with a thick layer of the buttercream.
- Use the back of a spoon to gently press the back of a spoon to create half-circle shapes, then lift it away.
- Top with sprinkles, or fresh fruit, or serve.
Notes
- Very important to use room temperature ingredients.
- Pay attention to the cake and not the timer, your oven is different than mine and you may need more or less baking time. The cake is ready when a tooth pick comes out from the center with a few (not wet) moist crumbs. Remove from the oven and allow it to completely set and cool.
-
Cake size options
- Two 8-inch round layers (serves 10–12).
- One 13×9-inch sheet cake (serves 12–16).
- Final serving size depends on slice portions.
-
Storing
- Serve cake (frosted or unfrosted) at room temperature.
- Store at room temperature for up to 48 hours, depending on buttercream/filling.
- If using perishable frosting (whipped cream, cream cheese, etc.), refrigerate.
-
Make ahead
- Bake cake, then wrap gently in plastic while slightly warm.
- Place wrapped cake in a plastic bag and freeze for up to 4 weeks.
- When ready to use, remove from freezer, unwrap, and let come to room temperature.