
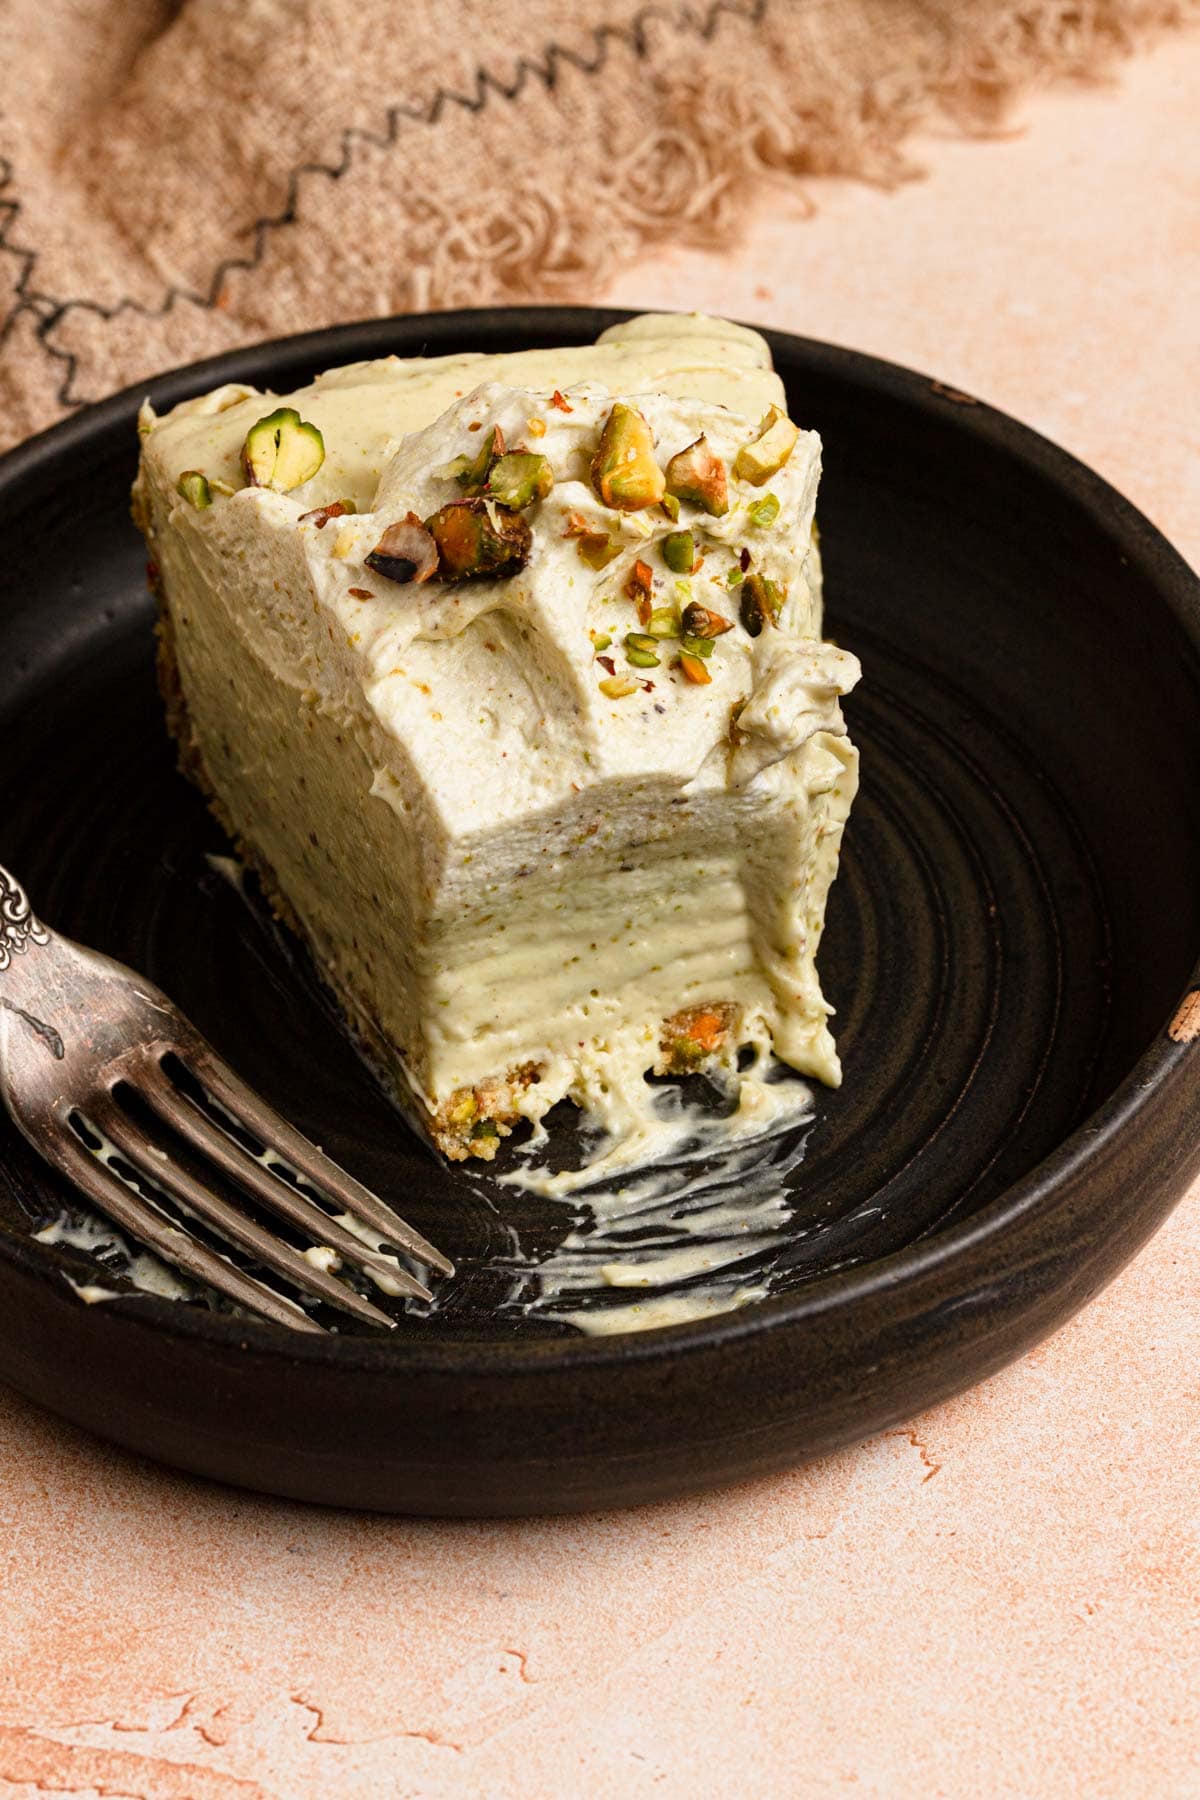
I had very clear vision for this No Bake Pistachio Cheesecake. It had to be creamy, light, and packed with real pistachio flavor, while being easy to make with simple ingredients. Most importantly, it had to deliver that unforgettable cheesecake wow factor.
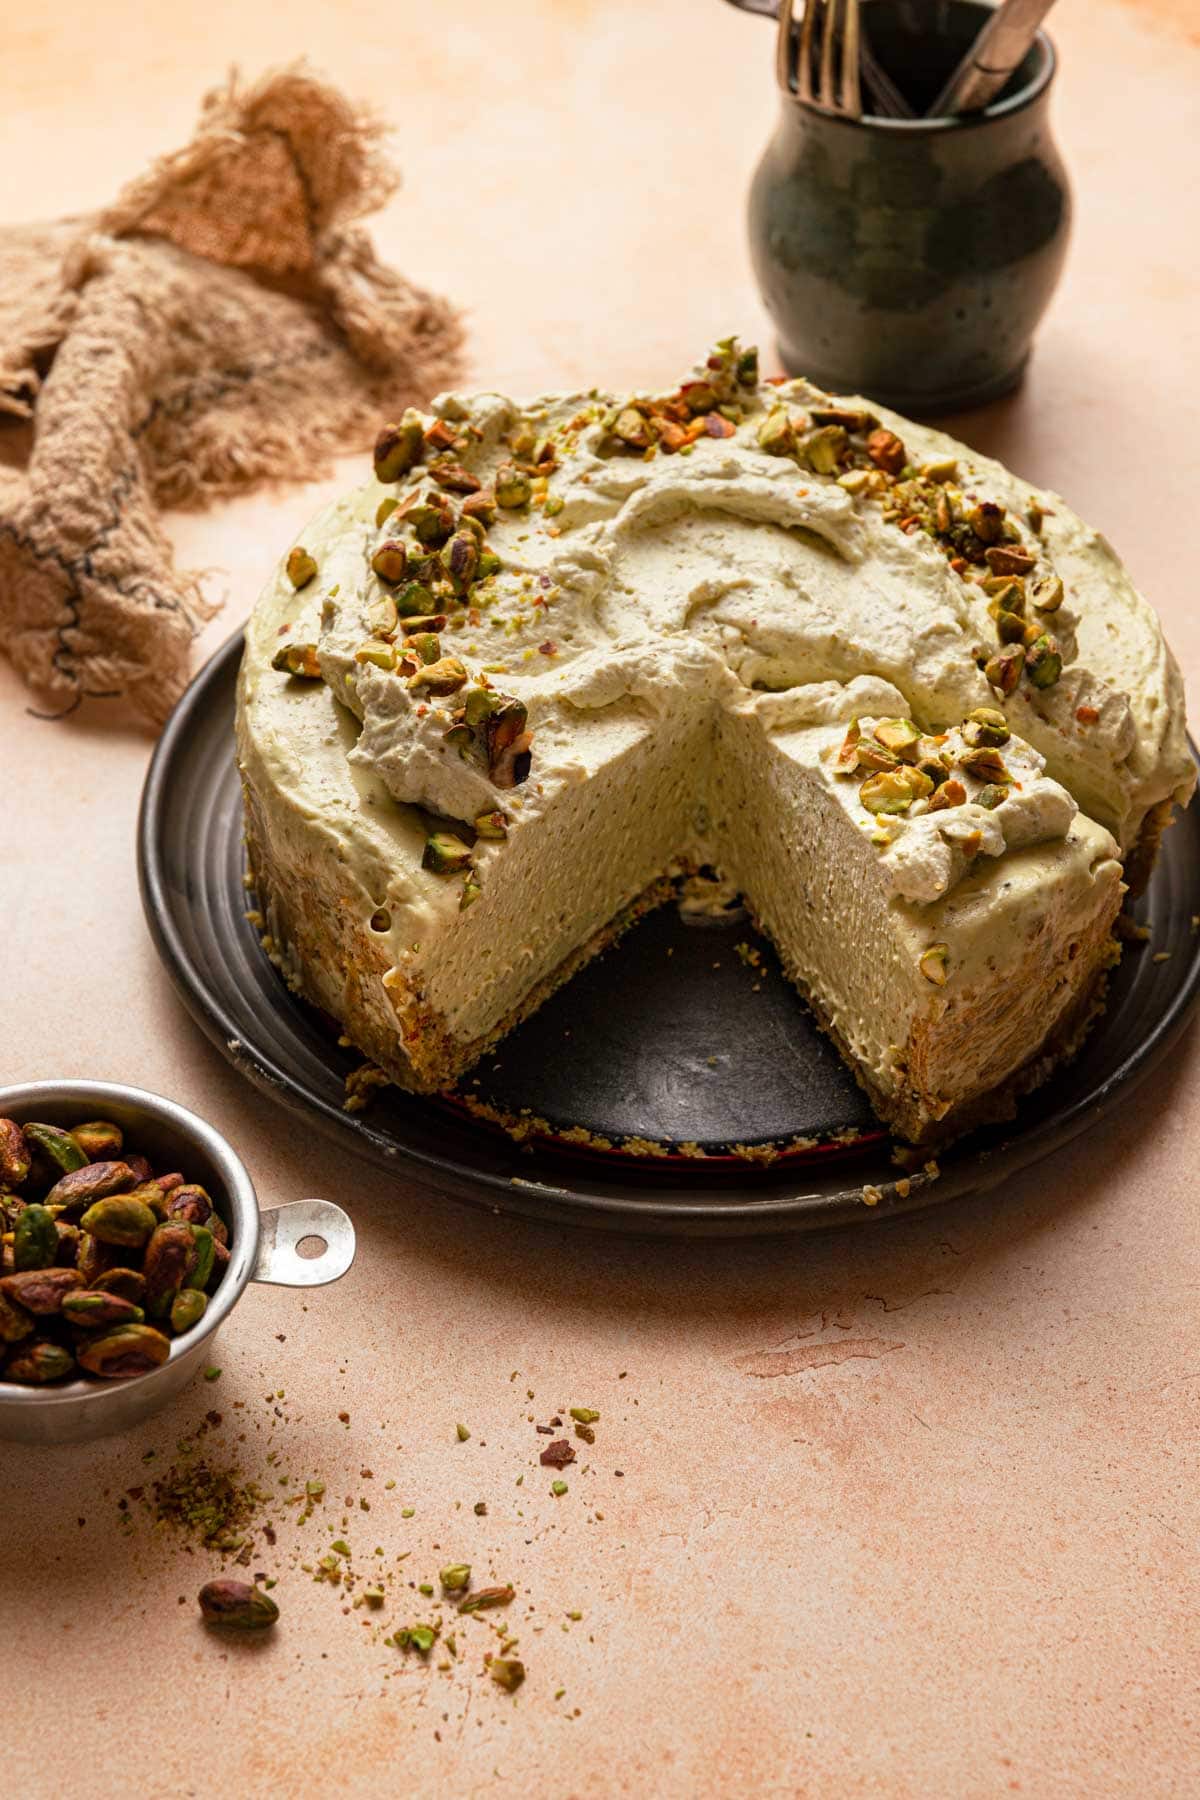
Creamy NY Style Pistachio Cheesecake is amazing and checks all the right boxes. But sometimes, strange as it may be, we want something different yet also familiar. Enter this creamy, light, and foolproof No Bake Pistachio Cheesecake recipe.
Top it with easy homemade pistachio whipped cream or a smooth pistachio caramel, and you just might be crowned everyone’s favorite baker.
Key Ingredients
This recipe calls for most of the classic cheesecake ingredients like graham cracker and cream cheese, and also some pistachio flavoring, and stabilizing ones:
- For The Pistachio Flavor: roasted pistachios to the crust and my 4-ingredients pistachio cream into the custard. Please use roasted nuts, raw nuts are much milder flavor.
- For stabilizing the cream: Because this is a no-bake cheesecake, it is also eggs free. That means we need other ingredients to create a filling that’s stable enough to slice while staying light and creamy. Powdered sugar helps absorb excess moisture thanks to the cornstarch it contains, whipped cream adds volume and an airy texture, and the soft butter firms up as it chills giving the cheesecake extra stability.
Tips For Successful No-Bake
I have learned that even simple and easy recipe can fail, but the good news is that the reason is pretty obvious and much easier to prevent. So when you make this recipe, learn from my mistakes and pay attention to the following tips:
- My biggest tip: get organized. Start with having all of the ingredients ready and at ready to use, that includes the pre-made pistachio cream and crust (which should be made at least 30 minutes before the filling).
- The cream cheese should be at room temperature so it will incorporate into the filling lump free, but the whipped cream has to be as cold as possible so it will thicken as we whip it.
- Use a rubber spatula to scrape the sides and bottom of the bowl a few times while making the filling. Sometimes there are bits of unmixed ingredients that needs to be recollected into the filling.
- The cake needs time to set, at least 8 hours. If not set fully, the filling might collapse at the center.
Yield and Storing
You can make this recipe use an 8-inch springform pan, enough for 8-10 people, depending on how big the slices are. Or a 9-inch pan, making it a shorter cake and enough for 10-12 people.
Refrigerate the cake for up to four days, serve cold. You can freeze the cake in the pan, covered with plastic wrap and an extra layer of aluminum foil for up to four weeks. When ready, unwrap and refrigerate overnight.
Easy No-Bake Creamy Pistachio Cheesecake
Ingredients
For The Crust
- 1 Cup (120g) Graham crackers crumbs
- 1/2 Cup (75g) Shelled roasted pistachios
- 2 Tablespoons (25g) Granulated sugar
- 6 Tablespoons (85g) Unsalted melted butter
For The Filling
- 2 Cups (450g) Cream cheese at room temperature
- 1 1/2 Cup (180g) Powdered sugar
- 1 Cup (300g) Pistachio cream
- 6 Tablespoon (85g) Unsalted butter at room temperature
- 2 Cups (480ml) Heavy cream, very cold
Instructions
Make The Crust
- Process the pistachio (75g) in a food processor until finely ground.
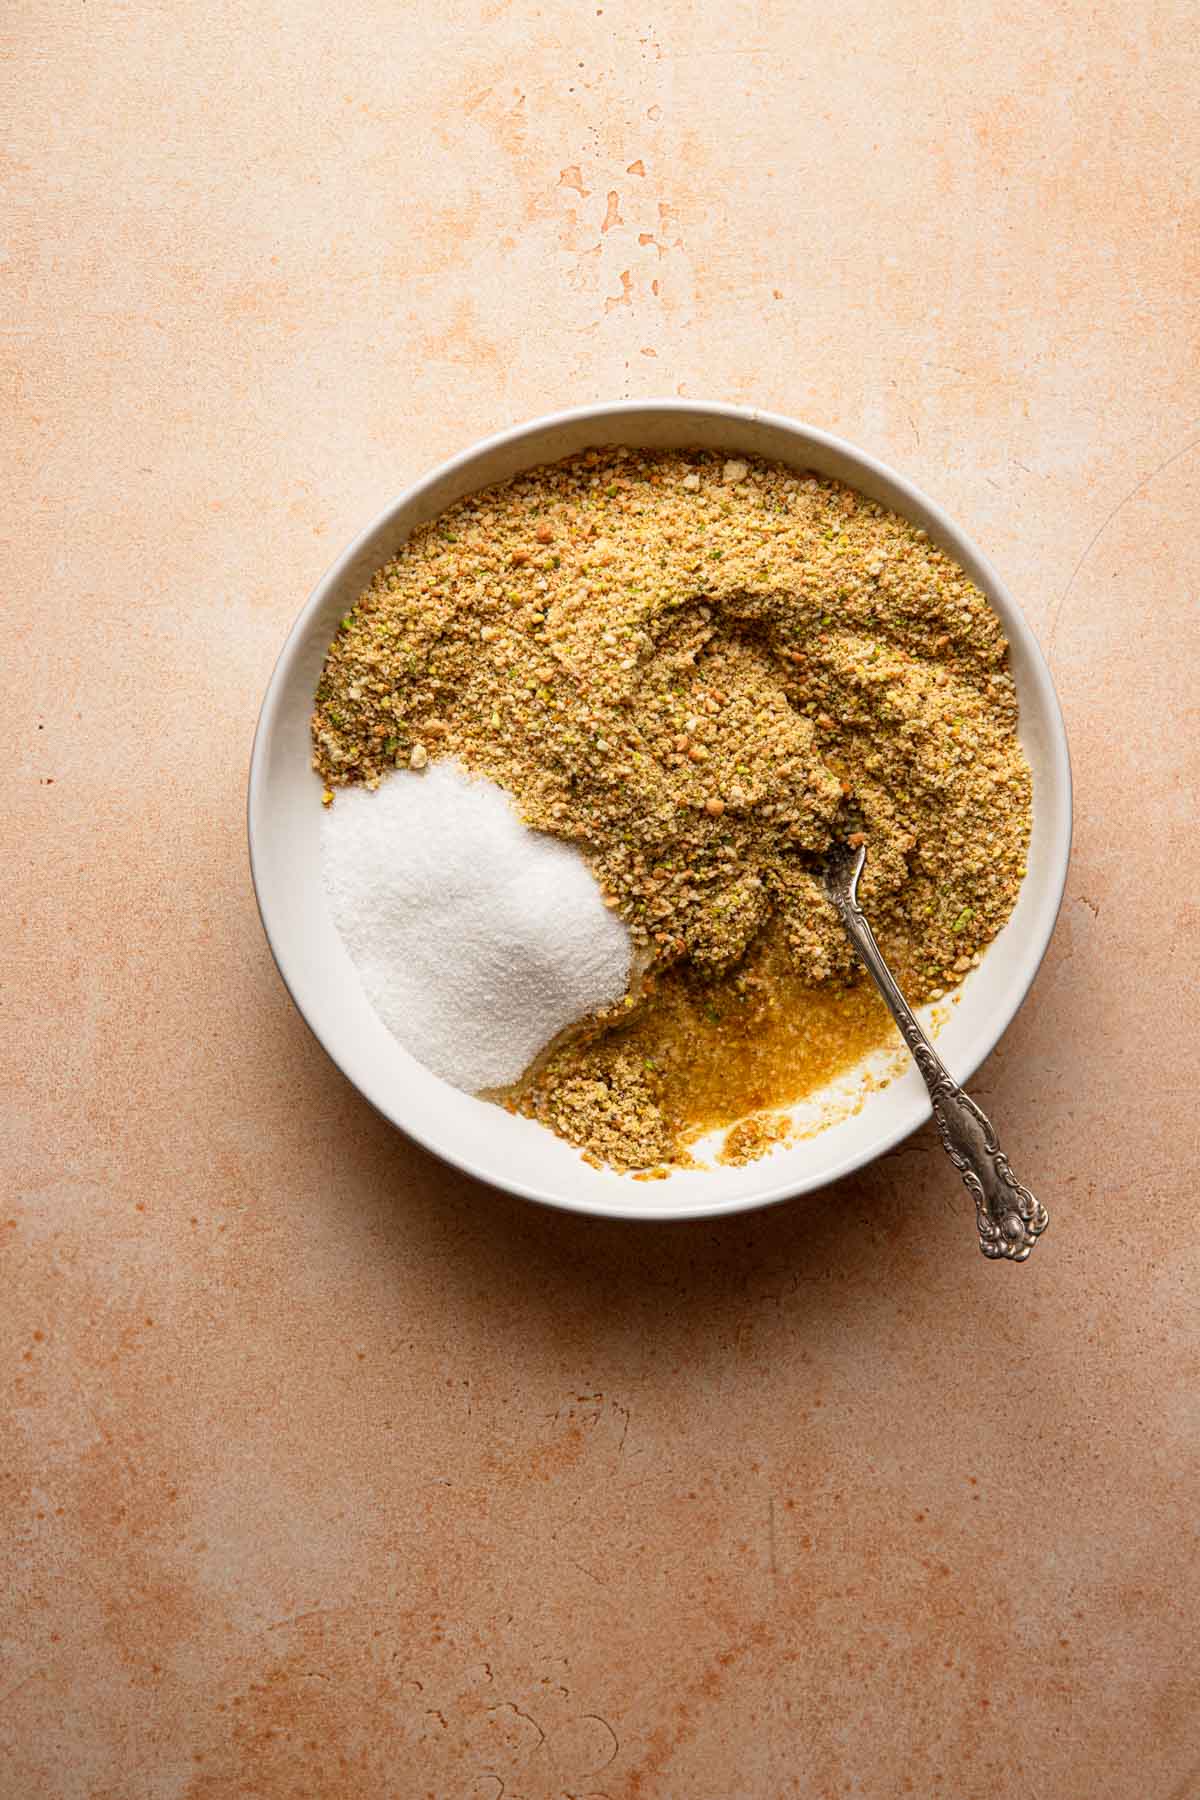
- Measure the cookie crumbs (120g) and sugar (25g) in a large bowl then mix in the ground pistachios.
- Pour the butter (85g) on top and use a fork to mix until you have a mixture than resembles wet sand.
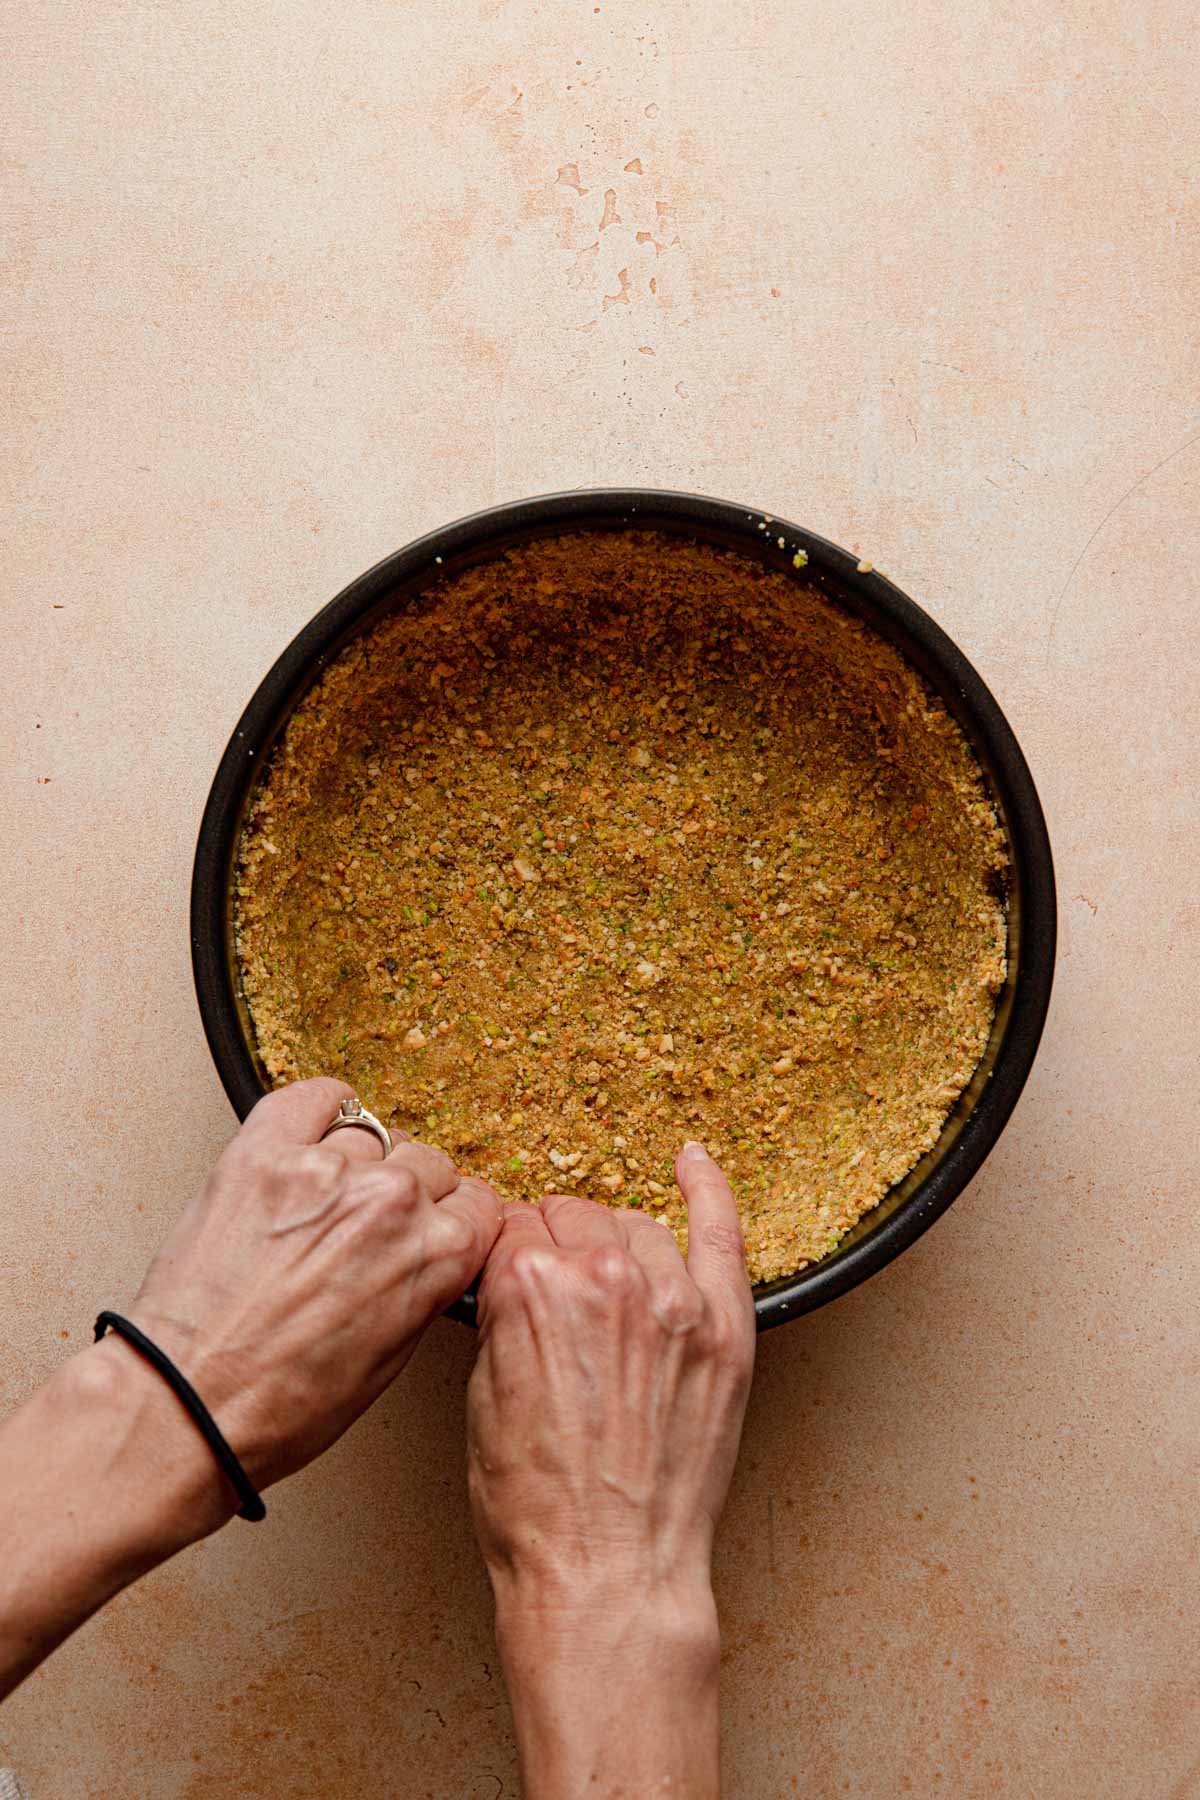
- Press the mixture on the sides and bottom of an 8×3-inch, or 9-inch springform pan. You can use your fingers, or the bottom of a cup.
- Set a side for the butter to chill and set while you make the cake batter.
Make the Filling
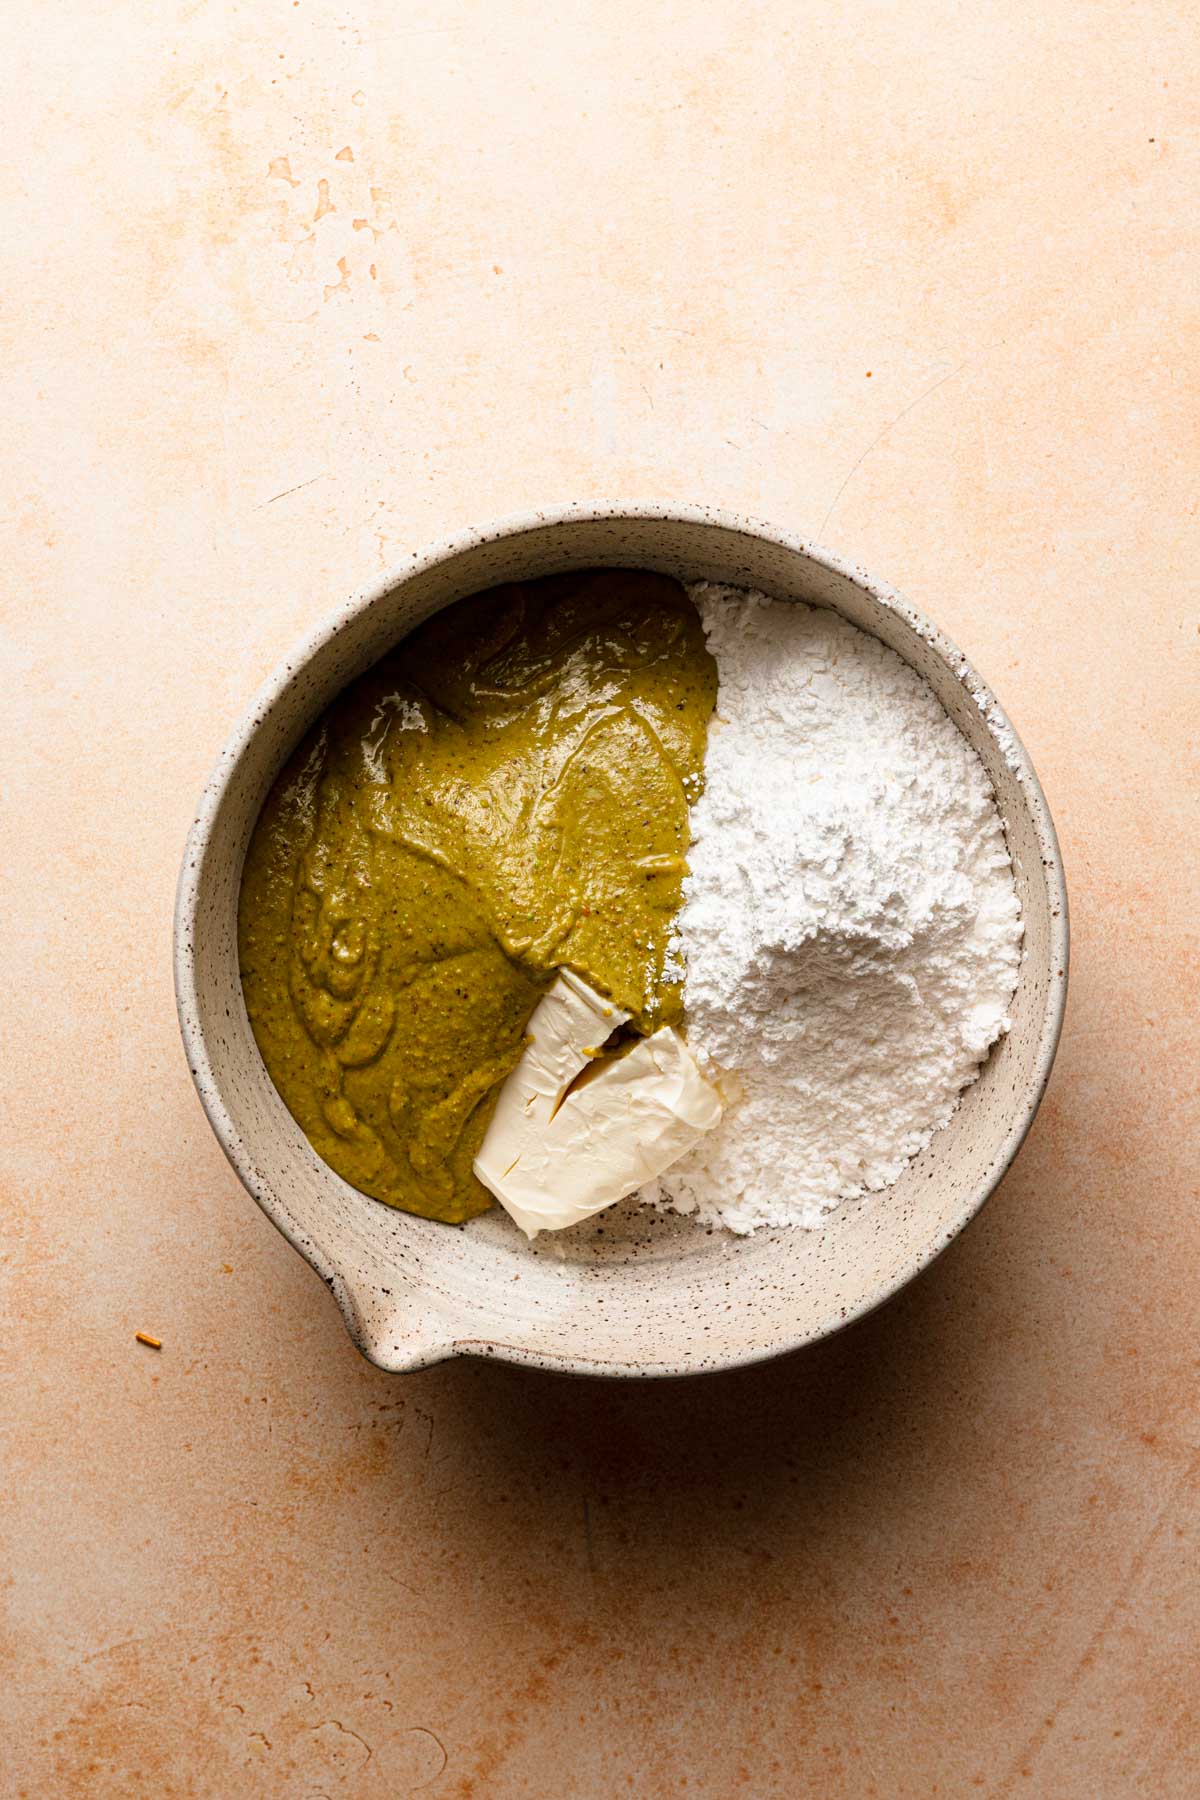
- Cream the cream cheese (450g), powdered sugar (180g), butter (85g), and pistachio cream (300g) until completely incorporated and smooth.
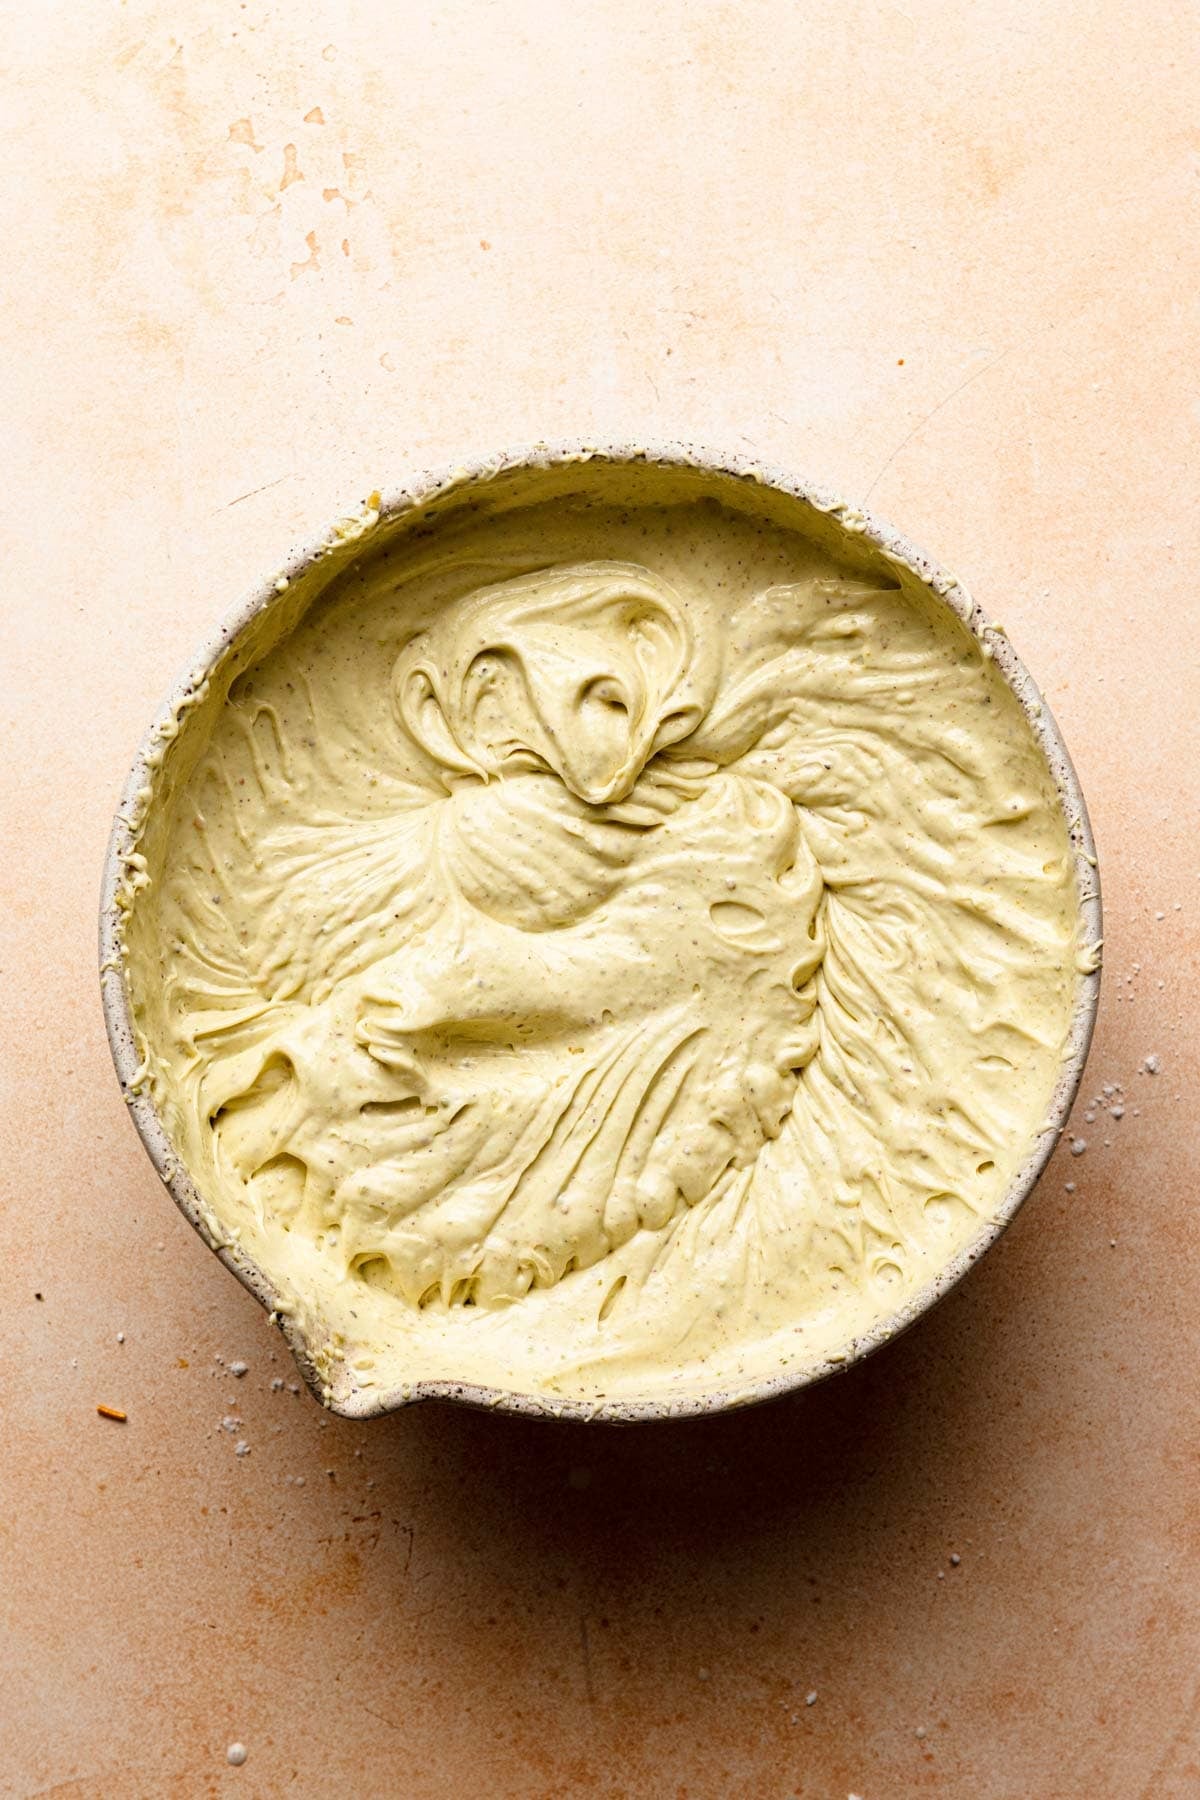
- Pour in the heavy cream (480ml) and whip until the cream is fully incorporated and the mixture is smooth, and slightly thick. It is ready when the whisks leave deep noticeable marks in the batter.
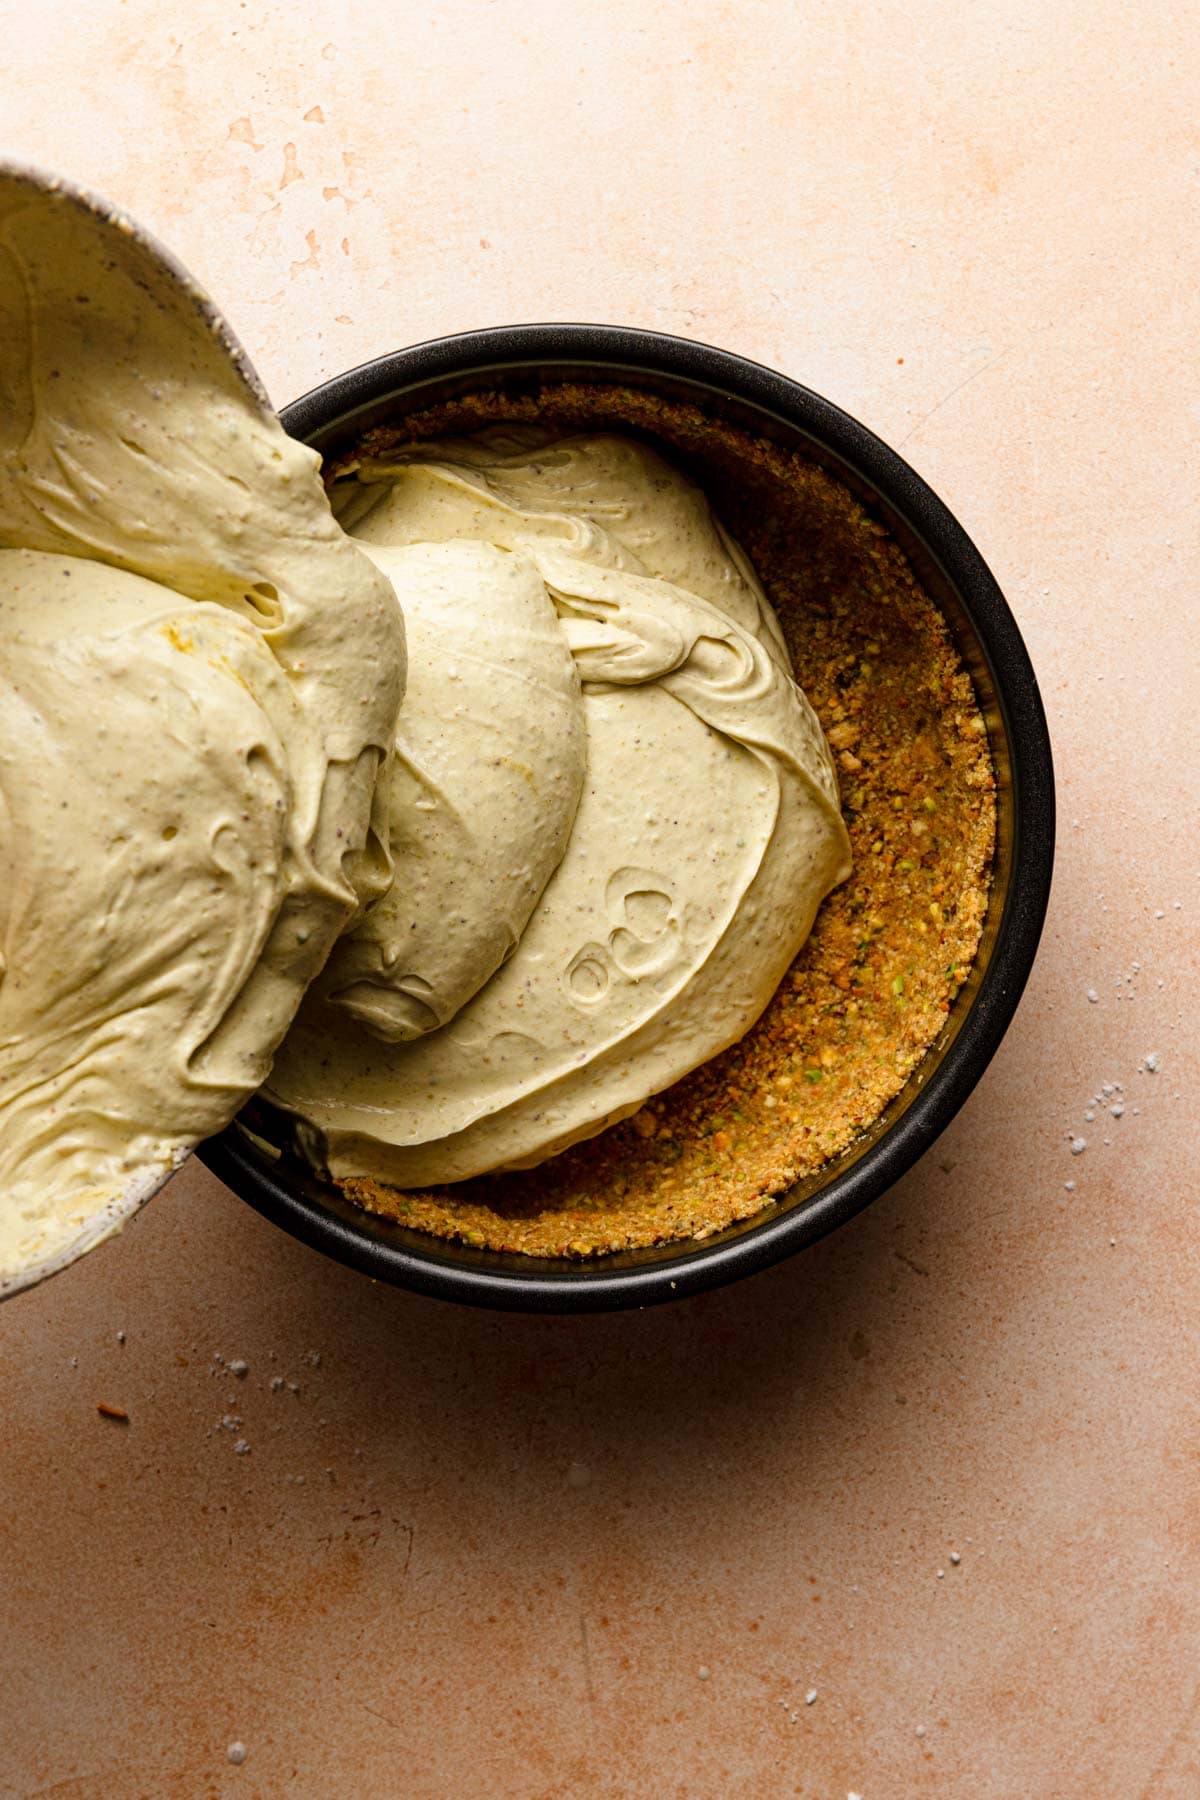
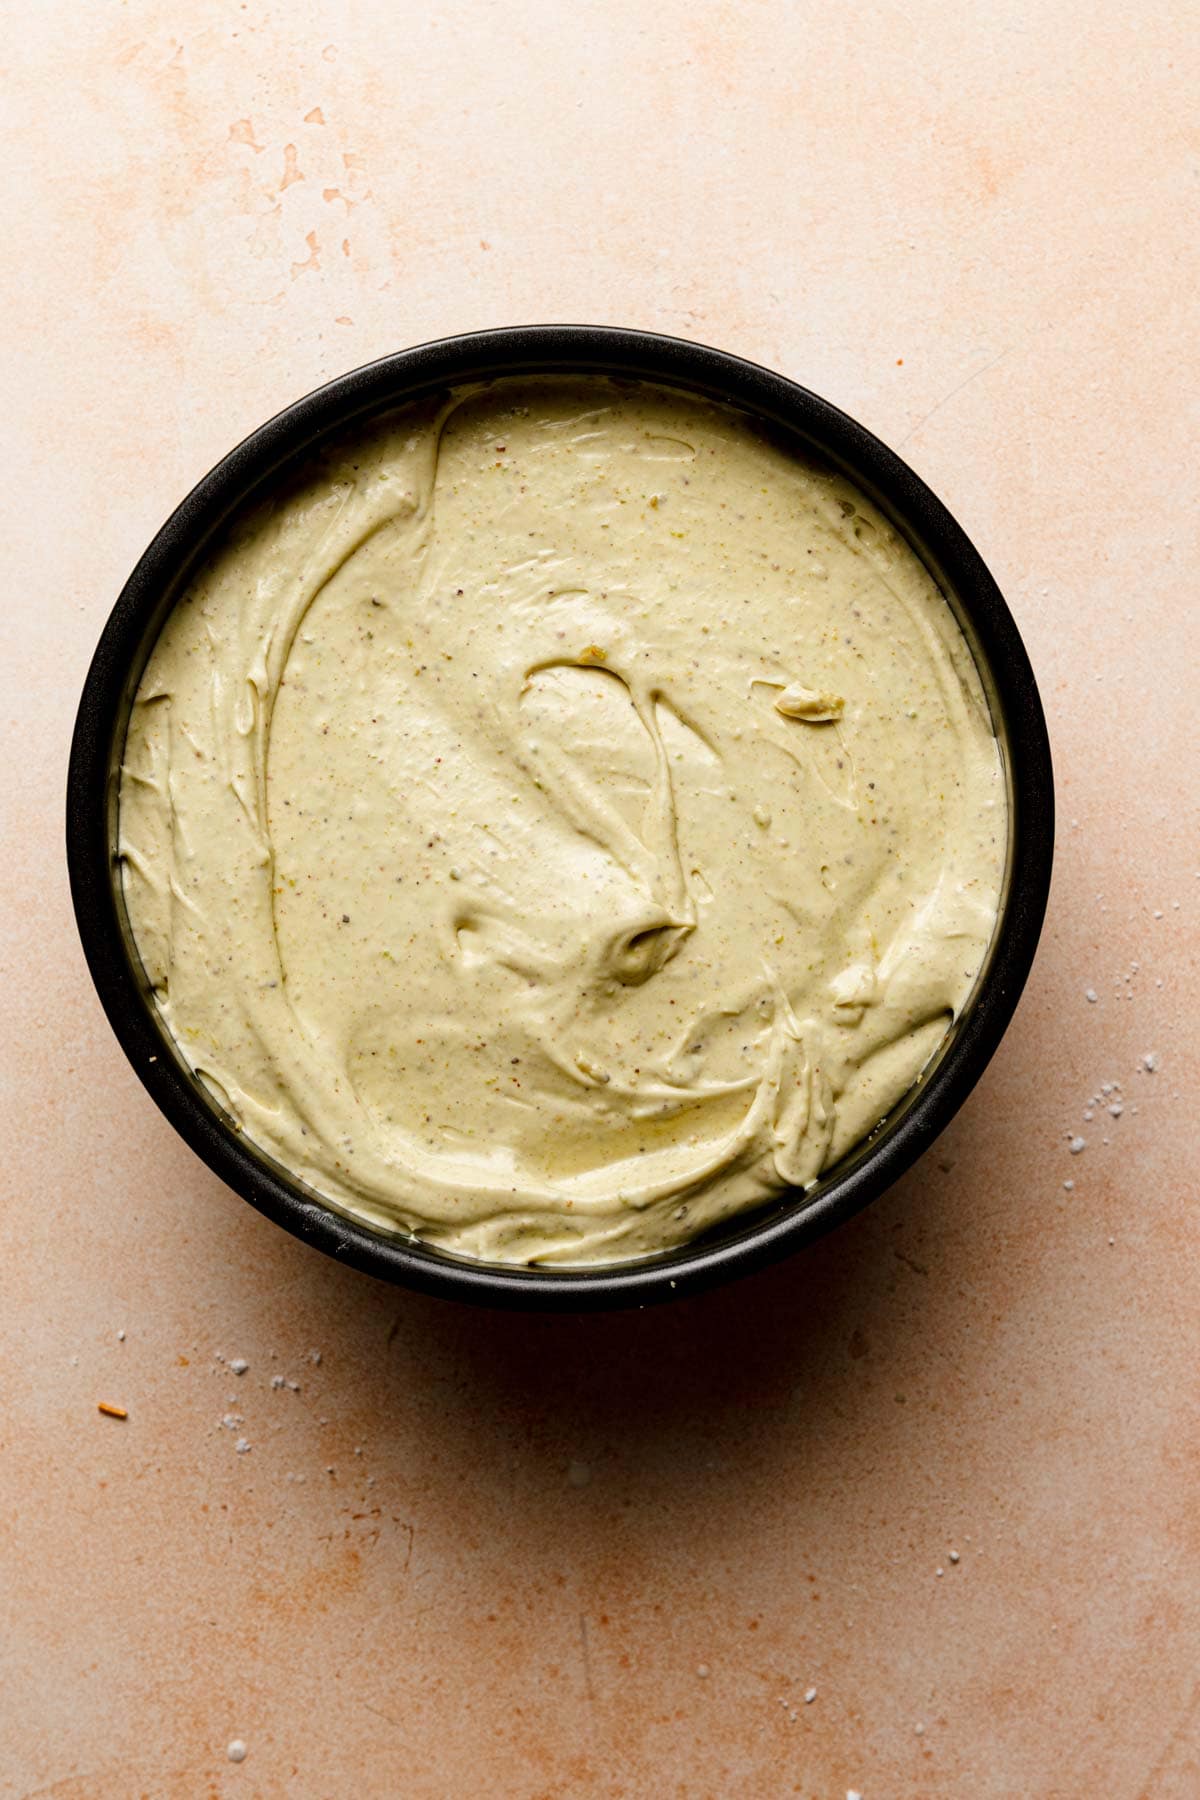
- Pour the filling into the pre made crust, spread the top into an even layer, cover with plastic wrap (should not touch the surface), then refrigerate for at least 6 hours.
- When ready to serve, run a sharp knife around the edges of the pan to release the cake. I recommend transferring the cake to a serving dish on top of the bottom of the pan.