Last updated on May 11th, 2026.
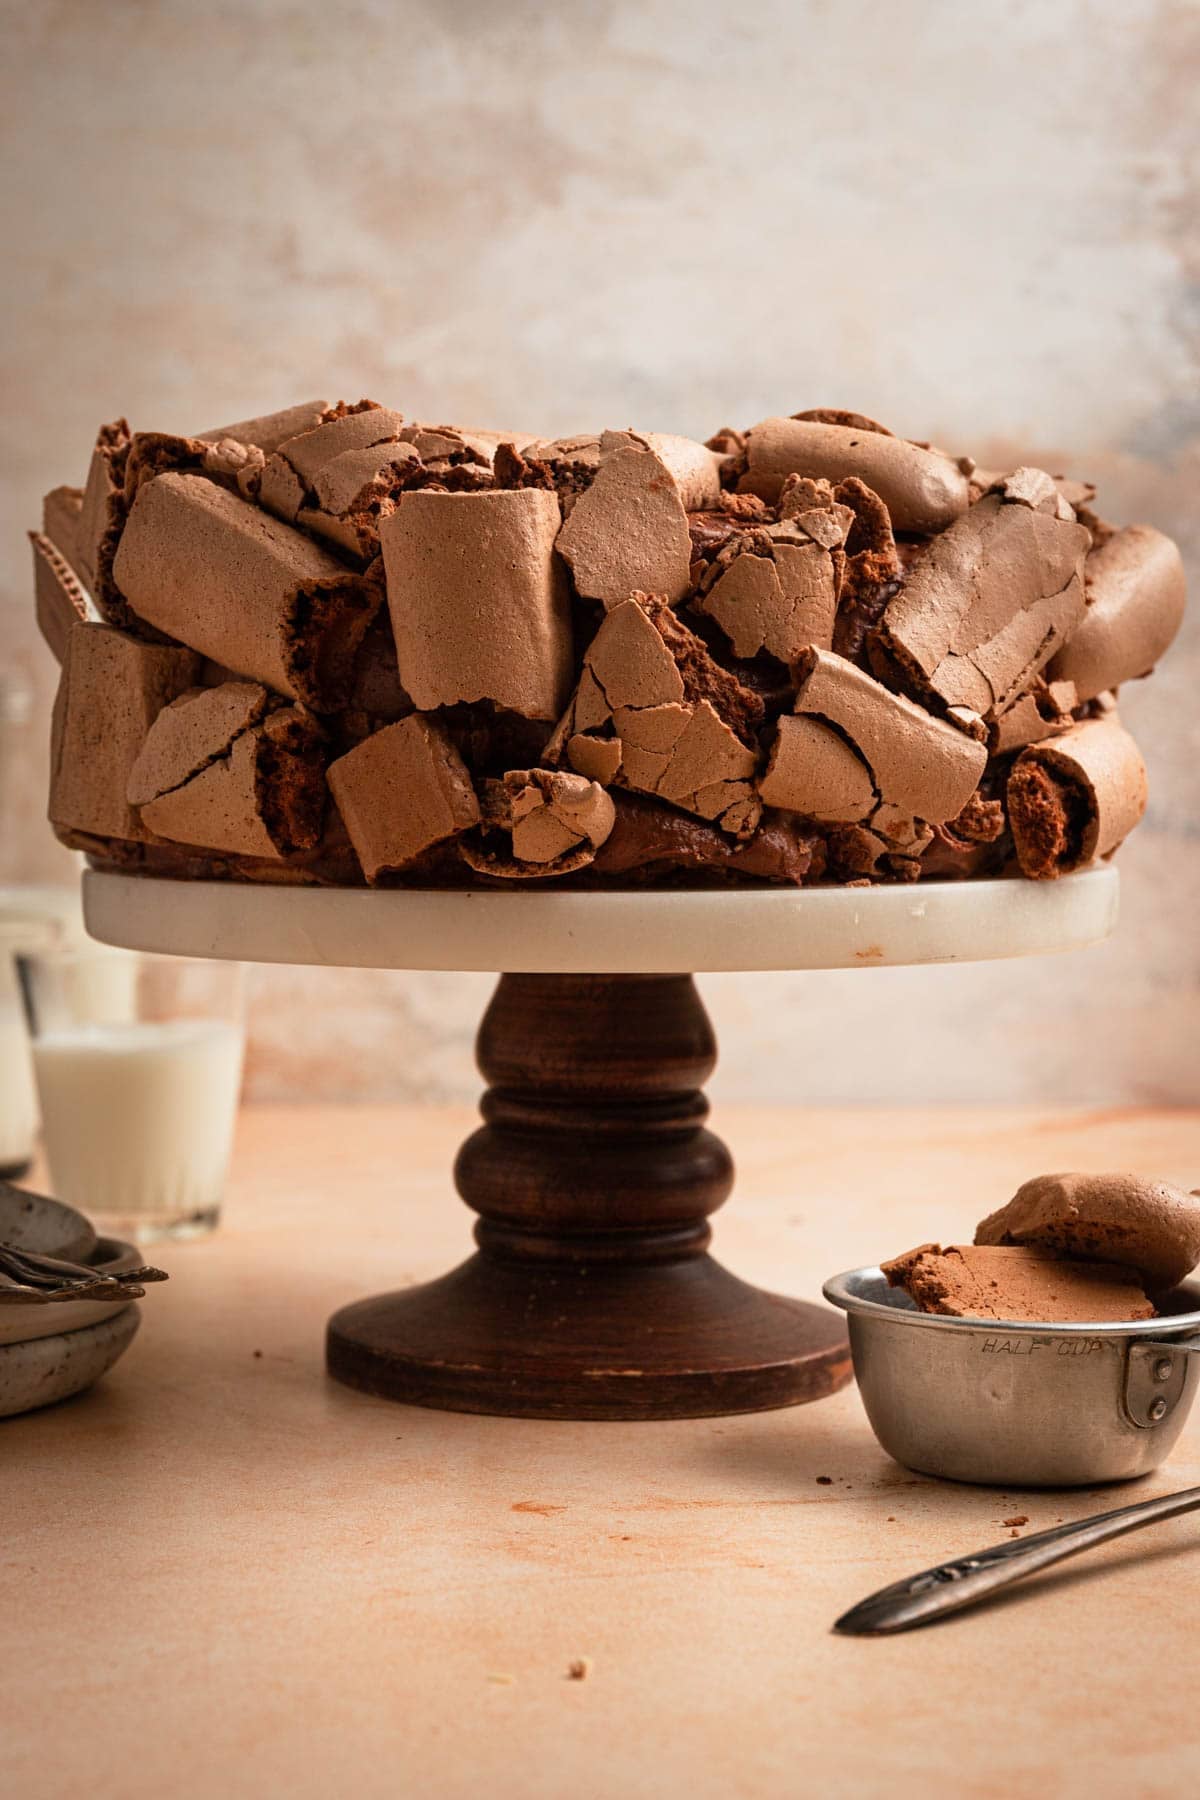
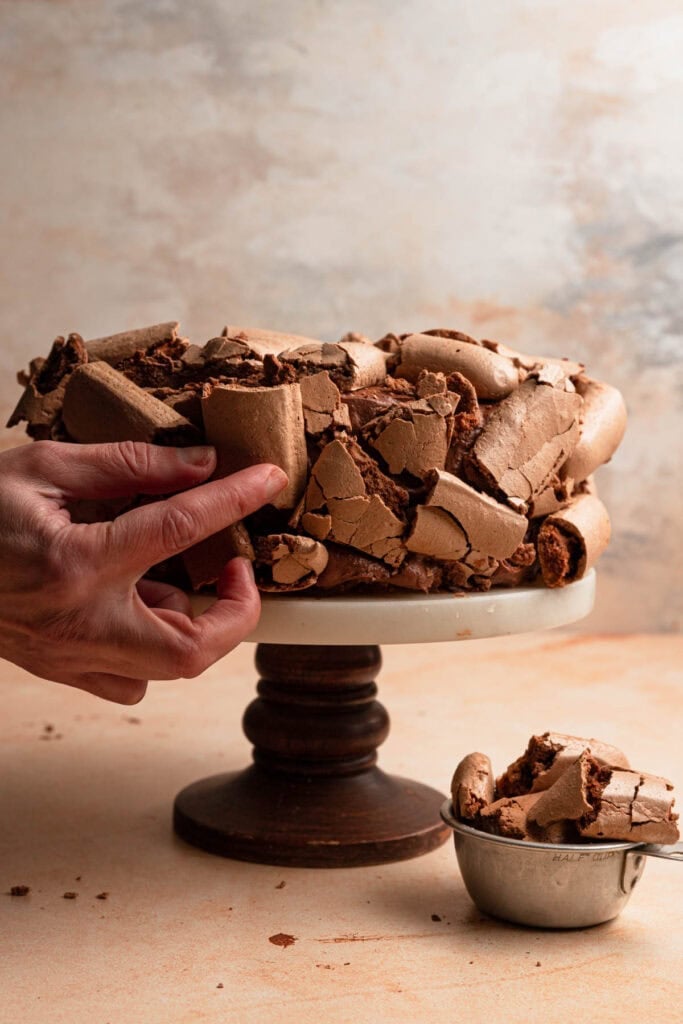
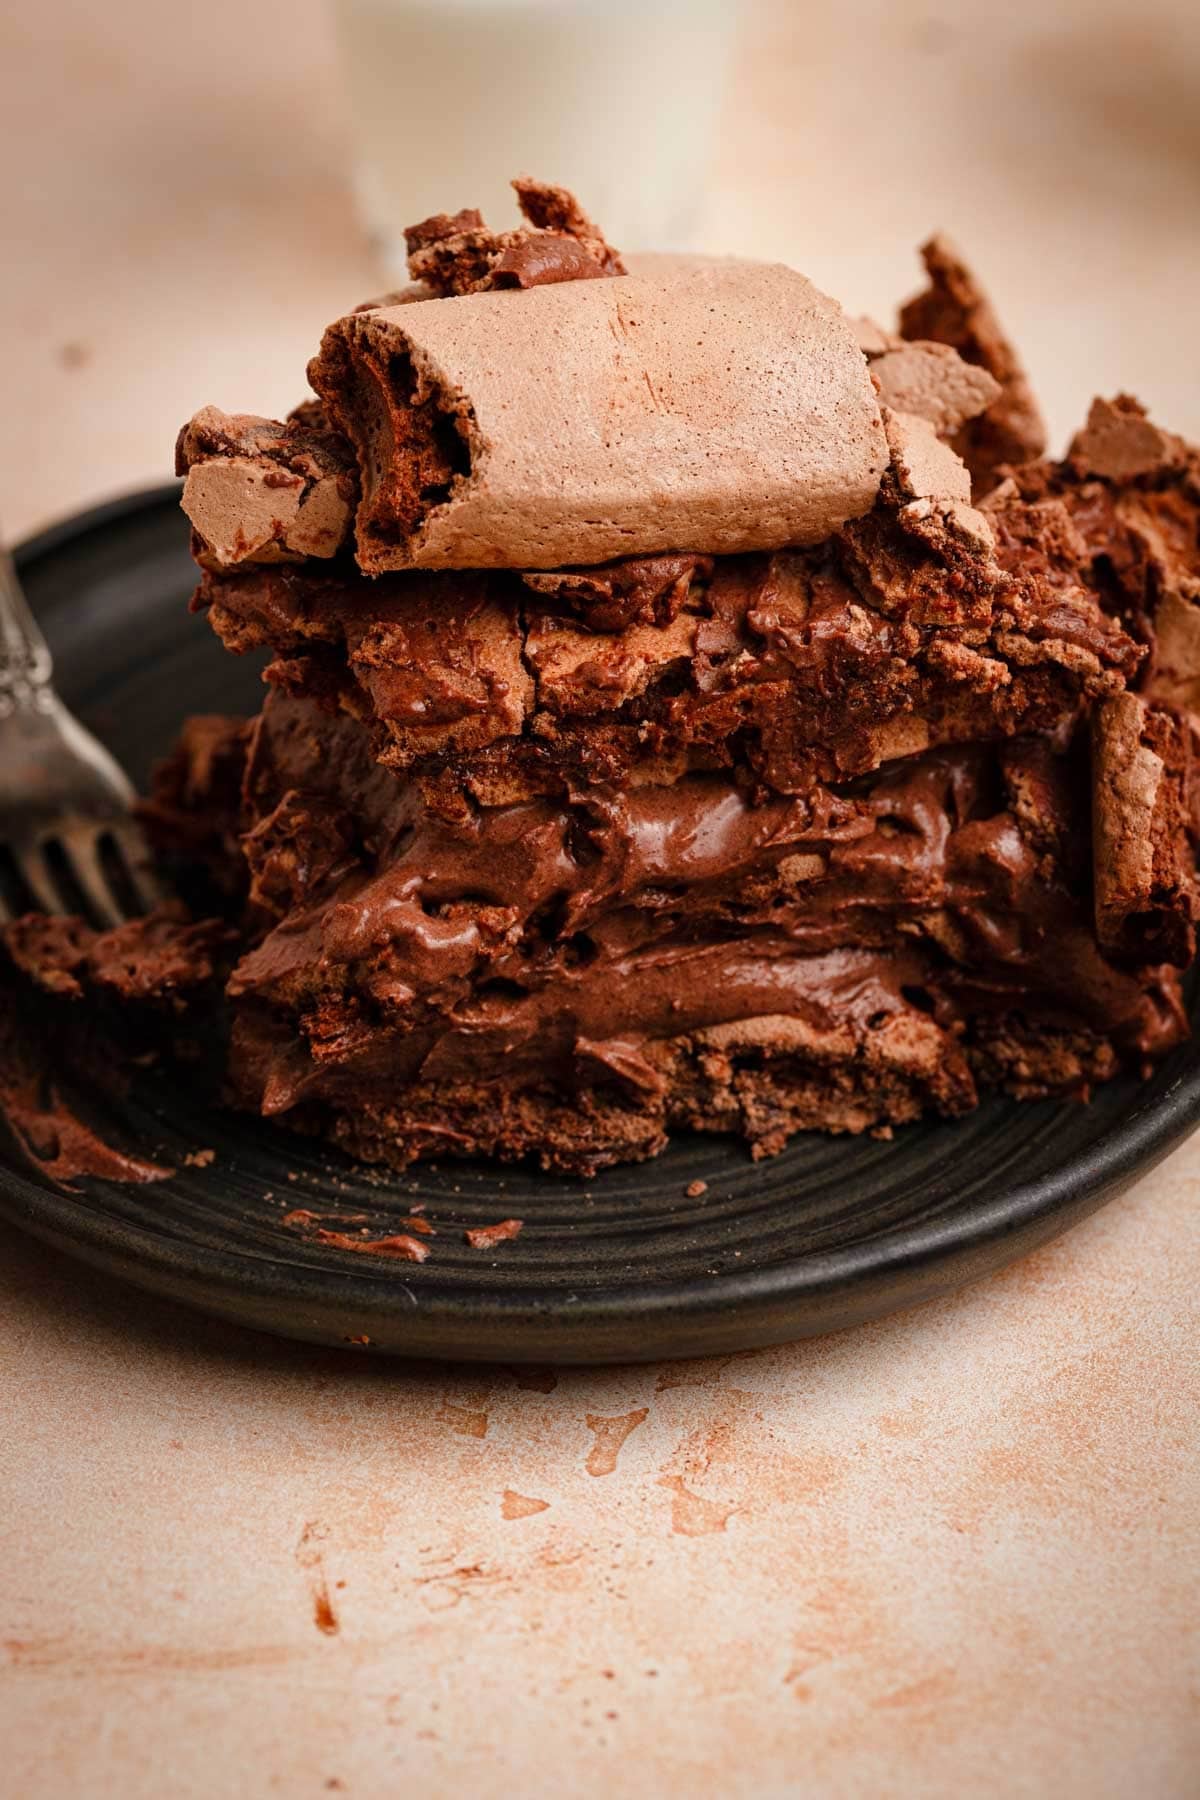
Chocolate Meringue Concord Cake is a classic French dessert made of crisp chocolate meringue disks layered between a light, airy chocolate mousse, creating a cake that is delicate, rich, and not overly sweet. The cake is decorated with pieces of chocolate meringue for extra crispiness and beautiful dramatic effect.
This cake is very nostalgic for me. I remember seeing it in bakery windows growing up, long before I knew it was made with meringue. Discovering that later was great news, it also means I can bake and enjoy it as a Passover Cake, or bake my own White Concorde Cake version.
Unlike pavlova cake, the meringue here is baked all the way through and layered, giving the cake a crisp, slightly chewy texture rather than a soft, melt-in-the-mouth center.
The cake isn’t difficult to make, but it does require a few steps and some setting time, so planning ahead is important. To simplify things, I replaced the classic chocolate mousse with whipped chocolate ganache.
Ingredients
The complete recipe is at the bottom of this post in the recipe card, here is a quick recap of the keyingredients, and substitutions when possible:
- Natural Unsweetened Cocoa Powder. Skip the Dutch process, natural cocoa powder has a strong distinguished chocolate flavor, and is acidic which will balance the sweetness of the meringue.
- Corn Starch. Or, potato starch to add a layer of tenderness and making it easier to slice through.
- Egg whites. For the meringue, I am not aware of any vegan replacement, if you are familiar and have experience with aquafaba, use it.
- Chopped chocolate. I used a mix of milk chocolate and dark chocolate (72%), use the type you enjoy and keep in mind that the higher the chocolate percentage the thicker the ganache will set.
- Heavy Whipping Cream. Once the ganache sets, it’s whipped into a light, airy, mousse-like filling, and the heavy cream is what makes that possible.
- Cream Of Tartar. It helps stabilize the meringue, (read how in my cookbook “Baking Science”) if you do not have it available use a 1 teaspoon of lemon juice.
Equipment
I don’t usually add this section, but because the meringue ends up tripling in size, I want to help you get the best results with no surprises.
- A stand mixer. Because of the large amount of egg white, I recommend using a stand mixer fitted with the whisk attachment. If not available, and you do not feel confident using an electric hand mixer, consider splitting the recipe in half and making it twice.
- A Large piping bag. With a round large tip, to pipe the meringue disks and the logs we will use for decorating. If not available, use a spoon to mount the meringue at the center of the marked circle then spread it into an even layer using an off set spatula. For the cookies, you can scoop small amounts, then break them before decorating. There is no meringue police.
- An offset spatula. Might just be the tool I use the most for baking (after kitchen scale and my spatula collection), it is very affordable and helps spreading and leveling easy, amooth and precise.
Making The Cake
Below are step by step images to give you visual cues as you bake this cake. Please make sure to read my tips, notes and lessons I learned while developing this recipe, including the timeline so you can plan accordingly.
Timeline
- The meringue needs two hours to bake plus 1-2 hours to chill. Only assemble the cake when it is completely cooled. It tends to soak up moisture from the air, but unless your kitchen is attached to a sauna, it is not a big deal because the meringue will soften from the filling any way.
- The ganache has to be cold or else it won’t whip. It needs about four hours to chill in the refrigerator but I recommend to make it the night before and allow it to chill over night.
- The assembled cake should be refrigerated and allow the mousse to set and the meringue to soften a bit so it is easier to slice. Allow it to chill in the refrigerator for about 4 hours (or more) before serving.
Tips and Baker’s Notes
- The meringue won’t whip at the presence of fat, including egg yolk. Separate the eggs when they are cold out of the refrigerator, and use an extra bowl for the egg white: break the egg and place the egg white in it, if it clean from yolk, place it in your mixing bowl. This way if there is yolk in to you don’t need to waste all the egg whites.
- Make sure the mixing bowl and attachment are clean of fat, so if you used it to make a pound cake or buttercream before, take an extra step and wash is again.
- Do not over whip the meringue. It is ready when all of the sugar has been incorporated and it is thick, light and stable. (about extra 1-2 minutes after adding the sugar). The meringue will deflate if over mixed.
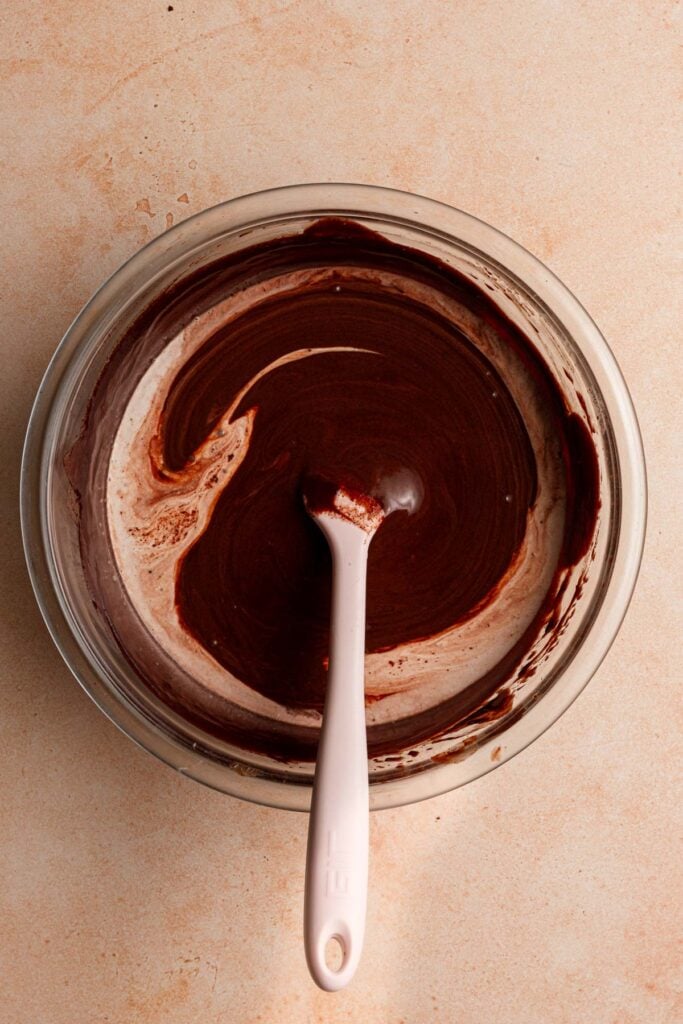
- When making the ganache, the cream should not reach a full boil. Once you notice small bubbles on the sides of the pan, remove it from heat. If too warm, it will split the chocolate and separate the cocoa from the oil. Use a double boiler if you are not sure.
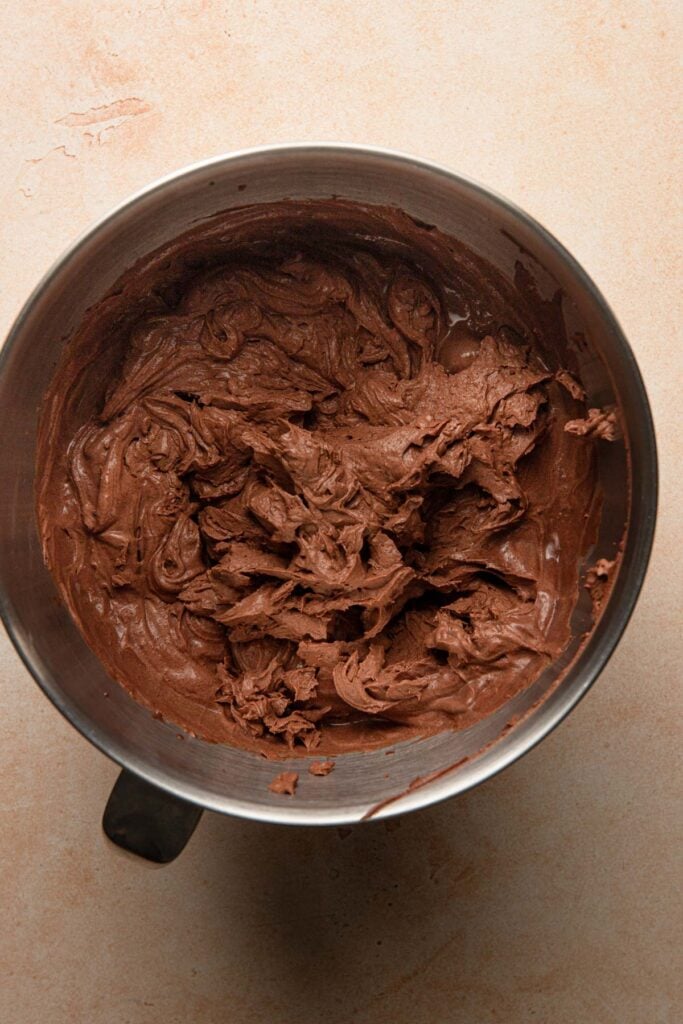
- Do not over whip the chocolate ganache, it will deflate and you will need to start over. Once it is thick, and you can see the whisk’s marks very clearly it is ready.
- Make sure the chocolate is finely chopped, the smaller the pieces, the easier and more evenly it will melt.
Make The Chocolate Meringue
Make The Chocolate Mousse
Slicing and Storing
Slice the cake by using a sharp knife in a 45° angle, do not press it down. It can be messy, don’t freak out and so enjoy it!
The ganache is good for five days if refrigerated, so the cake can be store at the refrigerator for up to five days, or less if you made the ganache ahead of time.

Classic Chocolate Concord Cake | Simplified
Ingredients
Chocolate Meringue
- 10 Large (330g) Egg whites
- 1/2 teaspoon Cream of tartar
- 1/2 teaspoon Salt
- 2 1/2 Cups (500g) Sugar
- 3/4 Cup (65g) Cocoa powder
- 2 teaspoons Cornstarch
Chocolate Filling
- 2 Cups (340g) Chopped chocolate
- 1/2 Cup (70g) Light Brown Sugar
- 2 1/2 Cups (600ml) Heavy whipping cream
Instructions
Chocolate Moussse
- The mousse needs to be refrigerated for about 3-4 hours (preferably over night), so it is best to make it ahead.
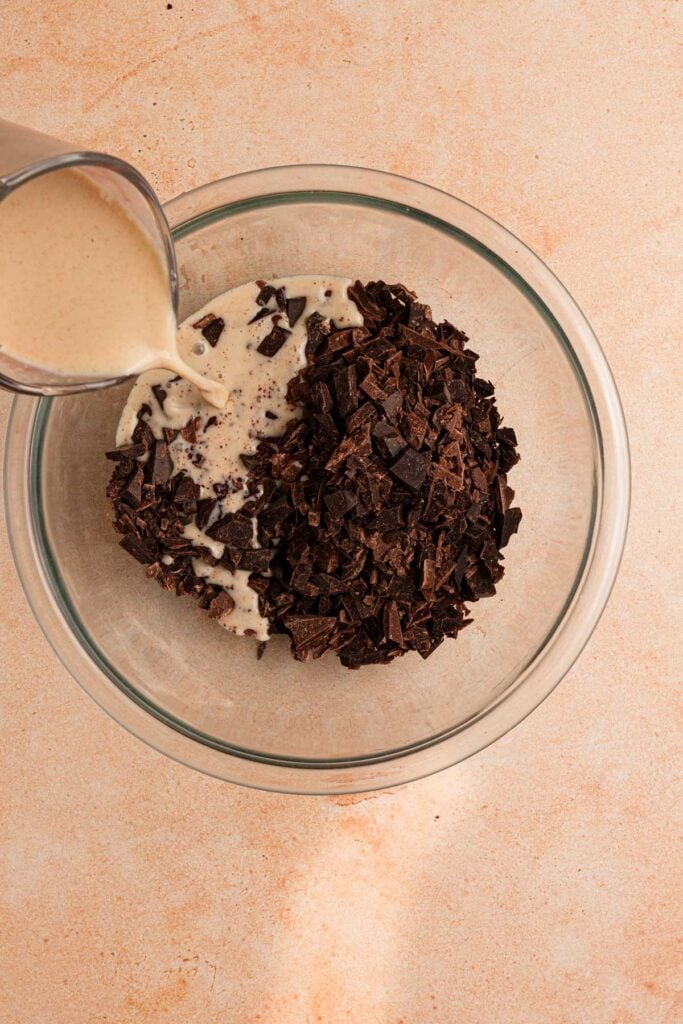
- Place the chopped chocolate (340g) in a large bowl.
- Pour 1 1/2 cups (360ml) of heavy cream and the sugar (70g) in a medium sauce pan and place it over the stove, medium heat until you notice small bubbles at the edges of the pan. Remove from the stove.Do not allow the cream to reach a full boil, the high temperature will cause the chocolate and fat to split.
- Pour the cream over the chocolate and set a side for a few minutes so the warm cream can melt the chocolate.
- Gently mix the chocolate and cream until the chocolate is completely melted and smooth. If needed place the bowl over a double boiler, but do not use the microwave.
- Pour in the rest of the cream, cover with a plastic wrap and refrigerate.
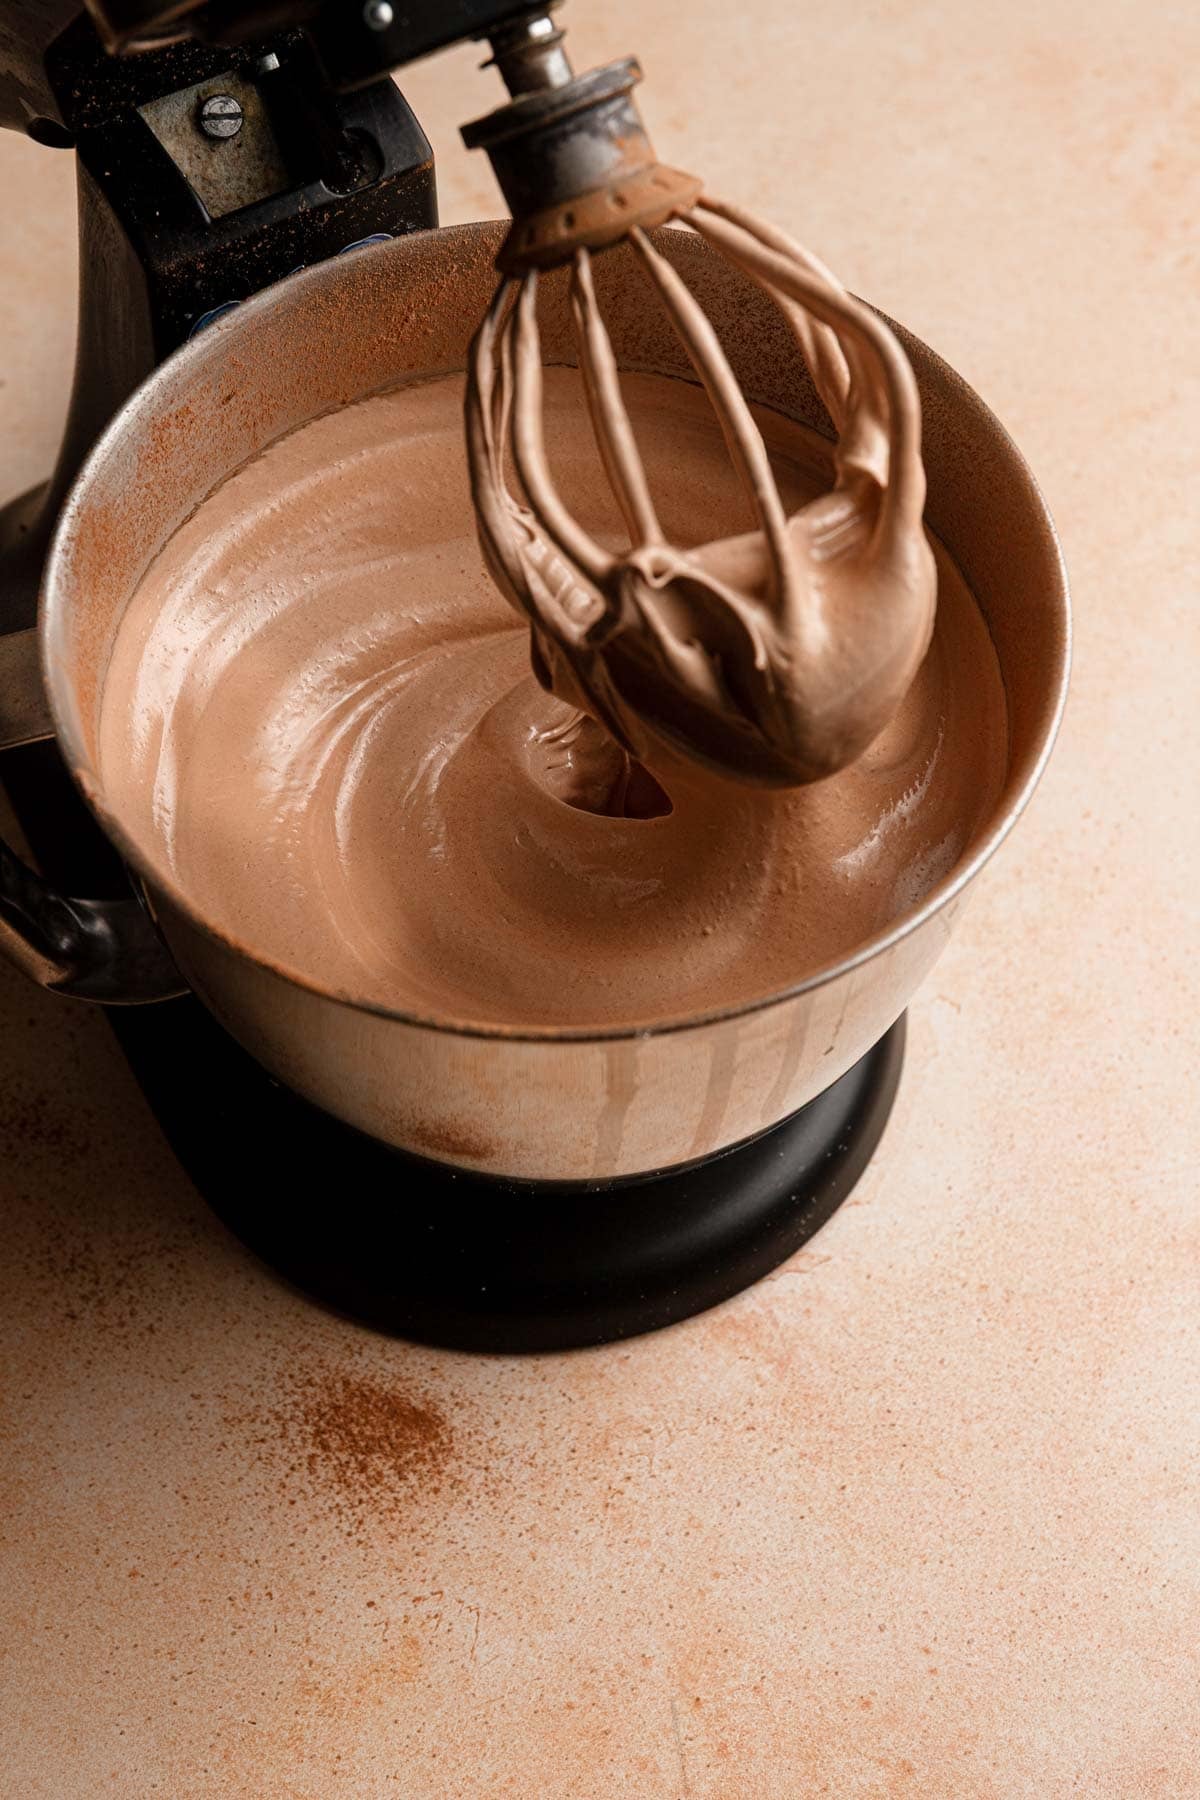
- When ready to assemble: place the set and cooled chocolate mixture in a bowl of a stand mixer, then using the whisk attachment, whip on high until you have an airy, thick mixture. Do not over mix, or the ganache will deflate and you will need to start over.
Make the chocolate Meringue
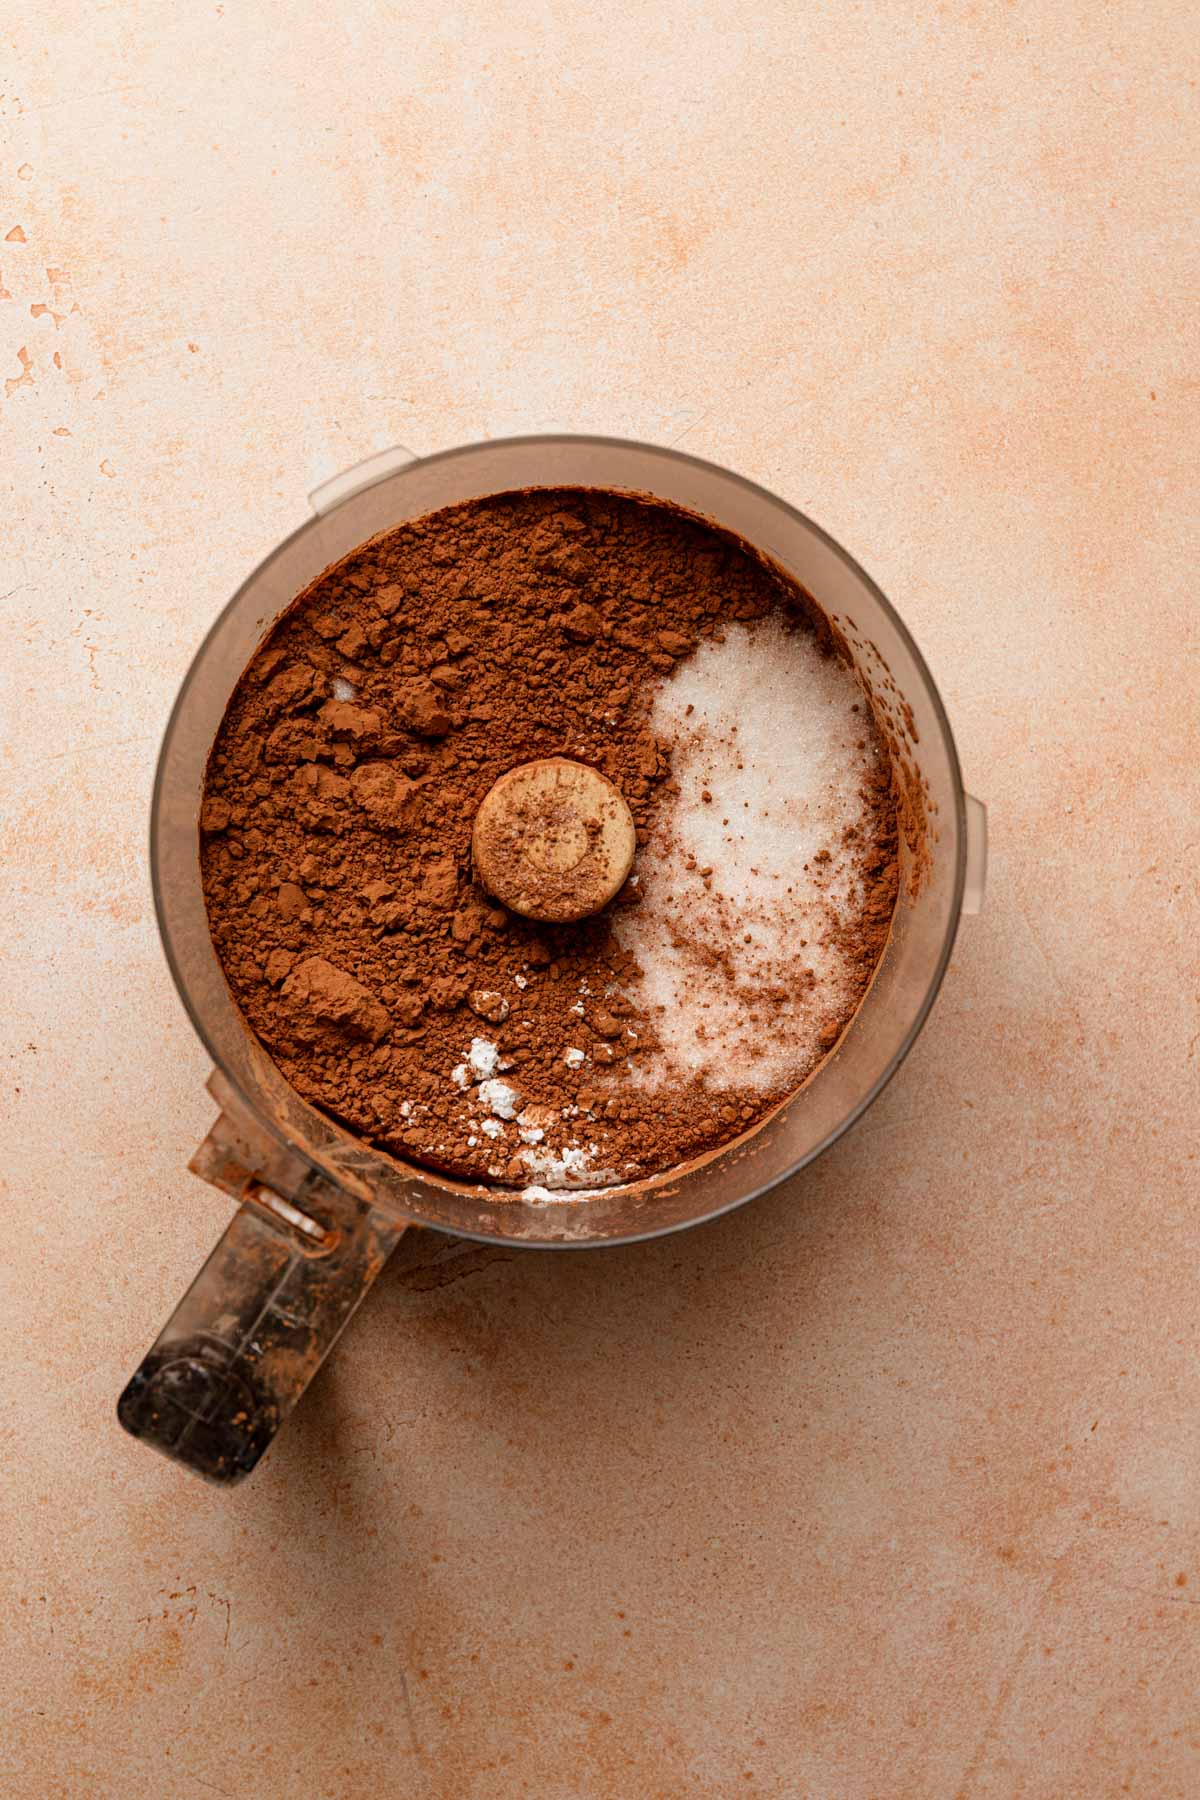
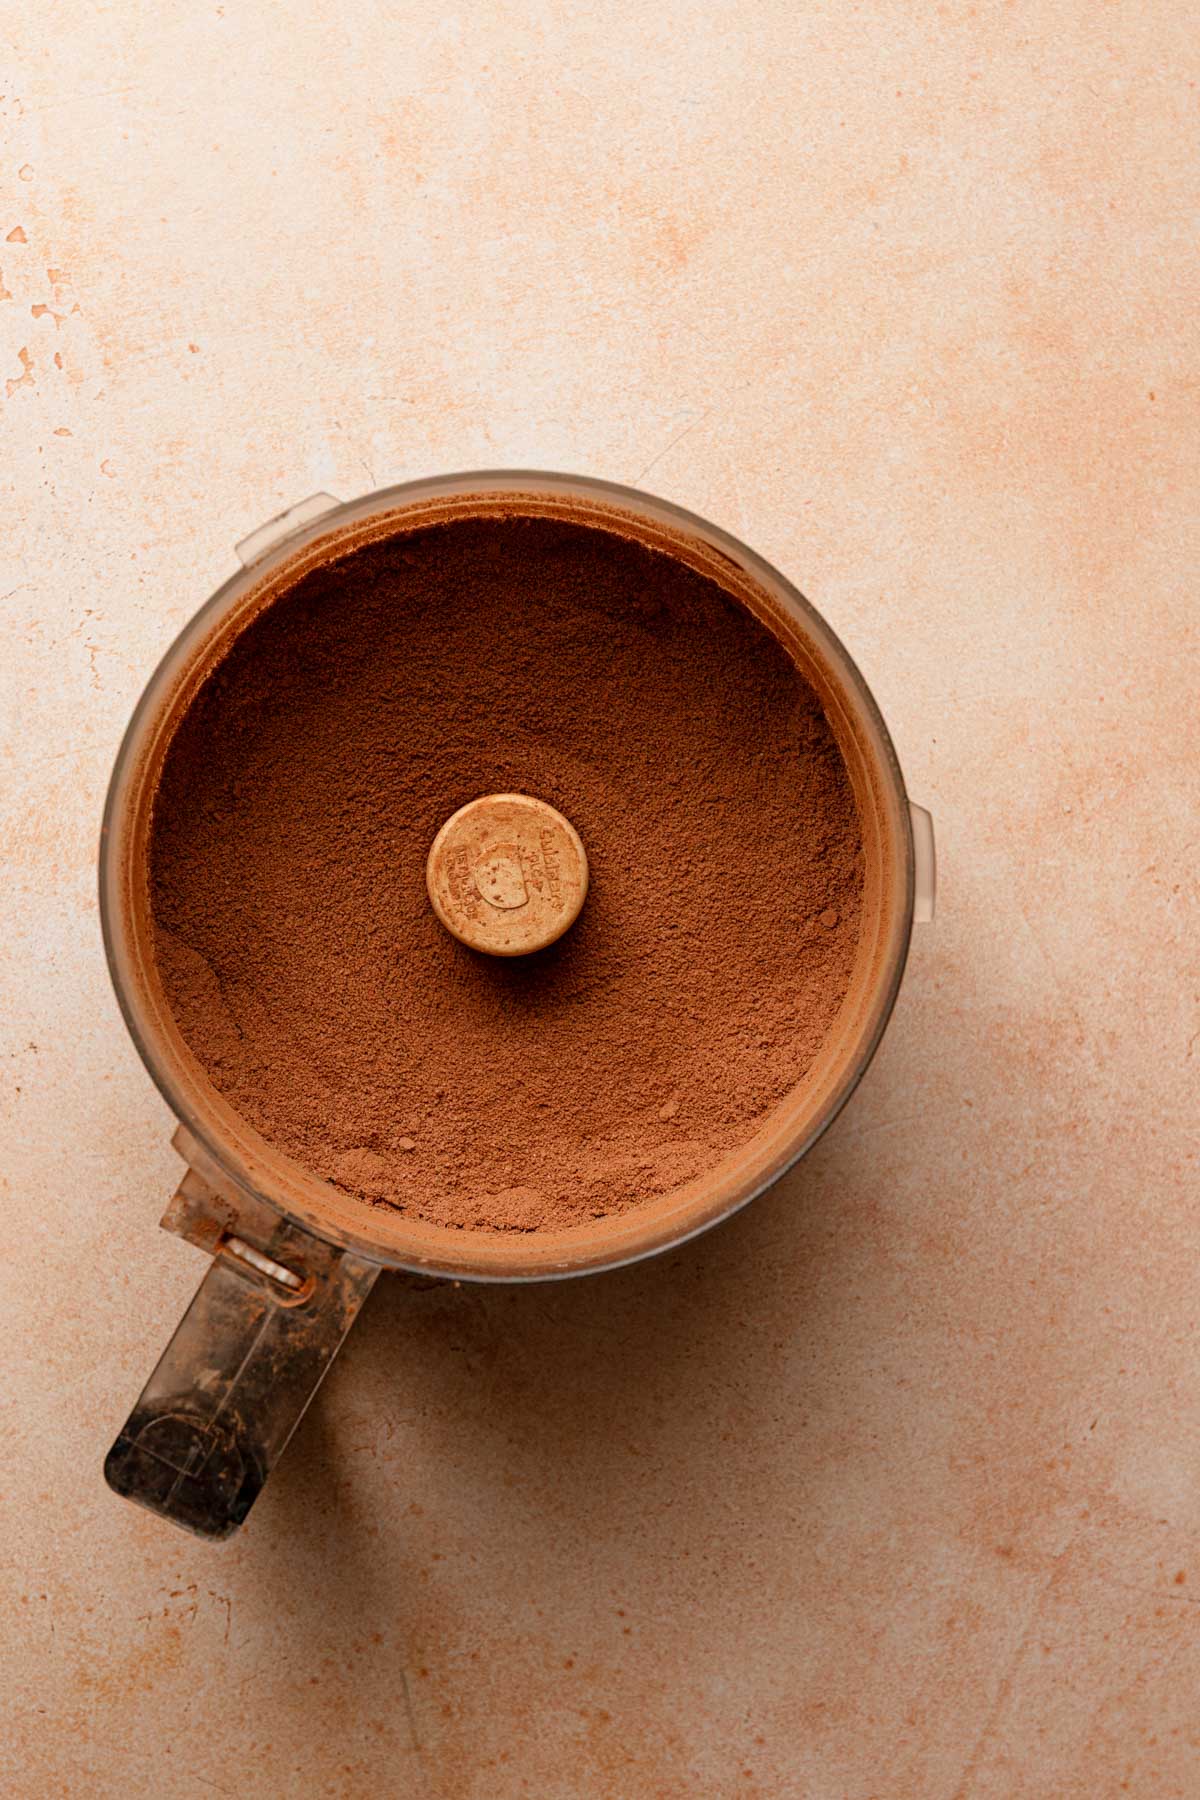
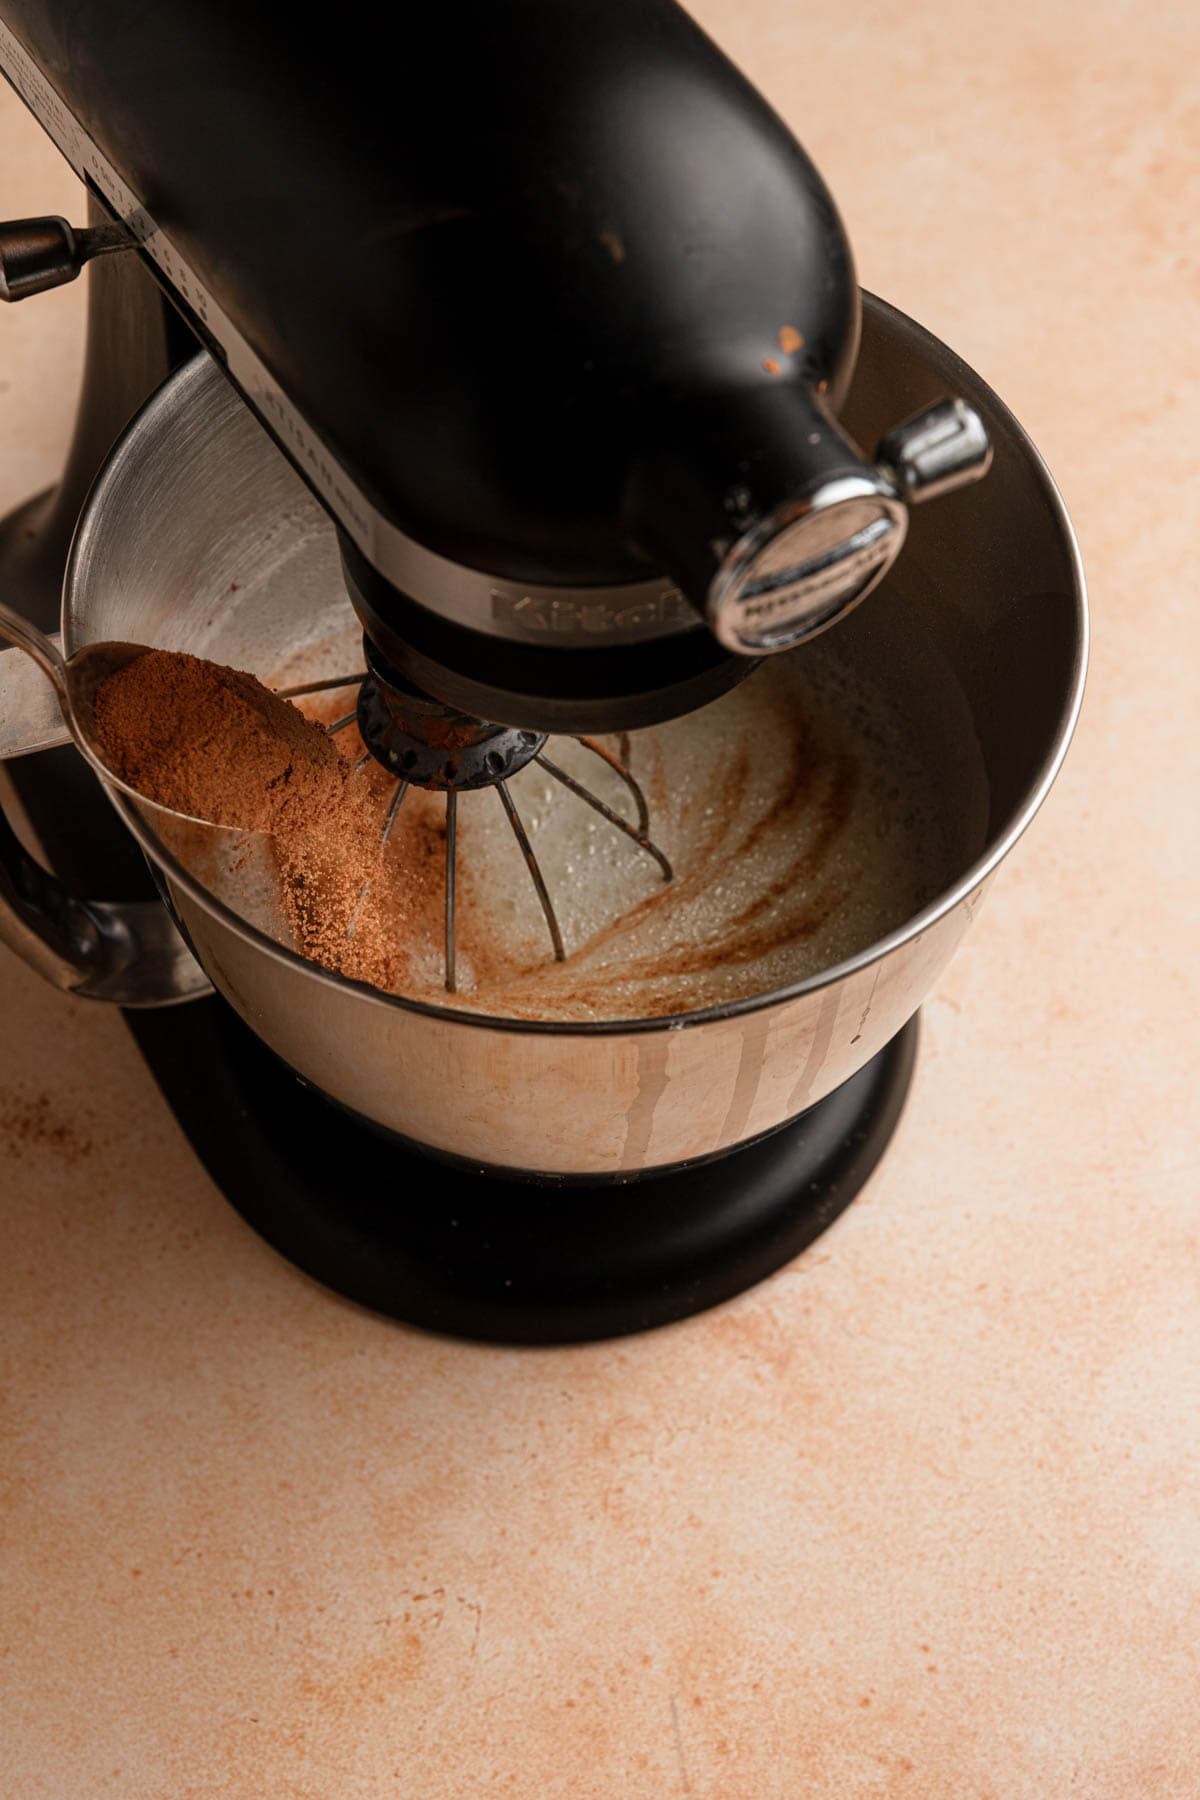
- Measure the sugar (500g), cocoa powder (65g) and cornstarch (2 teaspoons) in a bowl of a food processor and process for about 30 seconds. Transfer the mixture to a medium deep bowl.
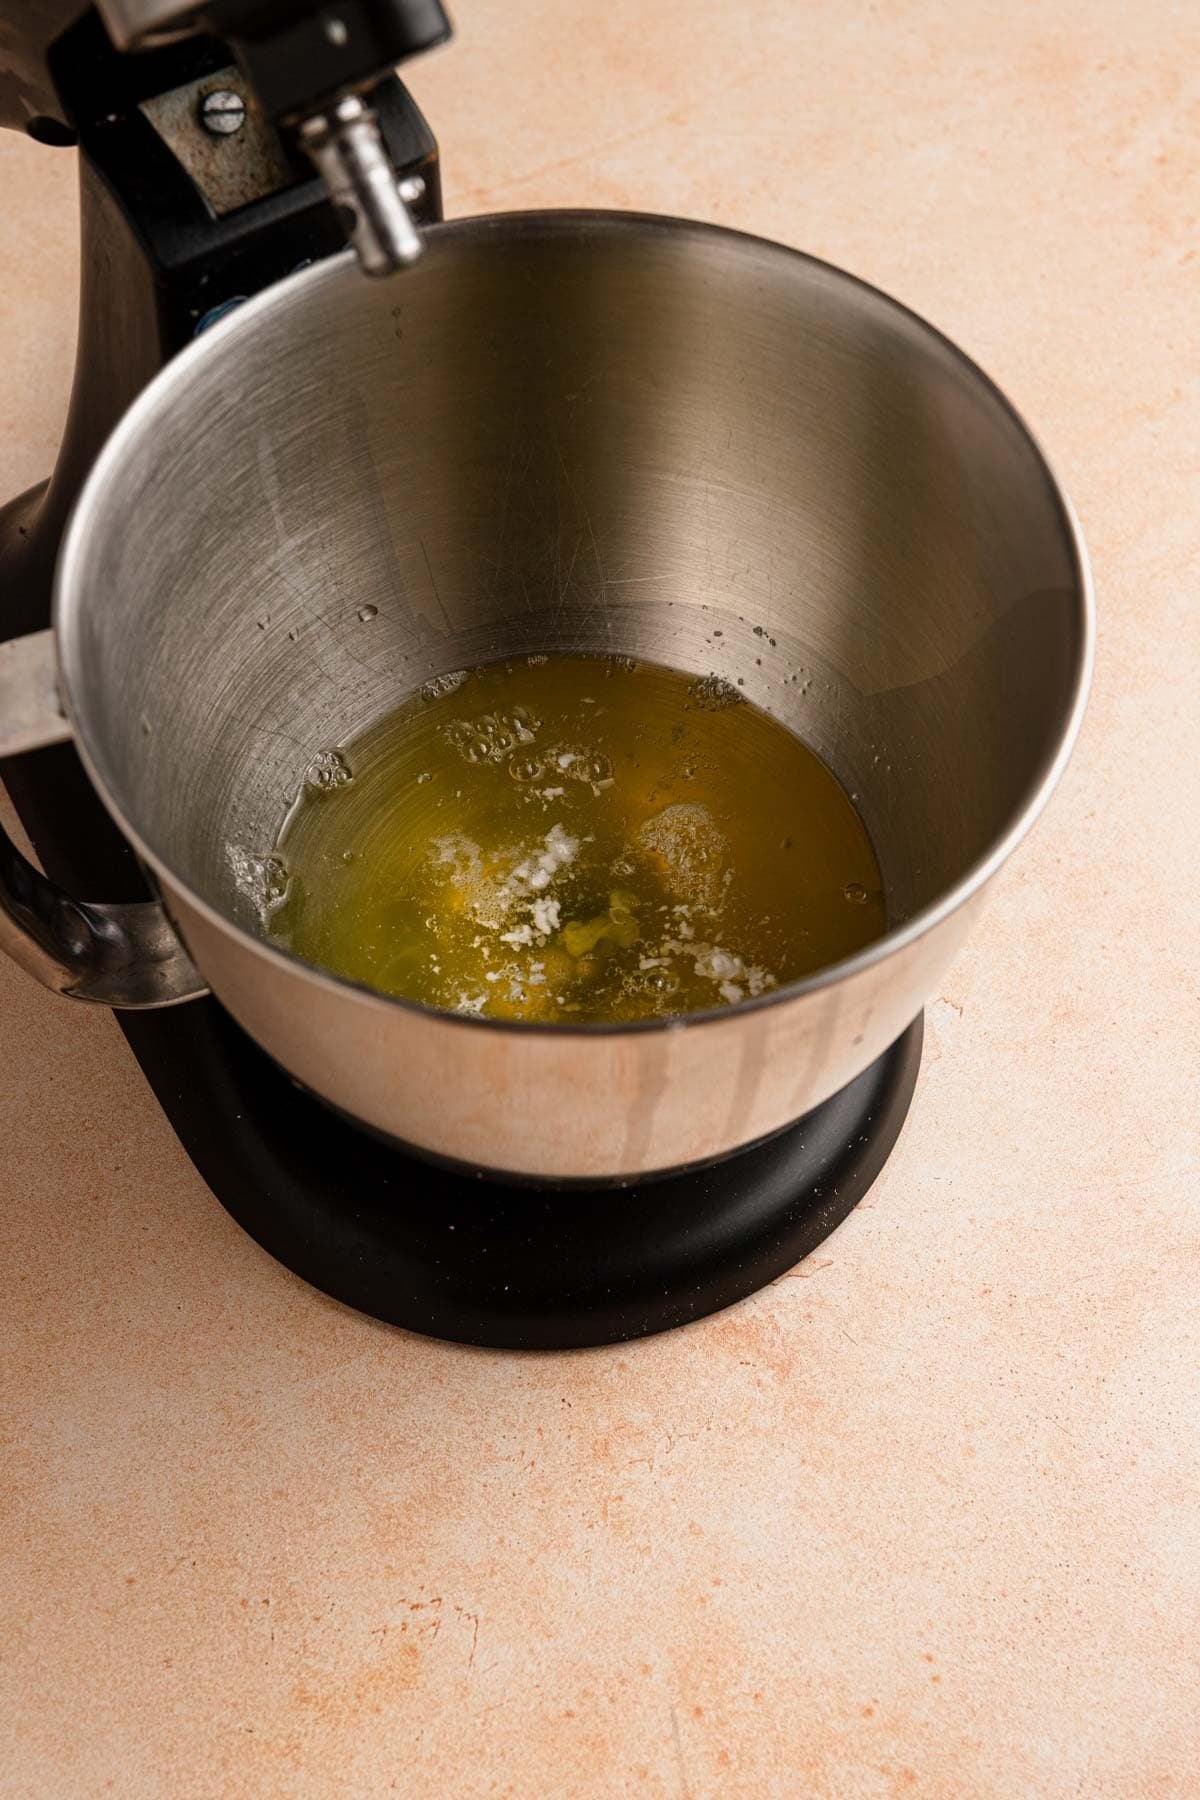
- Place the egg whites (330g) in a clean bowl then add the salt (1/2 teaspoon) and cream of tartar (1/2 teaspoon).
- Whip the egg whites for about 30 seconds on high speed until the mixture starts to foam.
- With the mixer on high speed gradually add the sugar/cocoa powder mixture one tablespoon at a time, waiting 10 seconds between each addition.
- Once you added the last portion of the sugar keep whipping and stay put. Only mix until the meringue is stiff and stable. Over mixing might cause the meringue to deflate, then it will crack during baking.
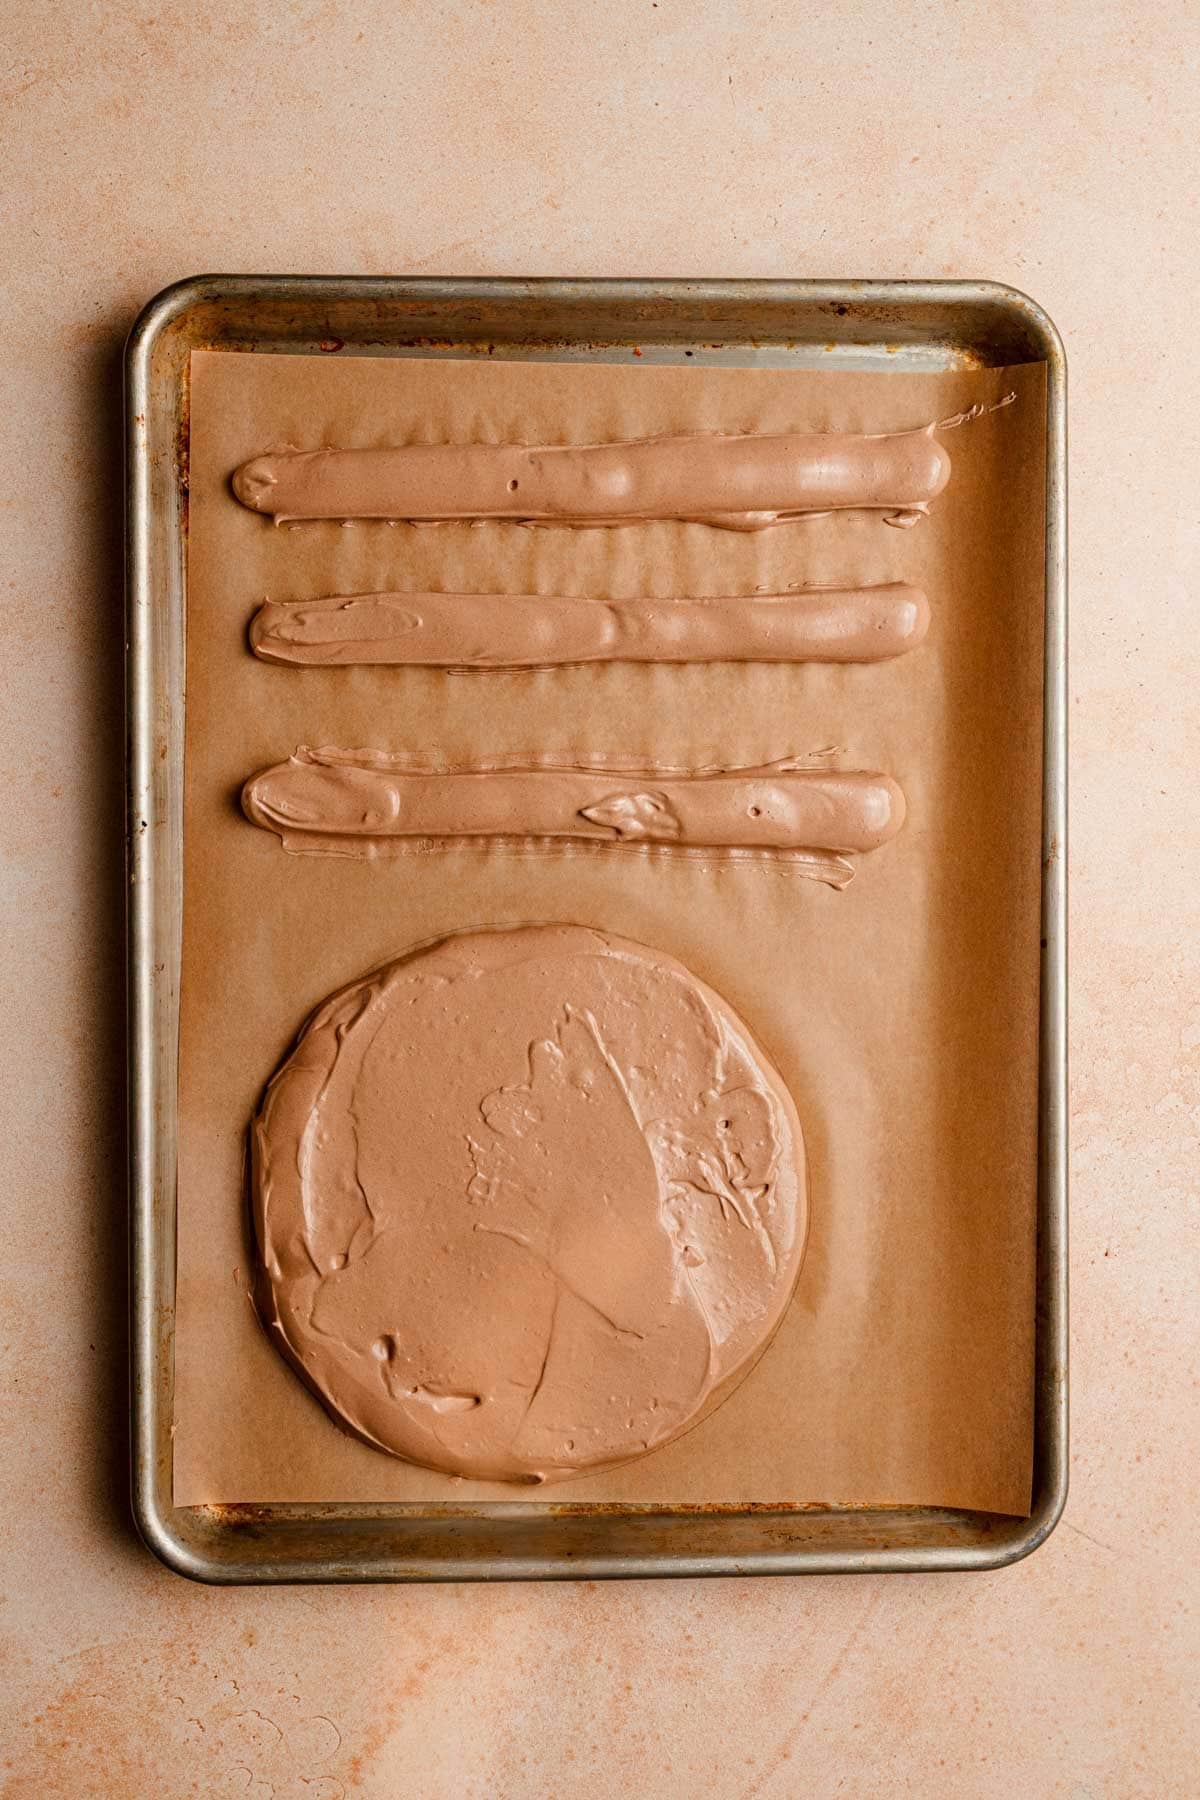
- Preheat your oven to 250°F then line three large baking sheets with parchment paper.
- Use an 8-inch cake pan to mark 3 circles on the lines baking sheets. If needed, turn the paper over so the meringue won't touch the pan or pencil.
- Fill a large piping bag with the chocolate meringue, then pipe the meringue into an 8-inch circles over the marked parchment papers.
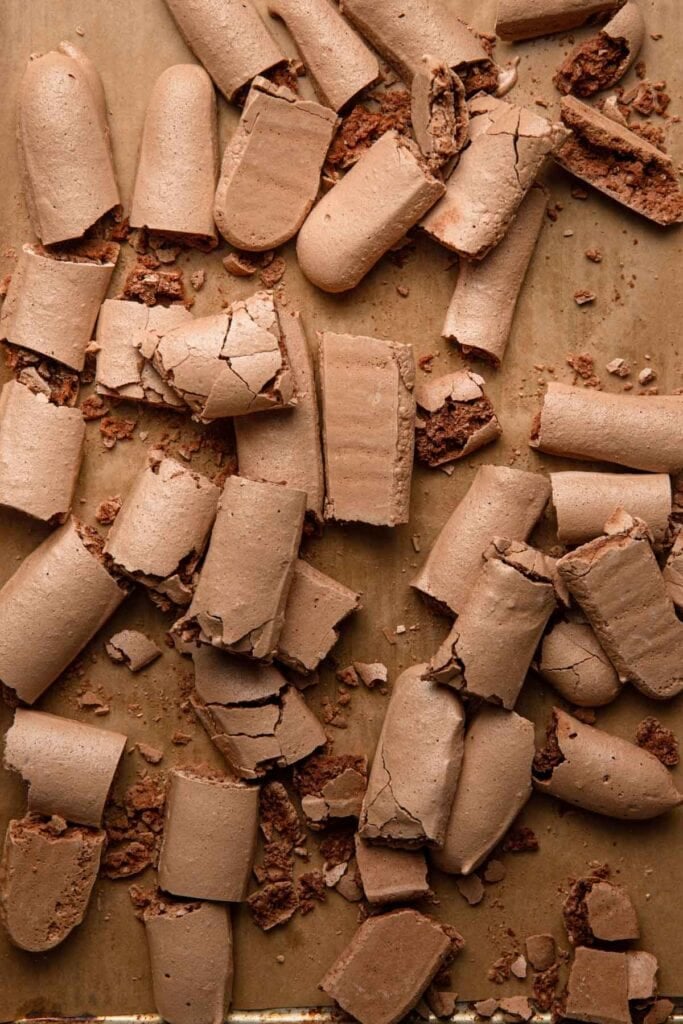
- Pipe long lines with the remaining meringue, these will be the pieces decorating the cake.
- Place the pans in the oven each on a different rack and bake for 2 hours, alternating space mid baking.
- Turn the oven off with the pans inside and let the meringue cool in the oven for 30-60 minutes.
Assemble
- Use a serrated knife to cut the meringue logs into 1.5-2 inches pieces.
- Place one meringue disk over your serving plate, the top it with 1/3 of the chocolate cream (about 1 cup).
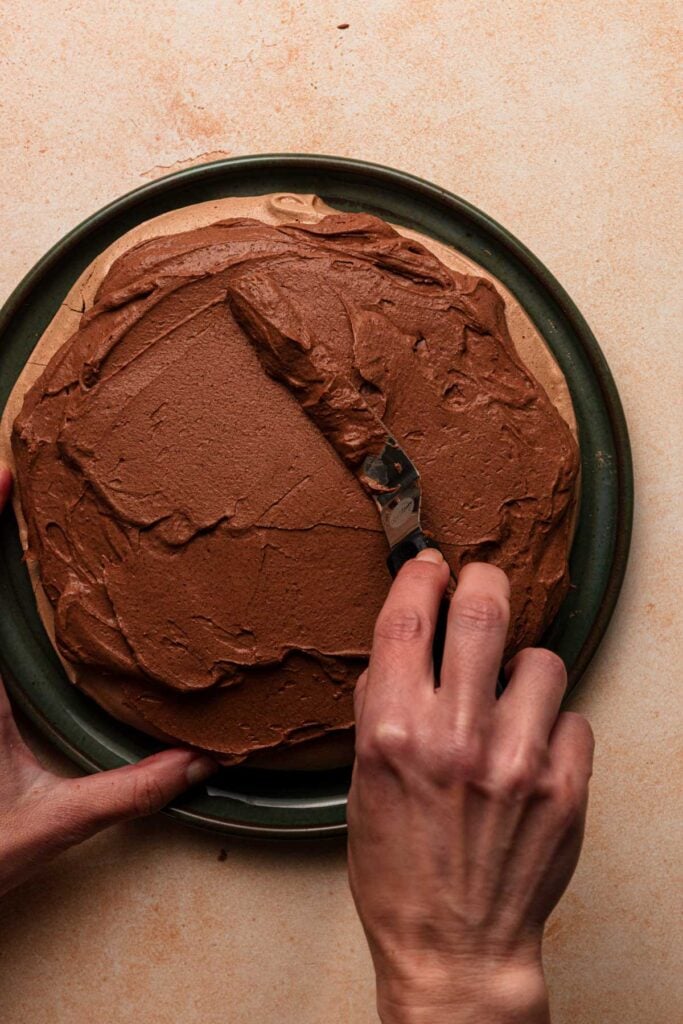
- Use an offset spatula to spread the mousse over the disk, then top it with another disk and repeat.
- Once you added the last meringue disk, use the remaining of the chocolate mousse to coat the cake.
- Stick the meringue pieces around the coated cake, started with the edges of the pan, finishing at the top. Use the crumbs from cutting the meringue to fill up and gaps.
- Refrigerate the cake for 3-4 hours and allow the mousse to set and the meringue to soften a bit.
- Store the cake in the refrigerator for up to five days, or less if you made the mousse ahead of time.
Notes
- For the meringue to whip, it needs to clean of fat, including egg yolks. Make sure to clean the mixing bowl and attachment before using it, and if you want to take another step, wipe the bowl with a paper towel slightly soaked with lemon juice.
- Chop the chocolate fine so it will melt easily.
- Use any type of chocolate you enjoy (milk, semi-sweet, or dark), keep in mind that the higher the chocolate level the thicker it will set.

Is cream of tartar necessary? Can we omit or is there a substitute?
You can use 1 teaspoon of lemon juice instead.
This looks great! Can it be made dairy-free?
Yes! use plant base chocolate and plant base whipped cream.
Thanks for sharing your recipe! Can I substitute sugar for sweetener?
Hi Leide, I am not familiar with sweeteners, the sugar has a crucial rule in this recipe.
Maravilloso
The ingredients list says you need 240g chocolate but the method states you use 340g. Could you please advise which is correct?
the 240 is a typo, you need 340g.